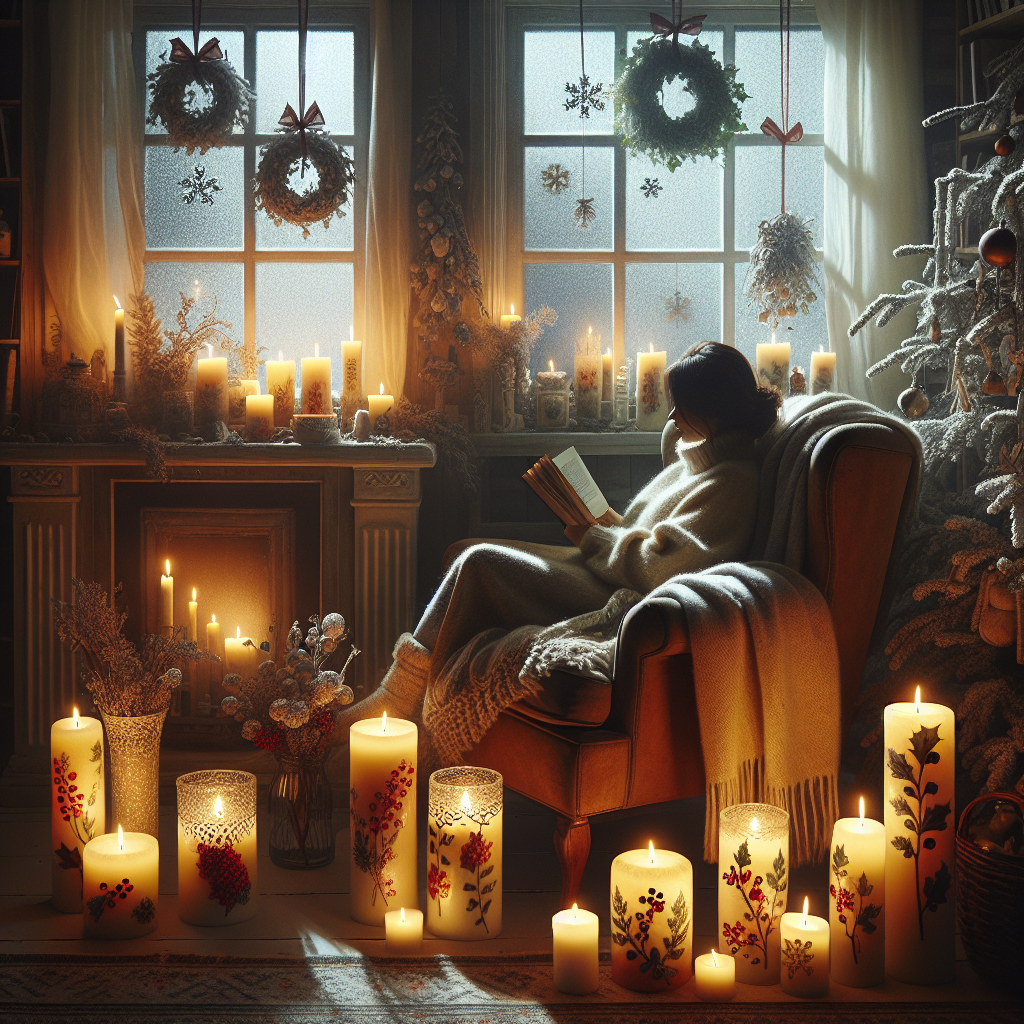
Bring Festive Warmth Indoors with DIY Christmas Candles, Perfect for Cozy Winter Evenings
As the holiday season approaches, there’s nothing quite like the warm glow of candles to create a cozy and festive atmosphere in your home. Instead of buying expensive candles from the store, why not try your hand at making your own DIY Christmas candles? Not only will you save money, but you’ll also have the satisfaction of creating something unique and personal. In this article, we’ll guide you through the step-by-step process of making beautiful Christmas candles that will bring warmth and joy to your winter evenings.
Materials You’ll Need
Before we dive into the instructions, let’s gather all the materials you’ll need for this project:
- Wax flakes or old candles
- Candle wicks
- Candle molds or containers
- Fragrance oils (optional)
- Candle dye or crayons (optional)
- Double boiler or microwave-safe container
- Thermometer
- Stirring utensil
- Decorative elements (e.g., dried flowers, cinnamon sticks, ribbons)
- Scissors
- Hot glue gun or adhesive
Once you have gathered all the necessary materials, you’re ready to start creating your own festive Christmas candles.
Step 1: Prepare Your Workspace
Before you begin, it’s important to set up a clean and organized workspace. Clear a table or countertop and cover it with newspaper or a plastic sheet to protect the surface from any spills or wax drips. Make sure you have all your materials within reach, as this will make the process much smoother.
Step 2: Prepare the Wax
Now it’s time to prepare the wax for your candles. If you have old candles lying around, you can melt them down to reuse the wax. Alternatively, you can purchase wax flakes from a craft store. Here’s how to prepare the wax:
- If you’re using old candles, remove the wicks and any decorations or labels.
- Break the candles into smaller pieces or use a grater to create wax shavings.
- If you’re using wax flakes, measure the desired amount according to the size of your candle molds or containers.
- Place the wax flakes or shavings in a double boiler or a microwave-safe container.
- If using a double boiler, fill the bottom pot with water and place the wax container on top. If using a microwave-safe container, make sure it’s heat-resistant and suitable for melting wax.
- Heat the wax slowly over low to medium heat, stirring occasionally, until it reaches a temperature of around 180°F (82°C). Use a thermometer to monitor the temperature.
Step 3: Add Fragrance and Color (Optional)
If you want to add a delightful scent and color to your candles, now is the time to do so. Follow these steps:
- If using fragrance oils, add a few drops to the melted wax and stir well. Be careful not to add too much, as it can overpower the scent.
- If using candle dye or crayons, shave off a small amount and add it to the wax. Stir until the color is evenly distributed. Remember, a little goes a long way, so start with a small amount and add more if needed.
Step 4: Prepare the Candle Molds or Containers
While the wax is still hot and liquid, it’s time to prepare your candle molds or containers. Follow these instructions:
- If using candle molds, make sure they are clean and dry. You can find a variety of Christmas-themed molds at craft stores or online. Apply a small amount of cooking spray or oil to the inside of the molds to make it easier to remove the candles once they have hardened.
- If using containers, choose ones that are heat-resistant and suitable for candles. Mason jars, teacups, or small bowls can make charming containers for your Christmas candles.
- Place the candle wicks in the center of each mold or container. You can use a small dot of hot glue or adhesive to secure the wicks to the bottom.
Step 5: Pour the Wax
Now comes the exciting part – pouring the wax into the molds or containers. Follow these steps:
- Carefully pour the melted wax into each mold or container, leaving a small gap at the top.
- Allow the candles to cool and harden completely. This process can take several hours, so be patient.
Step 6: Decorate Your Candles
Once your candles have hardened, it’s time to unleash your creativity and decorate them. Here are some ideas:
- Tie a festive ribbon around the base of the candle.
- Attach dried flowers or herbs to the outside of the container using hot glue or adhesive.
- Place a cinnamon stick or a sprig of pine on top of the candle.
- Use a metallic pen to write a holiday message or draw a design on the container.
Step 7: Enjoy Your Homemade Christmas Candles
Now that your DIY Christmas candles are complete, it’s time to light them up and enjoy the cozy ambiance they create. Place them on your mantelpiece, dining table, or anywhere you want to add a touch of festive warmth. Remember to always supervise lit candles and keep them away from flammable materials.
With just a few simple steps, you can bring the magic of Christmas into your home with homemade candles. Get creative, experiment with different scents and colors, and let your imagination run wild. Your friends and family will be amazed by your DIY skills, and you’ll have a beautiful and personalized decoration to cherish for years to come. Happy candle-making!


