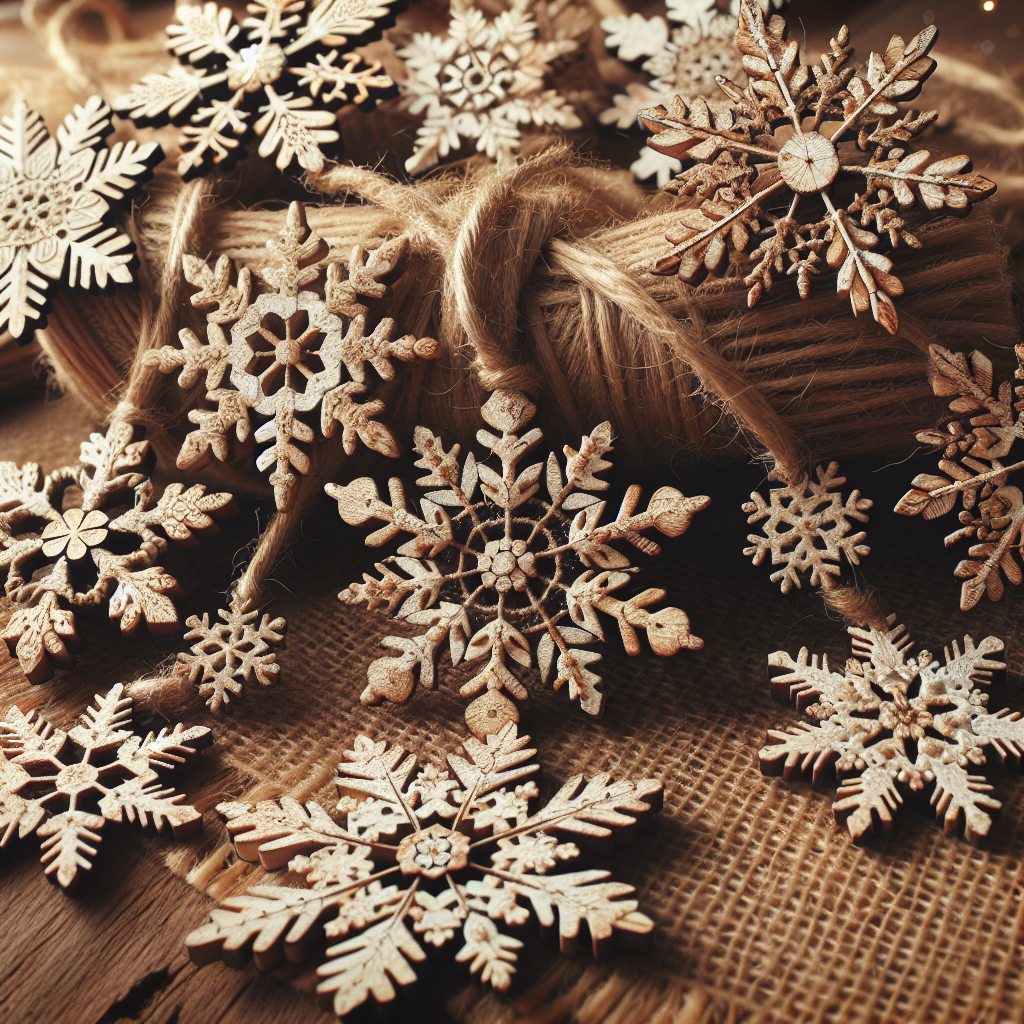
Craft a Rustic and Festive Christmas Snowflake Garland to Add Winter Charm to Your Home
Winter is a magical time of year, filled with cozy nights by the fire, hot cocoa, and beautiful decorations. One way to add a touch of winter charm to your home is by crafting a rustic and festive Christmas snowflake garland. This DIY project is not only fun and creative, but it also allows you to personalize your holiday decor. In this article, we will guide you through the step-by-step process of creating your own snowflake garland, providing detailed insights and valuable tips along the way.
Materials Needed
- Twine or string
- Cardstock or craft paper
- Scissors
- Glue or tape
- Hole puncher
- Markers or colored pencils
- Glitter (optional)
- Ribbon or bows (optional)
Step 1: Designing Your Snowflakes
The first step in creating your snowflake garland is designing the snowflakes themselves. Start by folding a piece of cardstock or craft paper in half. This will serve as the base for your snowflake. Using scissors, cut out various shapes and patterns along the folded edge. Unfold the paper to reveal your unique snowflake design.
Feel free to get creative with your designs. You can experiment with different shapes, sizes, and patterns to create a diverse and visually appealing garland. Consider incorporating elements such as stars, hearts, or even Christmas trees into your snowflake designs.
Step 2: Adding Personal Touches
Once you have cut out your snowflakes, it’s time to add some personal touches. Use markers or colored pencils to decorate your snowflakes. You can add intricate patterns, vibrant colors, or even write personalized messages on each snowflake. This is an opportunity to let your creativity shine and make each snowflake unique.
If you want to add a touch of sparkle to your snowflakes, consider using glitter. Apply a thin layer of glue to specific areas of your snowflakes and sprinkle glitter over them. Shake off any excess glitter and allow the snowflakes to dry completely before moving on to the next step.
Step 3: Assembling the Garland
Now that your snowflakes are ready, it’s time to assemble the garland. Take your twine or string and cut it to your desired length. This will depend on where you plan to hang your garland and how long you want it to be. Make sure to leave some extra length on each end for hanging.
Using a hole puncher, create small holes near the top of each snowflake. Thread the twine through the holes, alternating between snowflakes. You can arrange them in a specific pattern or randomly, depending on your preference. Leave a small gap between each snowflake to allow them to hang freely.
If you want to add some additional festive elements to your garland, consider attaching small bows or ribbons between the snowflakes. This will add an extra touch of charm and make your garland even more visually appealing.
Step 4: Hanging Your Snowflake Garland
With your snowflake garland fully assembled, it’s time to hang it up and admire your handiwork. There are several ways you can hang your garland, depending on your preferences and the layout of your home.
If you have a fireplace mantel, you can drape the garland across it, allowing the snowflakes to gently hang down. Another option is to hang the garland along a staircase railing, creating a whimsical and festive look. You can also hang it on a wall, above a doorway, or even in a window to add a touch of winter charm to any room.
Step 5: Enjoying Your Winter Wonderland
Now that your snowflake garland is hanging beautifully in your home, take a step back and admire the winter wonderland you’ve created. The rustic and festive charm of the garland will add a cozy and magical touch to your holiday decor.
Remember to take care of your garland and store it properly when the holiday season is over. This will ensure that you can enjoy it for years to come. Wrap it gently and store it in a cool, dry place to prevent any damage.
Conclusion
Crafting a rustic and festive Christmas snowflake garland is a wonderful way to add winter charm to your home. By following the step-by-step instructions provided in this article, you can create a unique and personalized garland that will bring joy and beauty to your holiday decor. Remember to let your creativity shine through as you design and decorate your snowflakes, and don’t forget to enjoy the process. Happy crafting!


