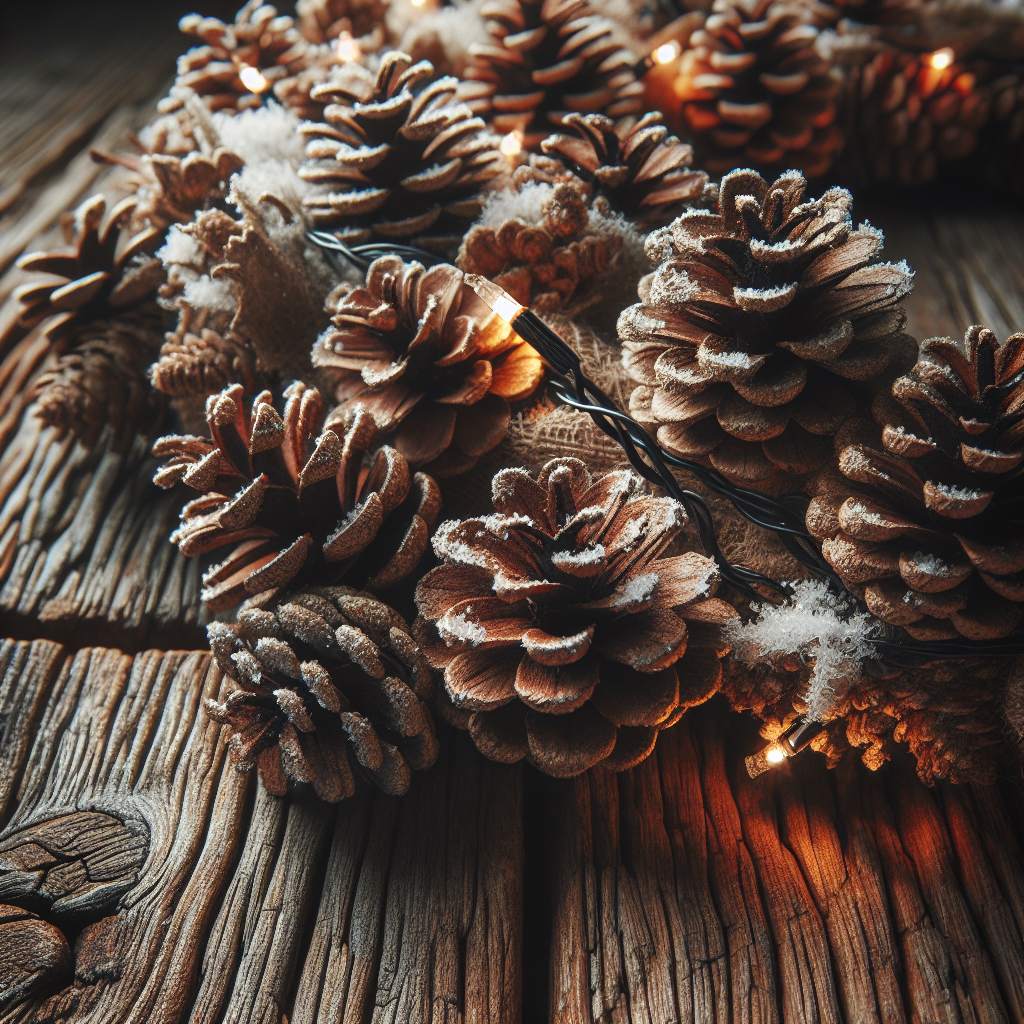
Craft Beautiful Christmas Pinecone Garlands for a Natural and Rustic Touch to Your Decor
Christmas is a time for joy, celebration, and beautiful decorations. If you’re looking to add a natural and rustic touch to your holiday decor, crafting your own Christmas pinecone garlands is the perfect DIY project. Not only will it save you money, but it will also give you the opportunity to create a unique and personalized decoration that will impress your guests. In this article, we will guide you through the step-by-step process of creating stunning pinecone garlands that will add a touch of nature to your home this Christmas.
Materials You’ll Need
Before we dive into the crafting process, let’s gather all the materials you’ll need to create your beautiful pinecone garlands:
- Pinecones (collect them from your backyard or purchase them from a craft store)
- Twine or jute rope
- Hot glue gun
- Scissors
- Assorted ribbons and bows
- Optional: Spray paint in metallic colors (gold, silver, or bronze)
Step-by-Step Instructions
Now that you have all the materials ready, let’s get started on creating your beautiful Christmas pinecone garlands:
Step 1: Prepare the Pinecones
Start by collecting pinecones from your backyard or purchasing them from a craft store. Make sure they are clean and free from any dirt or debris. If you prefer a different color for your pinecones, you can spray paint them with metallic colors such as gold, silver, or bronze. Allow them to dry completely before moving on to the next step.
Step 2: Attach the Twine
Take your twine or jute rope and cut it to your desired length for the garland. Leave some extra length on each end for hanging. Using a hot glue gun, apply a small amount of glue to the base of a pinecone and press the twine onto it. Hold it in place for a few seconds until the glue sets. Repeat this process with the remaining pinecones, spacing them evenly along the twine.
Step 3: Add Ribbons and Bows
To add a festive touch to your pinecone garland, attach assorted ribbons and bows to the twine between the pinecones. You can use different colors and patterns to create a visually appealing and personalized garland. Simply tie the ribbons and bows onto the twine, making sure they are secure.
Step 4: Hang and Enjoy
Once you have attached all the pinecones, ribbons, and bows, your beautiful Christmas pinecone garland is ready to be hung. Find a suitable place in your home, such as a mantel, staircase, or doorway, and secure the ends of the twine. Step back and admire your handiwork as the natural and rustic charm of the garland adds a festive touch to your decor.
Additional Tips and Ideas
Here are some additional tips and ideas to help you create the perfect Christmas pinecone garland:
- Consider adding other natural elements such as dried berries, acorns, or cinnamon sticks to your garland for added texture and fragrance.
- If you want to add a touch of sparkle, you can sprinkle some glitter onto the pinecones before they dry after spray painting.
- Experiment with different lengths and arrangements of pinecones to create a unique and visually interesting garland.
- Personalize your garland by adding small ornaments or photos of loved ones to the twine.
With these tips and ideas, you can let your creativity shine and create a Christmas pinecone garland that perfectly complements your decor and style.
Conclusion
Crafting your own Christmas pinecone garlands is a fun and rewarding DIY project that will add a natural and rustic touch to your holiday decor. By following the step-by-step instructions and using the materials listed, you can create stunning garlands that will impress your guests and bring joy to your home. Remember to let your creativity shine and personalize your garland with ribbons, bows, and other natural elements. Enjoy the process and have a wonderful time decorating your home for the festive season!


