Create a Natural and Festive DIY Christmas Pine Garland for a Rustic Holiday Ambiance
Are you looking to add a touch of rustic charm to your home this holiday season? Look no further than a DIY Christmas pine garland! This simple yet stunning decoration will bring the beauty of nature indoors and create a warm and festive ambiance. In this article, we will guide you through the step-by-step process of creating your own natural and festive DIY Christmas pine garland. Get ready to unleash your creativity and transform your home into a winter wonderland!
Materials You Will Need
- Fresh pine branches
- Twine or floral wire
- Scissors
- Decorative elements (optional)
- Hot glue gun (optional)
- Ribbon or bows (optional)
Step 1: Gather Fresh Pine Branches
The first step in creating your DIY Christmas pine garland is to gather fresh pine branches. You can find these at your local Christmas tree farm, nursery, or even in your own backyard if you have pine trees. Look for branches that are full and have a vibrant green color. Avoid using branches that are dry or brittle, as they will not hold up well in the garland.
Step 2: Prepare the Pine Branches
Once you have gathered your pine branches, it’s time to prepare them for the garland. Start by trimming off any excess branches or needles that may be sticking out. This will give your garland a neater and more polished look. You can use scissors or pruning shears for this step.
Step 3: Create the Base of the Garland
Now it’s time to create the base of your DIY Christmas pine garland. Take a long piece of twine or floral wire and lay it out on a flat surface. This will serve as the foundation for your garland. Make sure to leave some extra length on each end for hanging.
Step 4: Attach the Pine Branches
Take one of your prepared pine branches and place it on top of the twine or floral wire. Use a piece of twine or floral wire to secure the branch to the base. Repeat this process with the remaining pine branches, overlapping them slightly to create a full and lush garland. Make sure to secure each branch tightly to prevent them from falling off.
Step 5: Add Decorative Elements (Optional)
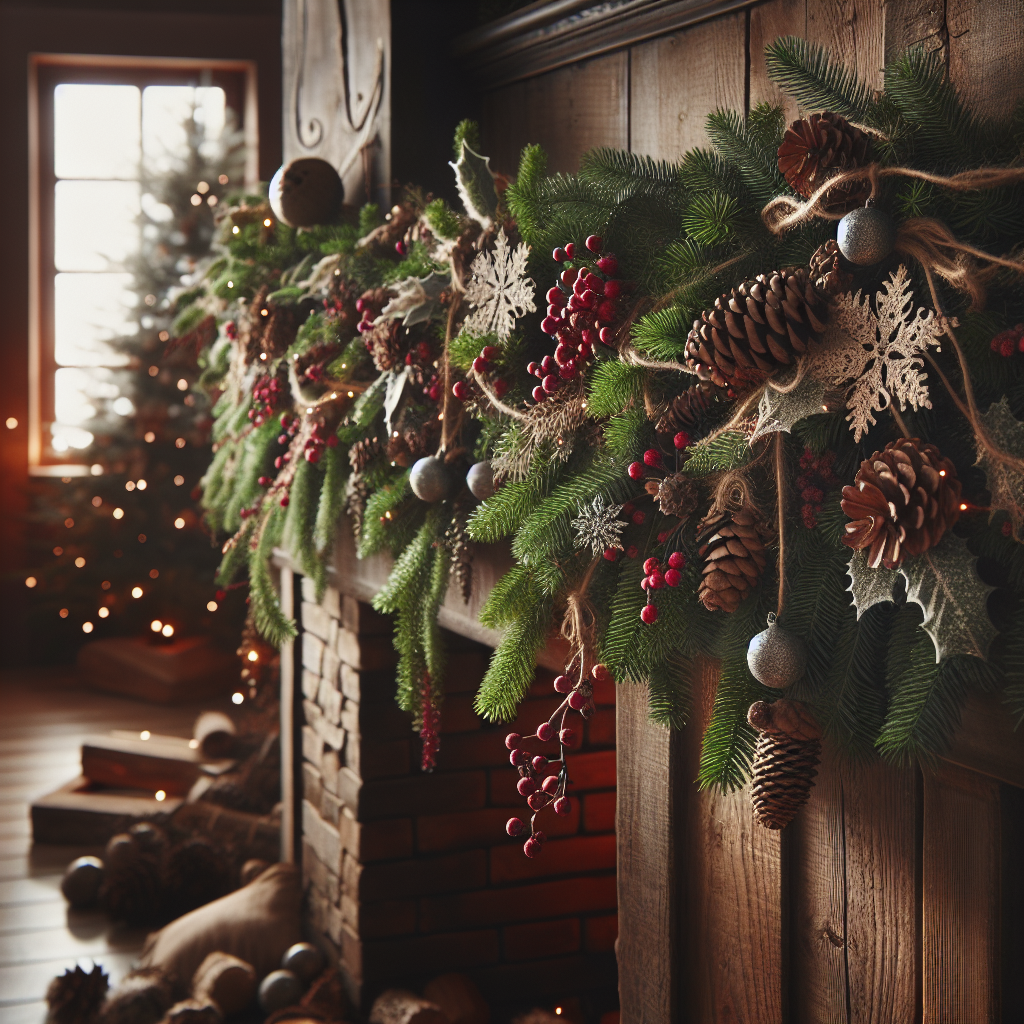
If you want to add some extra flair to your DIY Christmas pine garland, now is the time to do it. You can incorporate decorative elements such as pinecones, berries, or even small ornaments. Use a hot glue gun to attach these elements securely to the pine branches. Be creative and have fun with it!
Step 6: Hang and Enjoy!
Once you have finished attaching all the pine branches and decorative elements, your DIY Christmas pine garland is ready to be hung. Find a suitable place in your home, such as a mantel, staircase railing, or doorway, and drape the garland along it. Use the extra length of twine or floral wire to secure the garland in place. Step back and admire your beautiful creation!
Additional Tips and Ideas
- If you want to add some extra color to your garland, consider incorporating red berries or holly leaves.
- For a more rustic look, you can use burlap ribbon instead of twine or floral wire as the base of your garland.
- If you prefer a more polished and elegant look, you can add bows or ribbons to your garland.
- Don’t be afraid to experiment with different types of greenery, such as cedar or fir branches, to create a unique and personalized garland.
- If you want your garland to last longer, you can mist it with water every few days to keep the branches fresh.
Creating a natural and festive DIY Christmas pine garland is a fun and rewarding project that will add a touch of rustic charm to your holiday decor. By following these step-by-step instructions and incorporating your own creative ideas, you can create a stunning garland that will impress your family and friends. So gather your materials, unleash your creativity, and get ready to transform your home into a cozy winter retreat!


