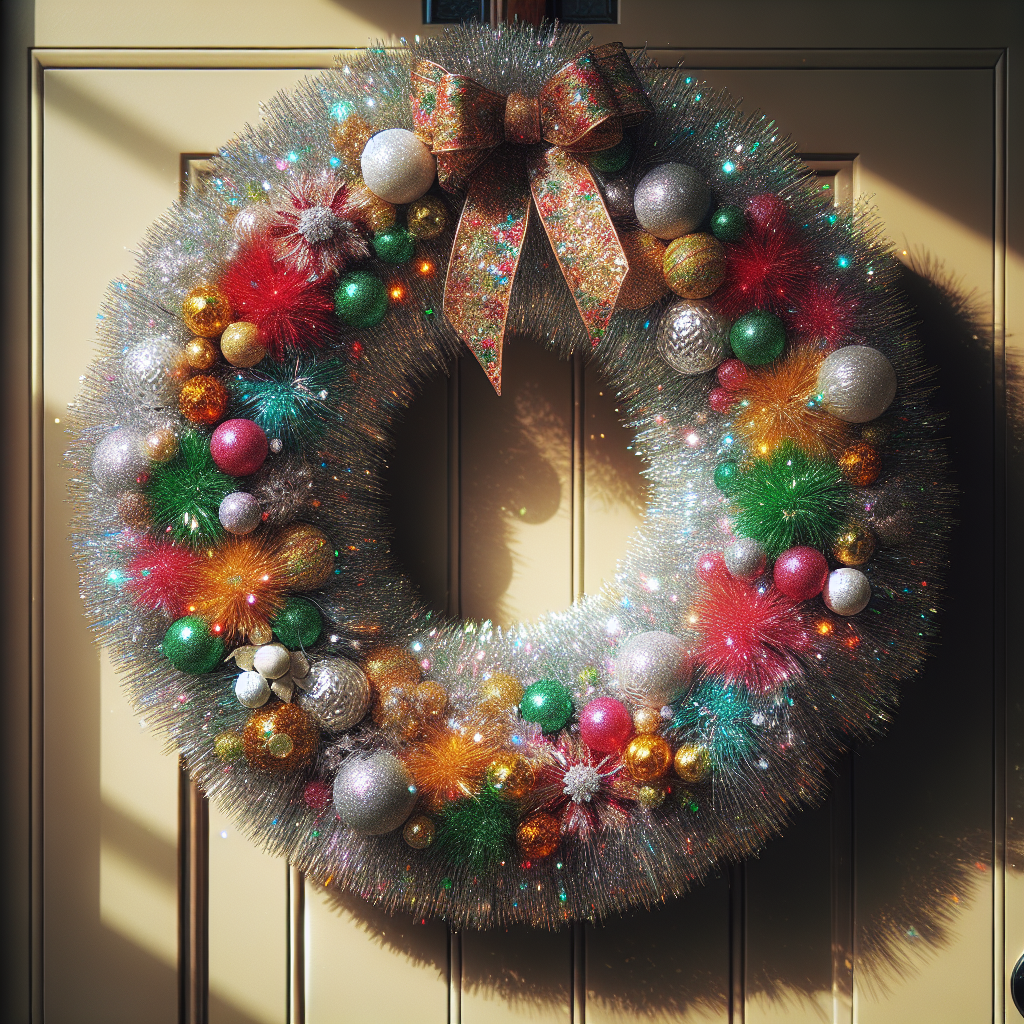
Create a Sparkling DIY Christmas Tinsel Wreath to Brighten Your Door with Festive Colors
Christmas is a time of joy, celebration, and decoration. One of the most iconic symbols of the holiday season is the wreath, which adorns doors and walls with festive cheer. This year, why not add a touch of sparkle to your Christmas decor with a DIY tinsel wreath? In this step-by-step guide, we will show you how to create a stunning tinsel wreath that will brighten your door with festive colors. Get ready to unleash your creativity and spread holiday cheer!
Materials You Will Need
- Wire wreath frame
- Tinsel garland in various colors
- Hot glue gun
- Scissors
- Ribbon or bow for decoration
- Ornaments or other embellishments (optional)
Step 1: Prepare Your Workstation
Before you begin crafting your tinsel wreath, it’s important to set up a clean and organized workspace. Clear a table or countertop and gather all your materials. Make sure you have enough space to spread out the tinsel garland and easily access your tools. This will make the crafting process much smoother and more enjoyable.
Step 2: Attach the Tinsel to the Wreath Frame
Start by securing the end of the tinsel garland to the wire wreath frame using a small dot of hot glue. Once the glue has dried, begin wrapping the tinsel around the frame, making sure to cover the entire surface. Continue wrapping until you reach the end of the garland, then secure it with another dot of hot glue. Repeat this process with additional tinsel garlands in different colors, creating a layered and vibrant effect.
Step 3: Add Decorative Elements
Now that you have the base of your tinsel wreath, it’s time to add some decorative elements. You can use ornaments, bows, or any other embellishments that match your desired theme. Attach these elements to the wreath using hot glue, making sure they are securely fastened. Be creative and experiment with different placements and combinations to achieve the look you desire.
Step 4: Create a Bow or Ribbon
A wreath is not complete without a beautiful bow or ribbon. To create a bow, cut a length of ribbon and fold it into loops, securing the center with a small piece of wire or string. Fluff out the loops to create a full and voluminous bow. Alternatively, you can simply tie a ribbon into a decorative knot or bow and attach it to the wreath. Place the bow at the top or bottom of the wreath, depending on your preference.
Step 5: Hang Your Tinsel Wreath
Once you have finished decorating your tinsel wreath, it’s time to hang it up and admire your handiwork. Use a wreath hanger or a piece of ribbon to securely attach the wreath to your door or wall. Make sure it is centered and at a height that is visually appealing. Step back and take a moment to appreciate the festive colors and sparkling beauty of your DIY tinsel wreath.
Step 6: Maintenance and Storage
To keep your tinsel wreath looking its best, avoid exposing it to excessive moisture or direct sunlight. If the tinsel becomes flattened or tangled, gently fluff it out or comb through it with your fingers. When the holiday season is over, carefully remove any ornaments or embellishments and store the wreath in a cool, dry place. This will ensure that it stays in good condition and can be enjoyed for many years to come.
Conclusion
Creating a sparkling DIY Christmas tinsel wreath is a fun and rewarding project that will add a festive touch to your holiday decor. By following these step-by-step instructions, you can easily craft a wreath that will brighten your door with vibrant colors and holiday cheer. Remember to gather all the necessary materials, prepare your workstation, and let your creativity shine. Whether you choose to keep it simple or go all out with embellishments, your tinsel wreath will be a beautiful and eye-catching addition to your Christmas decorations. So, gather your supplies and get ready to spread some holiday sparkle!


