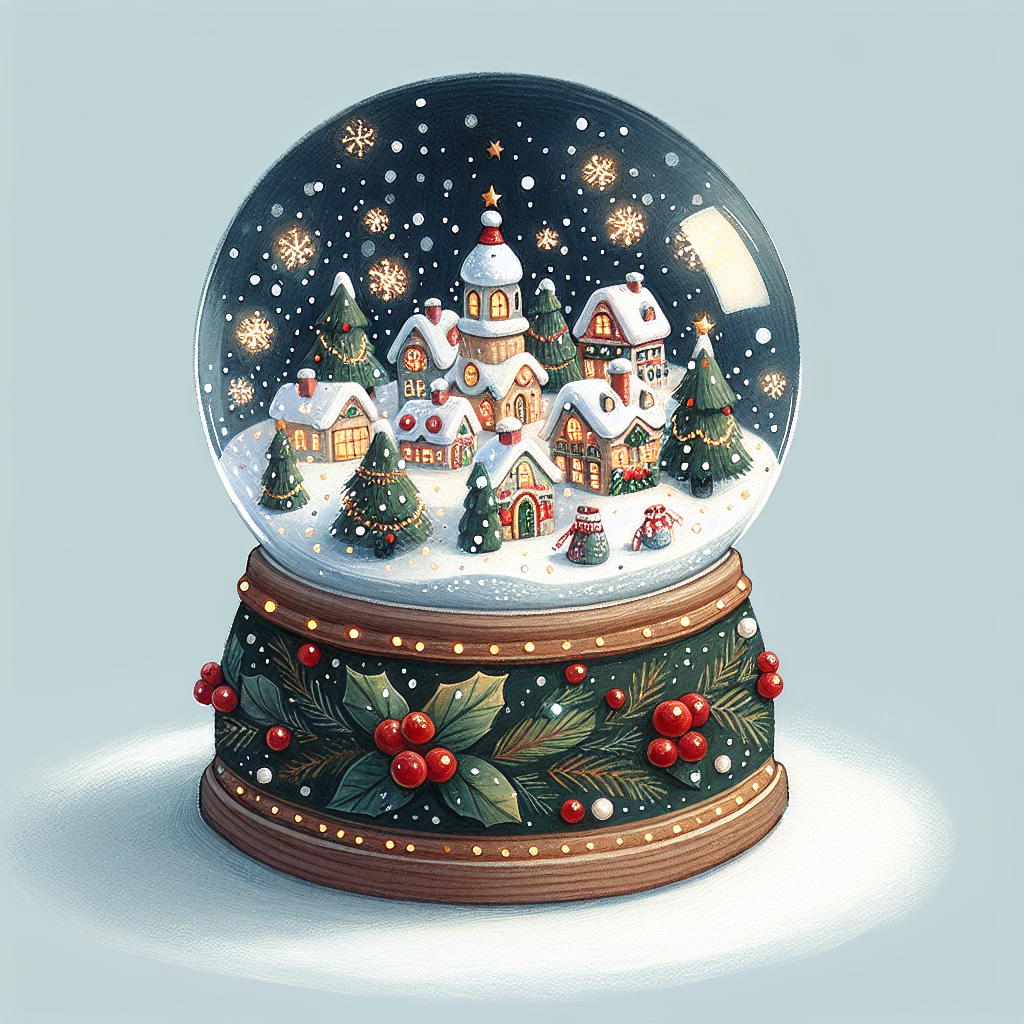
Create a Whimsical Handcrafted Christmas Snow Globe, a Perfect Addition to Your Festive Decor
Are you looking for a unique and enchanting addition to your Christmas decor? Look no further than a whimsical handcrafted Christmas snow globe! This delightful DIY project will not only bring a touch of magic to your home during the holiday season but also provide you with a fun and creative activity to enjoy with your loved ones. In this step-by-step guide, we will walk you through the process of creating your very own snow globe, complete with all the necessary materials, detailed instructions, and inspiring images. So let’s dive in and get started on this festive adventure!
Materials You Will Need
- A glass jar with a tight-fitting lid
- A small figurine or ornament
- Glitter or fake snow
- Distilled water
- Glycerin
- Clear-drying epoxy or waterproof glue
- A small paintbrush
- A hot glue gun (optional)
- Ribbon or decorative elements (optional)
Step 1: Choose Your Figurine or Ornament
The first step in creating your whimsical Christmas snow globe is to choose a figurine or ornament that will serve as the centerpiece of your globe. This could be a miniature Christmas tree, a snowman, a reindeer, or any other festive object that captures your imagination. Make sure the size of the figurine is appropriate for the size of your jar.
Once you have selected your figurine, thoroughly clean it to remove any dust or dirt. This will ensure a clean and polished look for your snow globe.
Step 2: Prepare the Jar
Next, prepare your glass jar by cleaning it with soap and water. Make sure to remove any labels or stickers from the jar. Dry it thoroughly to prevent water spots from forming inside the globe.
If desired, you can also decorate the outside of the jar with ribbon, paint, or other decorative elements to add a personal touch to your snow globe. Let your creativity shine!
Step 3: Attach the Figurine
Using clear-drying epoxy or waterproof glue, carefully attach your chosen figurine to the inside of the jar lid. Apply a small amount of glue to the base of the figurine and press it firmly onto the lid. Allow the glue to dry completely before proceeding to the next step.
If your figurine is lightweight or has a flat base, you can also use a hot glue gun to secure it in place. Be cautious when working with hot glue to avoid burns.
Step 4: Add Glitter or Fake Snow
Now it’s time to add the magical snow to your snow globe! Sprinkle a generous amount of glitter or fake snow into the bottom of the jar. The amount you use will depend on the size of your jar and personal preference. Experiment with different colors and textures to create the desired effect.
Remember to choose glitter or fake snow that is safe for use in water to prevent any unwanted reactions or discoloration.
Step 5: Fill the Jar with Water
Fill the jar with distilled water, leaving a small space at the top to allow for displacement when you insert the figurine. Distilled water is recommended to prevent cloudiness or mineral deposits from forming inside the globe over time.
Add a few drops of glycerin to the water. This will help slow down the movement of the glitter or fake snow, creating a mesmerizing snowfall effect.
Step 6: Seal the Jar
Carefully screw the lid with the attached figurine onto the jar, making sure it is tightly sealed. Test the seal by gently shaking the globe upside down. If any water leaks out, remove the lid and reapply the glue or epoxy to create a watertight seal.
Step 7: Decorate the Jar (Optional)
If you wish, you can further enhance the appearance of your snow globe by decorating the outside of the jar. Tie a festive ribbon around the lid or add other decorative elements such as miniature ornaments or small bells. Let your imagination run wild!
Step 8: Enjoy Your Whimsical Handcrafted Christmas Snow Globe
Now that your snow globe is complete, it’s time to sit back, relax, and enjoy the enchanting beauty of your creation. Shake the globe gently to watch the glitter or fake snow swirl and create a winter wonderland inside. Place it on a mantel, shelf, or table where it can be admired by all.
This whimsical handcrafted Christmas snow globe also makes a perfect gift for family and friends. Spread the joy and magic of the holiday season by sharing your creation with loved ones.
Conclusion
Creating a whimsical handcrafted Christmas snow globe is a delightful and rewarding DIY project that will add a touch of magic to your festive decor. By following these step-by-step instructions and using the recommended materials, you can create a unique and enchanting snow globe that will be cherished for years to come.
Remember to let your creativity shine through by choosing a figurine or ornament that speaks to your heart and adding personal touches to the jar. The possibilities are endless!
So gather your materials, set aside some time, and embark on this festive adventure. Get ready to be amazed by the beauty and wonder of your very own handcrafted Christmas snow globe!


