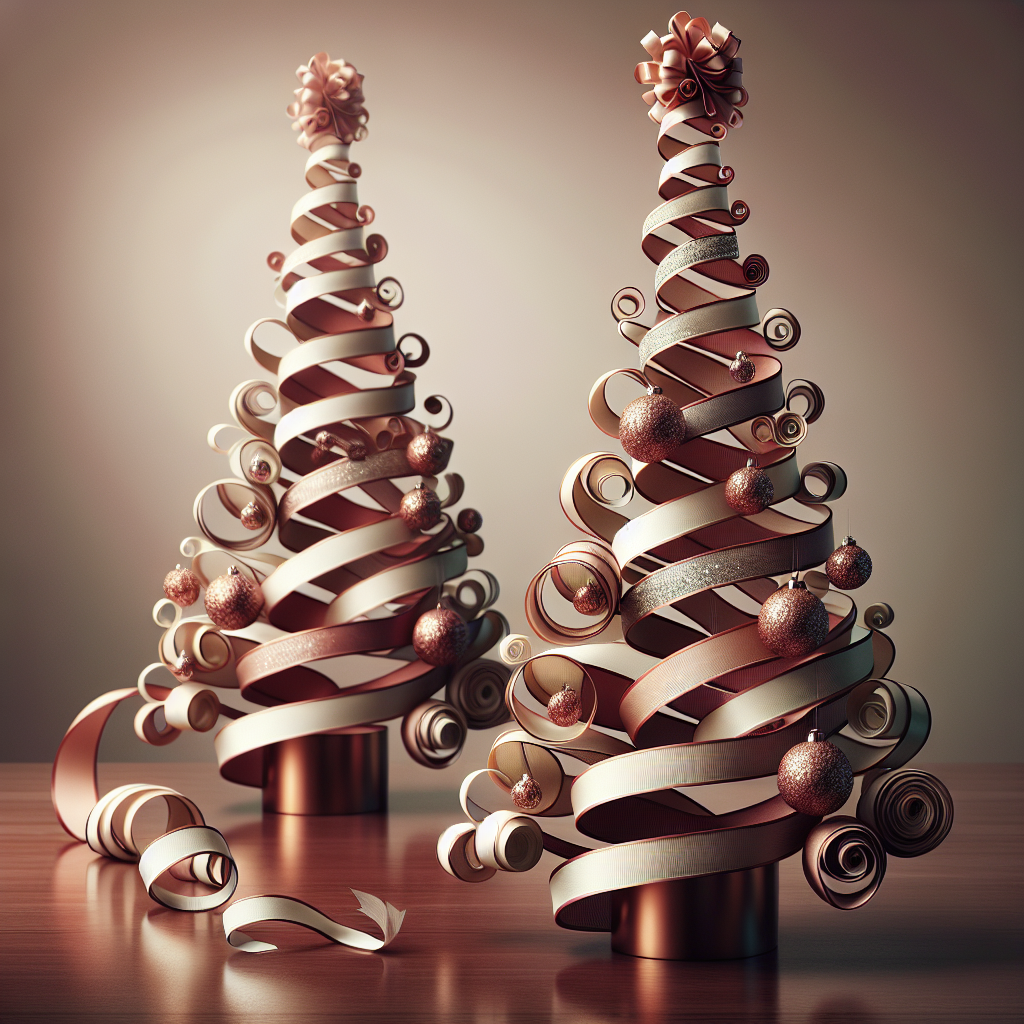
Design a Stylish DIY Christmas Ribbon Tree for a Modern Twist on Traditional Holiday Decor
Are you tired of the same old Christmas decorations year after year? Do you want to add a modern twist to your holiday decor? Look no further! In this article, we will guide you through the process of designing a stylish DIY Christmas ribbon tree that will bring a fresh and contemporary look to your home. With just a few materials and some creativity, you can create a unique centerpiece that will impress your guests and make your holiday season truly special.
Materials Needed
- Styrofoam cone (12 inches in height)
- Assorted Christmas ribbons (in different colors and patterns)
- Scissors
- Hot glue gun
- Hot glue sticks
- Decorative ornaments (optional)
Step 1: Prepare the Styrofoam Cone
Start by preparing the styrofoam cone. Ensure that it is clean and free from any dust or debris. This will provide a smooth surface for the ribbons to adhere to.
Step 2: Cut the Ribbons
Next, cut the ribbons into strips of varying lengths. The length of the strips will depend on the size of your styrofoam cone and your desired design. Aim for strips that are approximately 6-8 inches long.
Step 3: Attach the Ribbons
Using a hot glue gun, attach the ribbons to the styrofoam cone. Start at the base of the cone and work your way up, layering the ribbons as you go. Be sure to overlap the ribbons to create a full and textured look.
Apply a small amount of hot glue to the end of each ribbon strip and press it onto the cone. Hold it in place for a few seconds until the glue sets. Continue this process until the entire cone is covered with ribbons.
Step 4: Create a Pattern
To add visual interest to your ribbon tree, create a pattern with the different colors and patterns of ribbons. You can alternate between different colors, create stripes, or even create a gradient effect. Let your creativity guide you!
Step 5: Add Decorative Ornaments (Optional)
If you want to take your ribbon tree to the next level, consider adding some decorative ornaments. You can attach them to the ribbons using hot glue or tie them with a small piece of ribbon. Choose ornaments that complement the colors and style of your ribbon tree.
Step 6: Finishing Touches
Once you are satisfied with the arrangement of the ribbons and ornaments, take a step back and assess your ribbon tree. Make any necessary adjustments to ensure that it looks balanced and visually appealing.
If desired, you can also add a decorative base to your ribbon tree. This can be a small wooden stand, a decorative plate, or even a fabric-covered cardboard circle. Get creative and choose something that complements your overall holiday decor.
Step 7: Display and Enjoy!
Now that your DIY Christmas ribbon tree is complete, it’s time to display it proudly in your home. Find a prominent spot where it can be admired by all. You can place it on a mantel, a side table, or even use it as a centerpiece for your holiday dining table.
As a finishing touch, consider adding some fairy lights or LED candles around the base of the ribbon tree. This will create a warm and inviting glow that will enhance the overall ambiance of your holiday decor.
Summary
Designing a stylish DIY Christmas ribbon tree is a fun and creative way to add a modern twist to your traditional holiday decor. With just a few materials and some simple steps, you can create a unique centerpiece that will impress your guests and bring joy to your home. Remember to choose ribbons in different colors and patterns, create a pattern with the ribbons, and consider adding decorative ornaments for an extra touch of elegance. Display your ribbon tree proudly and enjoy the festive atmosphere it brings to your home. Happy holidays!


