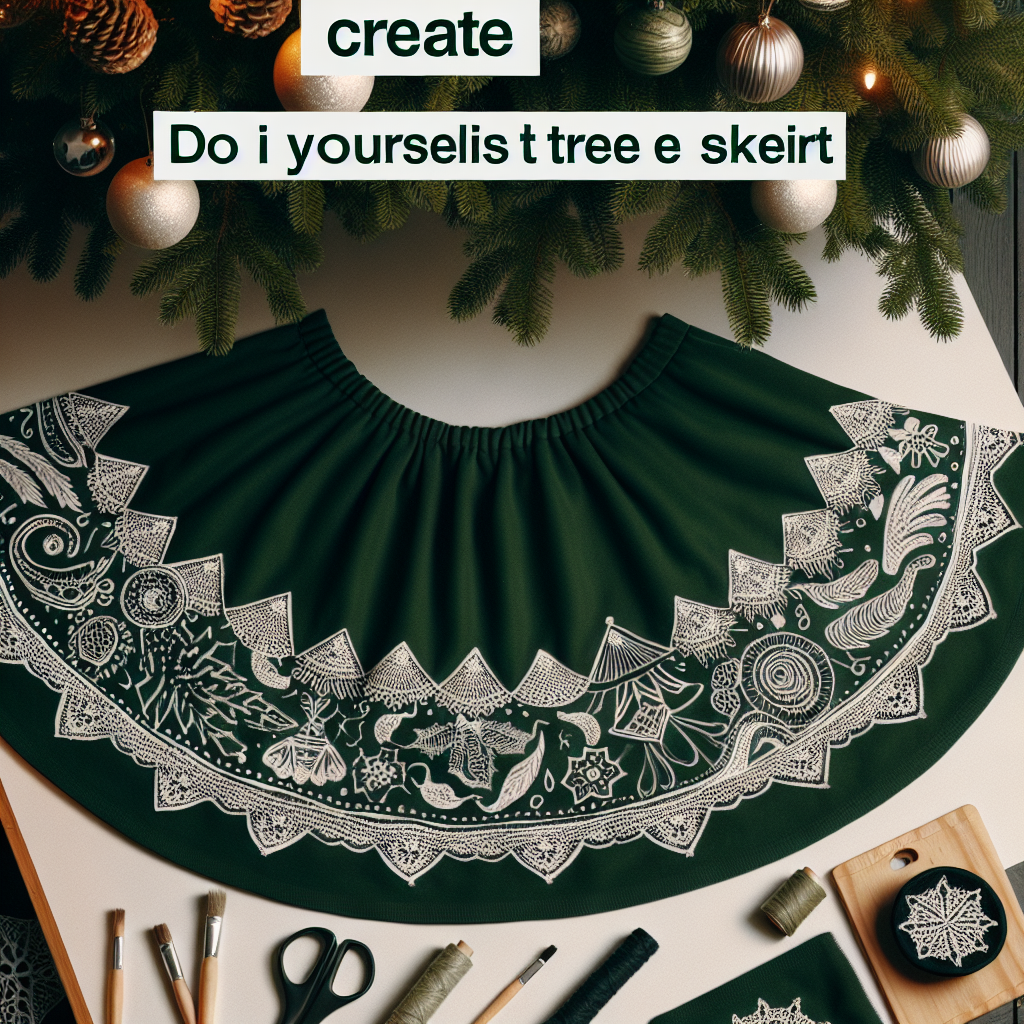
Make Your Own Christmas Tree Skirt for a Unique and Personal Addition to Your Holiday Decor
Christmas is a time of joy, love, and celebration. It’s a time when families come together to create lasting memories and traditions. One of the most cherished traditions during this festive season is decorating the Christmas tree. While ornaments and lights are essential, a beautiful tree skirt can add a touch of elegance and personalization to your holiday decor. In this article, we will guide you through the process of making your own Christmas tree skirt, allowing you to create a unique and special addition to your festive decorations.
Materials You Will Need
Before we dive into the step-by-step instructions, let’s gather all the materials you will need for this DIY project:
- Fabric (choose a fabric that matches your holiday theme and complements your existing decor)
- Scissors
- Measuring tape
- Pins
- Sewing machine or needle and thread
- Iron
- Decorative trim or ribbon
- Optional: Fabric glue or fusible web
Step-by-Step Instructions
Now that you have gathered all the necessary materials, let’s get started on creating your own Christmas tree skirt:
Step 1: Measure and Cut the Fabric
Begin by measuring the diameter of your Christmas tree stand. Add a few inches to this measurement to ensure that the tree skirt will have enough room to drape nicely around the base of the tree. Once you have the desired measurement, mark it on your fabric and cut out a circle.
Step 2: Hem the Edges
To give your tree skirt a clean and finished look, it’s important to hem the edges. Fold the edges of the fabric inward, about half an inch, and press them with an iron. Secure the folded edges with pins, and then sew a straight stitch along the entire circumference of the fabric.
Step 3: Add Decorative Trim
Now it’s time to add some decorative trim or ribbon to enhance the overall appearance of your tree skirt. Measure the length of the outer edge of the fabric and cut the trim or ribbon accordingly. Use fabric glue or fusible web to attach the trim to the edge of the skirt. Alternatively, you can sew the trim in place using a sewing machine or needle and thread.
Step 4: Personalize Your Tree Skirt
To make your tree skirt truly unique and personal, consider adding some additional embellishments. You can sew on sequins, beads, or appliques that reflect your personal style or represent special memories. Get creative and let your imagination run wild!
Step 5: Let It Shine
Once you have completed all the steps, it’s time to place your beautiful handmade tree skirt under your Christmas tree. Step back and admire your creation as it adds a touch of elegance and warmth to your holiday decor.
Estimated Time and Final Thoughts
The time required to complete this DIY project will vary depending on your sewing skills and the complexity of the design you choose. On average, it should take approximately 2-3 hours to make your own Christmas tree skirt.
Creating your own Christmas tree skirt is not only a fun and rewarding project, but it also allows you to add a personal touch to your holiday decorations. By following these step-by-step instructions, you can create a unique and beautiful tree skirt that will become a cherished part of your family’s Christmas traditions for years to come.
So, gather your materials, set aside some time, and let your creativity shine as you embark on this delightful DIY project. Your Christmas tree will thank you for the extra love and attention, and your holiday decor will be elevated to a whole new level of beauty and personalization.


