Make Your Own Christmas Yarn Balls for a Cozy and Colorful Addition to Your Festive Decor
Christmas is a time for joy, celebration, and creativity. It’s the perfect opportunity to add a personal touch to your festive decor by creating your own Christmas yarn balls. These cozy and colorful decorations will not only bring warmth to your home but also showcase your DIY skills. In this article, we will guide you through the step-by-step process of making your own Christmas yarn balls, providing you with valuable insights and detailed instructions. So, let’s get started and make your holiday season even more special!
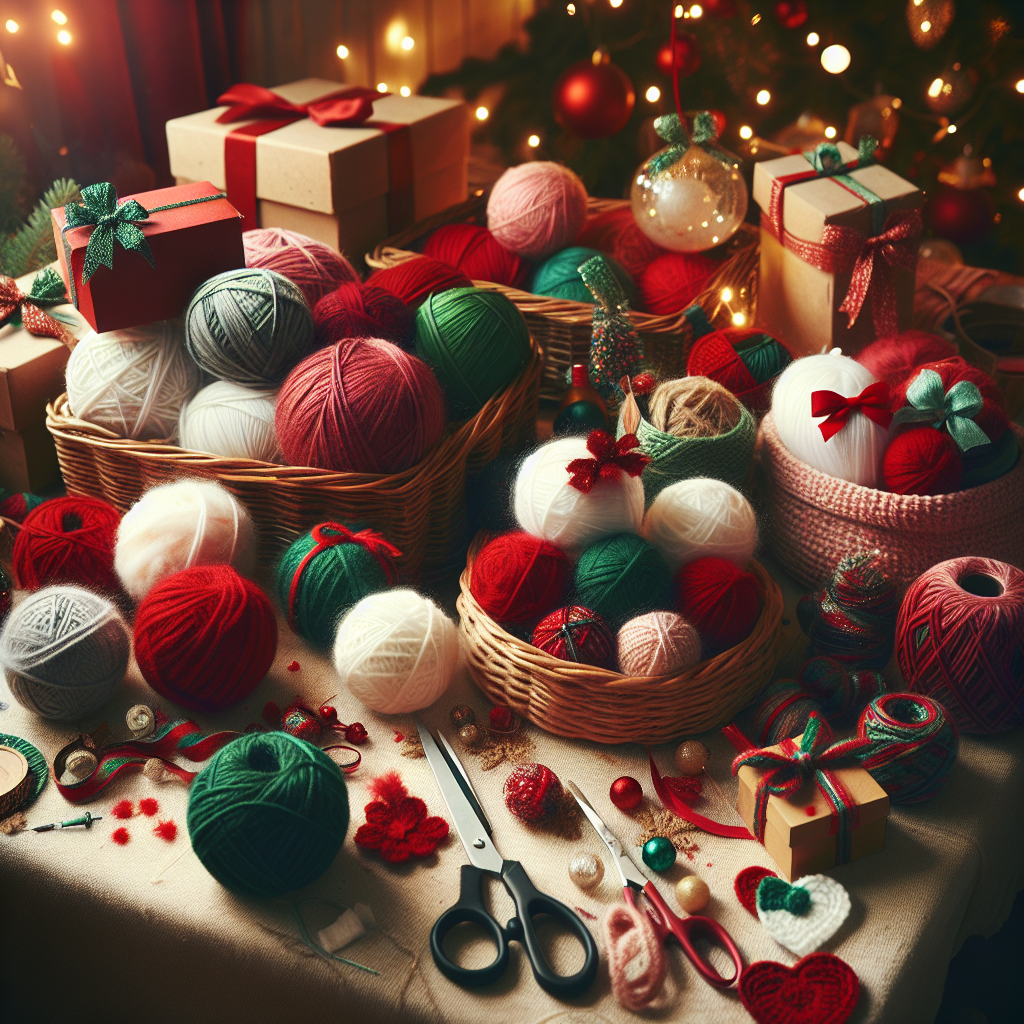
Materials You’ll Need
- Yarn in various colors
- Balloons
- White glue
- Water
- Scissors
- Plastic wrap
- Disposable bowl
- Paintbrush
- Clear string or fishing line
- Optional: Glitter, sequins, or other embellishments
Step-by-Step Instructions
Step 1: Prepare Your Work Area
Before you begin, it’s important to set up a clean and organized work area. Lay down some plastic wrap or an old tablecloth to protect your surfaces from any glue or yarn mess. This will make the cleanup process much easier.
Step 2: Inflate the Balloons
Take your balloons and inflate them to the desired size for your yarn balls. Remember, the size of the balloon will determine the final size of your decorations, so choose accordingly. Tie a knot at the end of each balloon to secure the air inside.
Step 3: Prepare the Glue Mixture
In a disposable bowl, mix equal parts white glue and water. Stir the mixture well until it becomes smooth and consistent. This glue mixture will act as an adhesive for your yarn.
Step 4: Start Wrapping the Yarn
Take one end of your chosen yarn color and dip it into the glue mixture. Make sure the yarn is fully coated with the glue. Begin wrapping the yarn around the balloon, starting from the knot and working your way around in different directions. Continue wrapping until you achieve the desired coverage and thickness.
Step 5: Add Layers and Colors
If you want to create a multicolored yarn ball, simply switch to a different color of yarn and continue wrapping. You can add as many layers and colors as you like, creating a unique and vibrant design. Remember to dip each new color of yarn into the glue mixture before wrapping.
Step 6: Let It Dry
Once you are satisfied with the appearance of your yarn ball, set it aside to dry. Place it on a plastic wrap-covered surface and allow it to dry completely. This may take several hours or even overnight, depending on the humidity and thickness of the yarn.
Step 7: Pop the Balloon
Once the yarn ball is completely dry, carefully pop the balloon using a pair of scissors. The balloon will deflate, leaving behind a hollow yarn sphere. Gently remove any remaining balloon pieces from inside the yarn ball.
Step 8: Add Embellishments (Optional)
If you want to add some extra sparkle to your yarn balls, now is the time to get creative. You can sprinkle glitter, attach sequins, or even glue on small decorative ornaments. Let your imagination run wild and make your yarn balls truly unique.
Step 9: Attach Clear String or Fishing Line
To hang your yarn balls as decorations, attach a piece of clear string or fishing line to each one. Tie it securely around the top of the yarn ball, making sure it can support the weight of the decoration. You can then hang your yarn balls from a Christmas tree, a mantel, or anywhere else you desire.
How Long Will It Take?
The time required to complete this project will depend on various factors, such as the size and number of yarn balls you want to make, as well as your level of experience. On average, each yarn ball may take around 2-3 hours to complete, including drying time. However, this can vary, so it’s best to allocate a sufficient amount of time to ensure a stress-free crafting experience.
Inspiration for Your Festive Decor
Now that you know how to make your own Christmas yarn balls, it’s time to envision how they will enhance your festive decor. Imagine a beautifully decorated Christmas tree adorned with colorful yarn balls of different sizes. Picture a cozy fireplace mantel with a garland of yarn balls hanging above it. Visualize a festive table centerpiece featuring a cluster of yarn balls in various hues. The possibilities are endless, and the final result will be a cozy and colorful addition to your holiday decorations.
Summary
Creating your own Christmas yarn balls is a delightful DIY project that allows you to add a personal touch to your festive decor. By following our step-by-step instructions, you can make these cozy and colorful decorations with ease. Remember to gather all the necessary materials, prepare your work area, and take your time to wrap the yarn around the balloons. Let your creativity shine by adding layers, colors, and even embellishments. Once your yarn balls are dry, hang them up using clear string or fishing line, and enjoy the cozy and festive atmosphere they bring to your home. Happy crafting and happy holidays!


