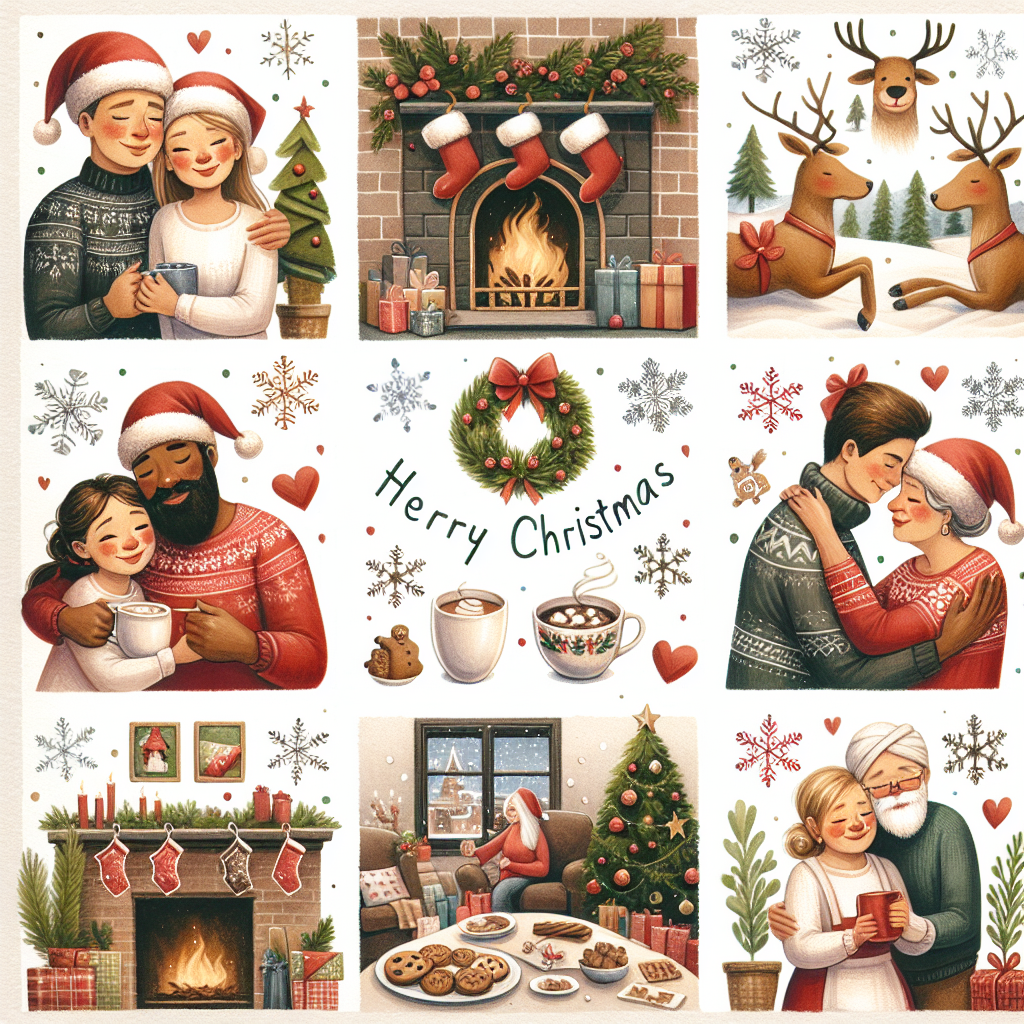
Craft a Festive Christmas Memory Book to Capture and Cherish Your Holiday Moments
Christmas is a time of joy, love, and creating lasting memories with your loved ones. What better way to preserve those precious moments than by crafting a festive Christmas memory book? This DIY project allows you to showcase your creativity while capturing and cherishing your holiday memories for years to come. In this article, we will guide you through the step-by-step process of creating a beautiful and personalized Christmas memory book that will become a cherished keepsake.
Materials Needed
- Blank scrapbook or photo album
- Decorative paper
- Scissors
- Glue or adhesive tape
- Markers or pens
- Stickers, ribbons, and other embellishments
- Photos from previous Christmases
- Christmas-themed scrapbooking supplies (optional)
Step 1: Choose a Theme
The first step in creating your Christmas memory book is to choose a theme. This will help guide your design choices and create a cohesive look throughout the book. Some popular themes include “Traditional Christmas,” “Winter Wonderland,” or “Santa’s Workshop.” You can also choose a theme based on your family’s traditions or favorite holiday activities.
Step 2: Gather Your Photos
Next, gather your photos from previous Christmases. Look for pictures that capture special moments, such as opening presents, decorating the tree, or enjoying holiday meals together. Print out any digital photos you may have and organize them in chronological order.
Step 3: Prepare Your Scrapbook
If you’re using a blank scrapbook, start by decorating the cover with festive paper, stickers, or other embellishments. You can also create a title for your memory book using markers or letter stickers. If you’re using a photo album, choose a cover design that complements your theme.
Step 4: Design Your Pages
Now it’s time to design the pages of your Christmas memory book. Cut decorative paper into various shapes and sizes to use as backgrounds for your photos. Arrange the photos on the pages, leaving space for journaling or captions. You can also add additional embellishments, such as stickers, ribbons, or die-cut shapes, to enhance the visual appeal of your pages.
Step 5: Add Journaling and Captions
Journaling is an important part of any memory book. Take some time to reflect on each photo and write down your thoughts, feelings, and memories associated with that particular moment. You can also include captions or quotes that relate to the photos. Use markers or pens in different colors to make your journaling visually appealing.
Step 6: Include Memorabilia
To make your Christmas memory book even more special, consider including memorabilia from past holidays. This could be anything from a piece of wrapping paper to a handwritten letter to Santa. Use adhesive tape or glue to attach these items to your pages, making sure they are securely fastened.
Step 7: Personalize Your Book
Add personal touches to your Christmas memory book to make it truly unique. You can include drawings, handprints, or even pressed flowers from your holiday decorations. Get creative and let your imagination run wild!
Step 8: Complete Your Book
Once you have finished designing all the pages of your Christmas memory book, take a moment to review and make any final adjustments. Make sure all the photos are securely attached, the journaling is legible, and the overall layout is visually appealing.
Step 9: Preserve and Display
To ensure your Christmas memory book lasts for years to come, consider using protective sleeves or page protectors to prevent damage. Store your book in a cool, dry place away from direct sunlight. You can also display your memory book on a coffee table or bookshelf during the holiday season to share your cherished memories with family and friends.
Step 10: Reflect and Cherish
Finally, take the time to reflect on the memories captured in your Christmas memory book. Flip through the pages, read your journaling, and let the nostalgia wash over you. Cherish the moments shared with your loved ones and be grateful for the joy and love that Christmas brings.
Conclusion
Creating a festive Christmas memory book is a wonderful way to capture and cherish your holiday moments. By following these step-by-step instructions, you can create a personalized keepsake that will bring joy and nostalgia for years to come. Remember to choose a theme, gather your photos, design your pages, add journaling and captions, include memorabilia, personalize your book, and complete it with care. Preserve and display your memory book to share your cherished memories with others. Reflect on the moments captured and cherish the love and joy that Christmas brings. Start crafting your Christmas memory book today and create a lasting tribute to the magic of the holiday season.


