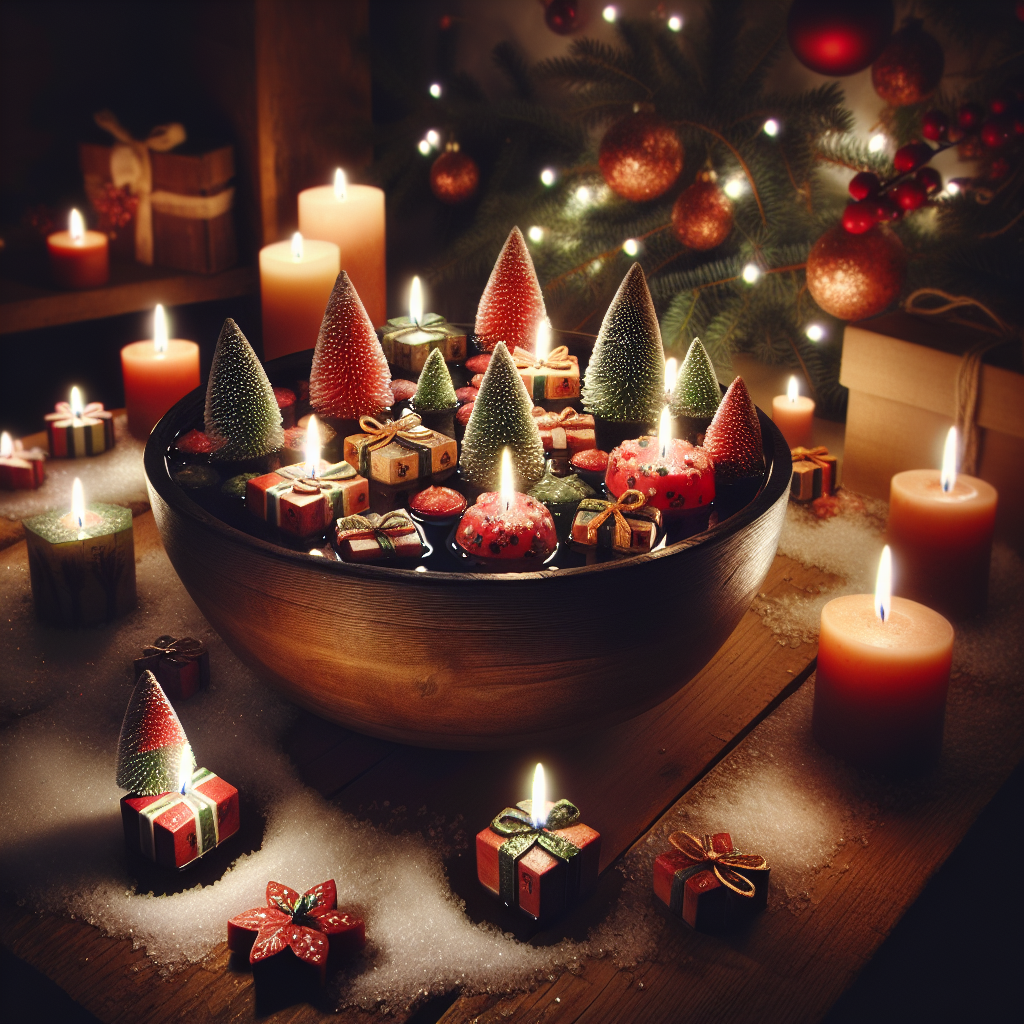
Create a Festive Atmosphere with Handmade Christmas Floating Candles for a Warm Holiday Glow
Christmas is a time of joy, love, and celebration. It’s a time when families come together to create lasting memories and share in the holiday spirit. One way to enhance the festive atmosphere is by adding handmade Christmas floating candles to your decorations. These beautiful candles not only provide a warm and inviting glow but also serve as a unique centerpiece for your holiday gatherings. In this article, we will guide you through the step-by-step process of creating your own handmade Christmas floating candles, ensuring that your holiday season is filled with warmth and cheer.
Materials Needed
- Glass containers (such as mason jars or glass bowls)
- Wax flakes or old candles
- Candle wicks
- Essential oils (optional)
- Decorative elements (such as dried flowers, cinnamon sticks, or glitter)
- Double boiler or microwave-safe container
- Thermometer
- Stirring utensil
- Scissors
- Hot glue gun
- Matches or lighter
Step-by-Step Instructions
Step 1: Prepare Your Glass Containers
Start by thoroughly cleaning your glass containers to ensure they are free from any dirt or residue. This will help create a clear and beautiful final product. Once cleaned, dry the containers completely before moving on to the next step.
Step 2: Melt the Wax
Next, you’ll need to melt the wax. If you have wax flakes, you can simply measure out the desired amount and melt them in a double boiler. If you don’t have a double boiler, you can create one by placing a heat-resistant bowl over a pot of simmering water. Make sure the water doesn’t touch the bottom of the bowl to prevent overheating.
If you have old candles that you’d like to repurpose, you can melt them down instead. Simply remove the wicks and any decorations, then place the candles in a microwave-safe container. Heat the candles in short intervals, stirring in between, until they are completely melted.
Step 3: Add Fragrance (Optional)
If you’d like to add a delightful scent to your floating candles, now is the time to do so. Add a few drops of your favorite essential oil to the melted wax and stir gently to distribute the fragrance evenly. Popular choices for Christmas scents include cinnamon, peppermint, and pine.
Step 4: Attach the Wicks
While the wax is still hot, it’s time to attach the wicks to your glass containers. Dip the metal end of each wick into the melted wax, then press it firmly onto the bottom of the container. Hold it in place for a few seconds to ensure it sticks. Alternatively, you can use a small dot of hot glue to secure the wick to the bottom of the container.
Step 5: Pour the Wax into the Containers
Carefully pour the melted wax into your prepared glass containers, leaving a small gap at the top. This gap will prevent the wax from overflowing when the candle is lit. If you’d like to create layered or marbled candles, pour the wax in stages, allowing each layer to cool and solidify before adding the next.
Step 6: Add Decorative Elements
Now comes the fun part – adding decorative elements to your floating candles. Get creative and experiment with different combinations of dried flowers, cinnamon sticks, or even a sprinkle of glitter. Gently press these elements into the wax, making sure they are partially submerged but still visible.
Step 7: Let the Candles Cool and Solidify
Allow your candles to cool and solidify completely before moving them. This process can take several hours, so be patient. To speed up the cooling process, you can place the containers in the refrigerator, but avoid placing them in the freezer as this can cause the wax to crack.
Step 8: Trim the Wicks
Once the candles have solidified, trim the wicks to a length of about half an inch. This will ensure a clean and even burn when the candles are lit.
Step 9: Light and Enjoy!
Finally, it’s time to light your handmade Christmas floating candles and bask in their warm and festive glow. Place them in a shallow dish filled with water and watch as they gently float and illuminate your holiday celebrations. Remember to always supervise lit candles and keep them away from flammable materials.
Project Duration
The time required to complete this project will depend on various factors, such as the number of candles you wish to make and the complexity of your chosen decorations. On average, each candle will take approximately 2-3 hours to cool and solidify, so plan accordingly.
Project Inspiration
Imagine a cozy living room adorned with twinkling lights and the sweet scent of cinnamon in the air. Your handmade Christmas floating candles, delicately floating in a dish of water, create a magical ambiance that instantly transports you to a winter wonderland. The soft glow of the candles reflects off the surrounding decorations, casting a warm and inviting glow throughout the room. It’s a scene straight out of a holiday movie, and you can bring this enchanting atmosphere to your own home with just a few simple steps.
Whether you’re hosting a festive gathering or simply want to add a touch of elegance to your holiday decor, handmade Christmas floating candles are the perfect choice. They are not only beautiful but also customizable to suit your personal style and preferences. Get creative with different colors, scents, and decorative elements to make each candle truly unique.
So, gather your materials, follow the step-by-step instructions, and let your creativity shine. Create a festive atmosphere with handmade Christmas floating candles and make this holiday season one to remember.


