Customized Photo Transfer to Wood: A Step-by-Step Guide
Are you looking for a unique and personalized way to display your favorite photos? Look no further! In this comprehensive guide, we will walk you through the process of transferring your cherished memories onto wood. This DIY project is not only fun and creative, but it also allows you to create stunning pieces of art that will be the envy of all your friends. So, let’s get started and turn your photos into timeless masterpieces!
Materials You’ll Need
- Wooden plaque or board
- Mod Podge Photo Transfer Medium
- Acrylic gel medium
- High-quality laser photocopy of your photo
- Foam brush
- Scissors
- Sponge
- Water
- Sandpaper
- Clear acrylic sealer
Step 1: Prepare Your Wood
Start by selecting a wooden plaque or board that suits your desired size and style. Ensure that the surface is smooth and free from any imperfections. If needed, sand the wood gently to create an even surface for the photo transfer.
Step 2: Choose Your Photo
Select a high-resolution photo that you would like to transfer onto the wood. Keep in mind that the photo will be reversed during the transfer process, so choose accordingly. Make a laser photocopy of the photo in the desired size for your project.
Step 3: Apply Mod Podge Photo Transfer Medium
Using a foam brush, apply a generous layer of Mod Podge Photo Transfer Medium onto the printed side of your photo. Ensure that the entire surface is covered evenly. Place the photo face down onto the wood, pressing firmly to remove any air bubbles. Let it dry completely for at least 24 hours.
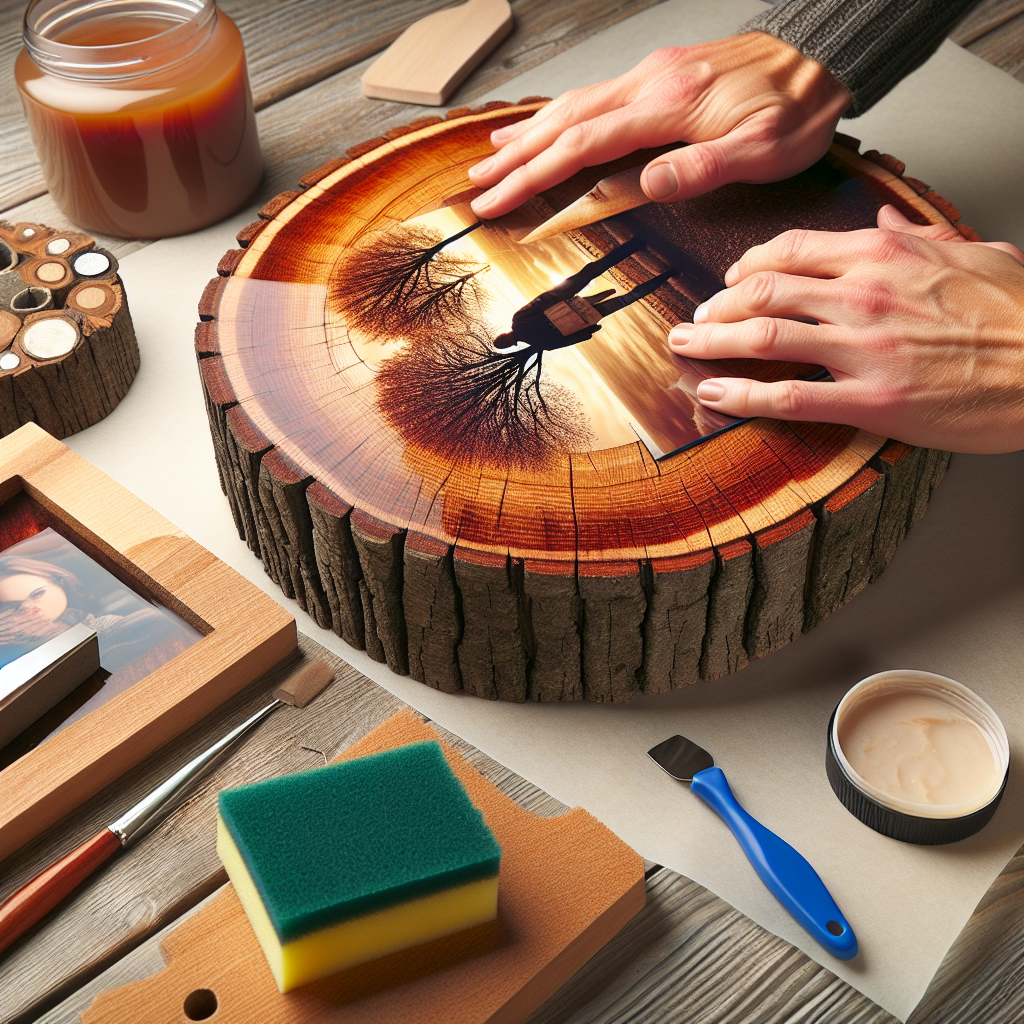
Step 4: Remove the Paper
After the transfer medium has dried, it’s time to remove the paper. Dampen a sponge with water and gently rub the paper in circular motions. Be careful not to rub too hard, as this may damage the transferred image. Continue until all the paper has been removed, revealing the transferred photo on the wood.
Step 5: Seal the Image
To protect the transferred image and enhance its longevity, apply a coat of clear acrylic sealer. This will also give the wood a beautiful finish. Allow the sealer to dry completely before moving on to the next step.
Step 6: Enhance the Wood (Optional)
If you want to add an extra touch to your photo transfer, consider enhancing the wood. You can stain or paint the edges of the wood to create a frame-like effect. Alternatively, you can distress the wood for a vintage look. Get creative and experiment with different techniques to achieve the desired result.
Step 7: Display Your Masterpiece
Now that your customized photo transfer to wood is complete, it’s time to display your masterpiece! You can hang it on the wall, prop it up on a shelf, or even give it as a heartfelt gift to someone special. The possibilities are endless, and the result is sure to be a conversation starter.
Conclusion
Creating a customized photo transfer to wood is a rewarding and enjoyable DIY project that allows you to showcase your favorite memories in a unique way. By following the step-by-step instructions outlined in this guide, you can easily transform a simple wooden plaque into a personalized work of art. So gather your materials, choose your photo, and let your creativity shine!


