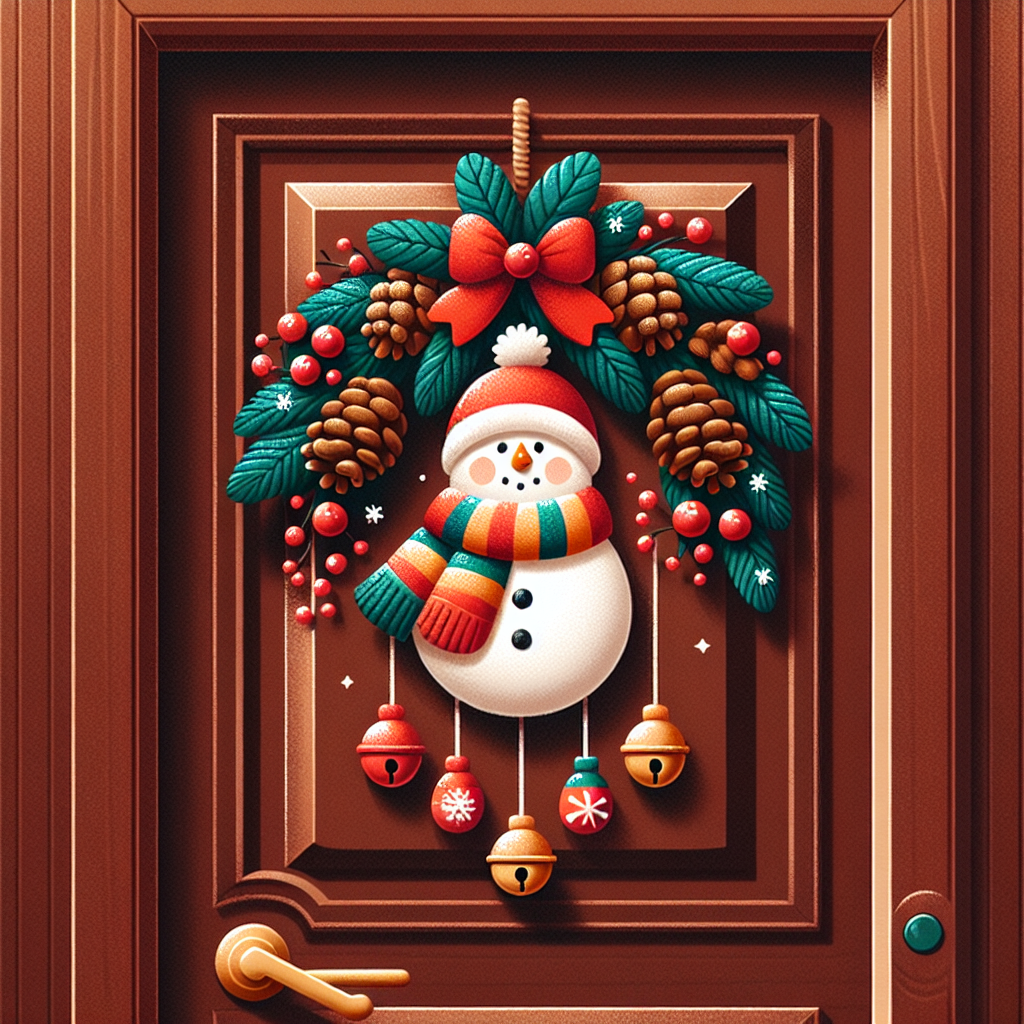
Design a Festive DIY Christmas Door Hanger to Add a Cheerful and Welcoming Touch to Your Home
Christmas is a time of joy, celebration, and spreading cheer. One of the best ways to showcase your festive spirit is by decorating your home, and what better place to start than your front door? A beautiful and personalized Christmas door hanger can instantly transform the entrance of your home, creating a warm and inviting atmosphere for your guests. In this article, we will guide you through the process of designing and creating your very own festive DIY Christmas door hanger. Get ready to unleash your creativity and add a touch of holiday magic to your home!
Materials You Will Need
- Wooden door hanger base
- Acrylic paint in various colors
- Paintbrushes in different sizes
- Christmas-themed stencils
- Glitter
- Ribbon or twine
- Hot glue gun
- Scissors
- Optional: Decorative embellishments like bells, pinecones, or ornaments
Step-by-Step Instructions
Step 1: Prepare Your Workspace
Before you begin, it’s important to set up a clean and well-lit workspace. Lay down a protective covering to prevent any paint or glue from damaging your surfaces. Gather all your materials and tools within easy reach, ensuring that you have everything you need to complete the project.
Step 2: Choose Your Design
Think about the overall theme and style you want for your Christmas door hanger. Do you prefer a traditional look with classic holiday symbols like Santa Claus and reindeer, or do you lean towards a more modern and minimalist design? Browse through Christmas-themed stencils or create your own designs to personalize your door hanger.
Step 3: Paint the Base
Start by painting the wooden door hanger base with a base color of your choice. This will serve as the background for your design. Use a large paintbrush to cover the entire surface evenly. Allow the paint to dry completely before moving on to the next step.
Step 4: Add Details and Patterns
Once the base coat is dry, it’s time to add some festive details and patterns to your door hanger. Use smaller paintbrushes and different colors of acrylic paint to create your desired design. You can paint Christmas trees, snowflakes, holly leaves, or any other holiday motifs that resonate with you. If you’re not confident in your painting skills, stencils can be a great tool to achieve precise and professional-looking designs.
Step 5: Add Some Sparkle
No Christmas decoration is complete without a touch of sparkle! Sprinkle some glitter over your painted design while the paint is still wet. The glitter will adhere to the paint, adding a magical shimmer to your door hanger. You can use a single color of glitter or mix different colors for a more vibrant effect.
Step 6: Attach a Ribbon or Twine
To hang your door hanger, attach a ribbon or twine to the top. Cut a length of ribbon or twine that is long enough to hang comfortably on your door. Use a hot glue gun to secure the ends of the ribbon or twine to the back of the door hanger. Make sure it is firmly attached before moving on to the next step.
Step 7: Add Decorative Embellishments
If you want to take your door hanger to the next level, consider adding some decorative embellishments. You can glue on small bells, pinecones, or ornaments that complement your design. Be creative and experiment with different textures and materials to make your door hanger truly unique.
Step 8: Let It Dry and Hang It Up
Allow your door hanger to dry completely before hanging it up. Find the perfect spot on your front door or porch to showcase your creation. Step back and admire your handiwork – you’ve just created a beautiful and festive DIY Christmas door hanger that will welcome your guests with holiday cheer!
Estimated Time
The time required to complete this project will vary depending on your design complexity and drying time. On average, it should take approximately 2-3 hours from start to finish.
Final Thoughts
Designing and creating your own festive DIY Christmas door hanger is a wonderful way to add a personal touch to your home during the holiday season. By following these step-by-step instructions, you can unleash your creativity and bring your vision to life. Remember to have fun throughout the process and let your imagination run wild. Your unique door hanger will not only make your home look more inviting but also spread joy and cheer to everyone who passes by. Happy crafting and Merry Christmas!


