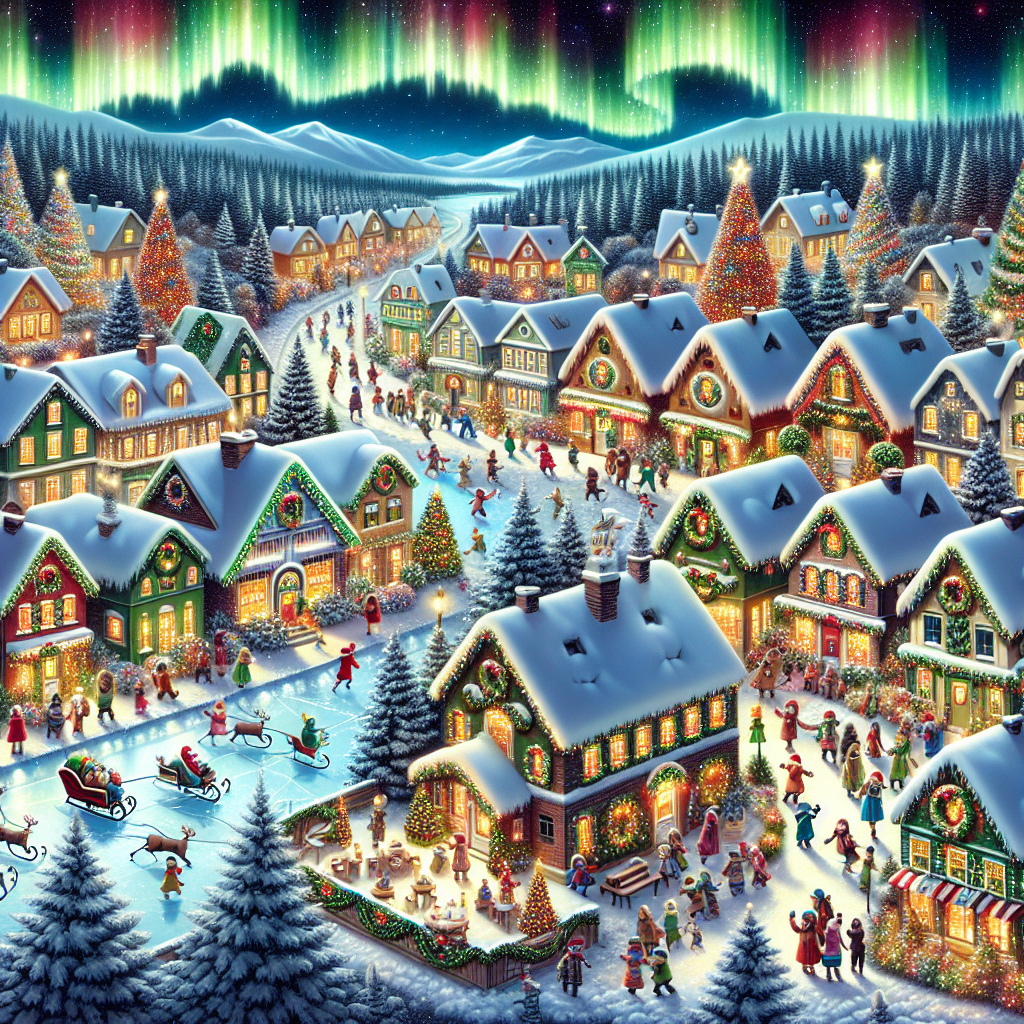
Design an Enchanting Christmas Village Display for a Magical Touch to Your Holiday Decor
Christmas is a time of joy, love, and celebration. It’s a time when families come together to create lasting memories and share in the magic of the season. One way to add an extra touch of enchantment to your holiday decor is by designing your very own Christmas village display. This DIY project allows you to create a miniature winter wonderland that will captivate both young and old alike. In this article, we will guide you through the step-by-step process of designing and building your own enchanting Christmas village display.
Step 1: Plan Your Village
The first step in creating your Christmas village display is to plan out the design. Take some time to envision the scene you want to create. Will it be a cozy village nestled in the snow-covered mountains? Or perhaps a bustling town with shops and carolers? Once you have a clear vision in mind, sketch out a rough layout of your village, including the placement of buildings, trees, and other decorative elements.
Step 2: Gather Your Materials
Before you can start building your Christmas village, you’ll need to gather all the necessary materials. Here’s a list of items you’ll need:
- Cardboard or foam board
- Hot glue gun
- Scissors
- Acrylic paint
- Paintbrushes
- Miniature buildings
- Miniature figurines
- Fake snow or cotton batting
- LED lights
- Small mirrors or reflective surfaces
- Optional: Small rocks, twigs, or other natural elements for added realism
Once you have gathered all the materials, you’re ready to start building!
Step 3: Create the Base
The base of your Christmas village display will serve as the foundation for your entire scene. Start by cutting a piece of cardboard or foam board to your desired size. This will be the surface on which you will build your village. Use a ruler and pencil to mark out any roads or pathways you want to include in your design. Once you’re happy with the layout, use a hot glue gun to secure any additional cardboard or foam board pieces to create elevation changes, such as hills or slopes.
Step 4: Paint the Base
Now that you have your base, it’s time to add some color. Use acrylic paint to create a realistic winter landscape. Start by painting the entire base with a layer of white paint to represent snow. Then, use shades of blue and gray to add depth and texture to the snow. You can also add touches of green or brown to represent trees or foliage. Let the paint dry completely before moving on to the next step.
Step 5: Add the Buildings
The buildings are the heart of your Christmas village display. Place them strategically on your base to create a charming village scene. Use hot glue to secure the buildings in place. You can find miniature buildings at craft stores or online, or you can even make your own using cardboard or foam board. Get creative and add details like windows, doors, and even tiny wreaths or lights to make the buildings come to life.
Step 6: Bring Your Village to Life
No Christmas village display is complete without the addition of miniature figurines. These tiny characters add a sense of movement and activity to your scene. Place them throughout your village, engaging in various winter activities like ice skating, sledding, or caroling. You can find miniature figurines at craft stores or online, or you can make your own using clay or other materials.
Step 7: Add the Finishing Touches
To truly make your Christmas village display enchanting, it’s all about the details. Sprinkle fake snow or cotton batting throughout your scene to create a snowy effect. Use LED lights to add a warm glow to your village, highlighting the buildings and creating a magical ambiance. Place small mirrors or reflective surfaces strategically to create the illusion of frozen ponds or lakes. You can also add small rocks, twigs, or other natural elements to add realism to your scene.
Step 8: Step Back and Admire Your Creation
Once you have completed all the steps, it’s time to step back and admire your enchanting Christmas village display. Take a moment to appreciate the time and effort you put into creating this magical scene. Invite your family and friends to enjoy the beauty of your creation and create cherished memories together.
Conclusion
Designing and building your own Christmas village display is a wonderful way to add a touch of magic to your holiday decor. By following these step-by-step instructions, you can create a truly enchanting scene that will bring joy and wonder to all who see it. So gather your materials, unleash your creativity, and let the magic of Christmas come alive in your very own Christmas village display.


