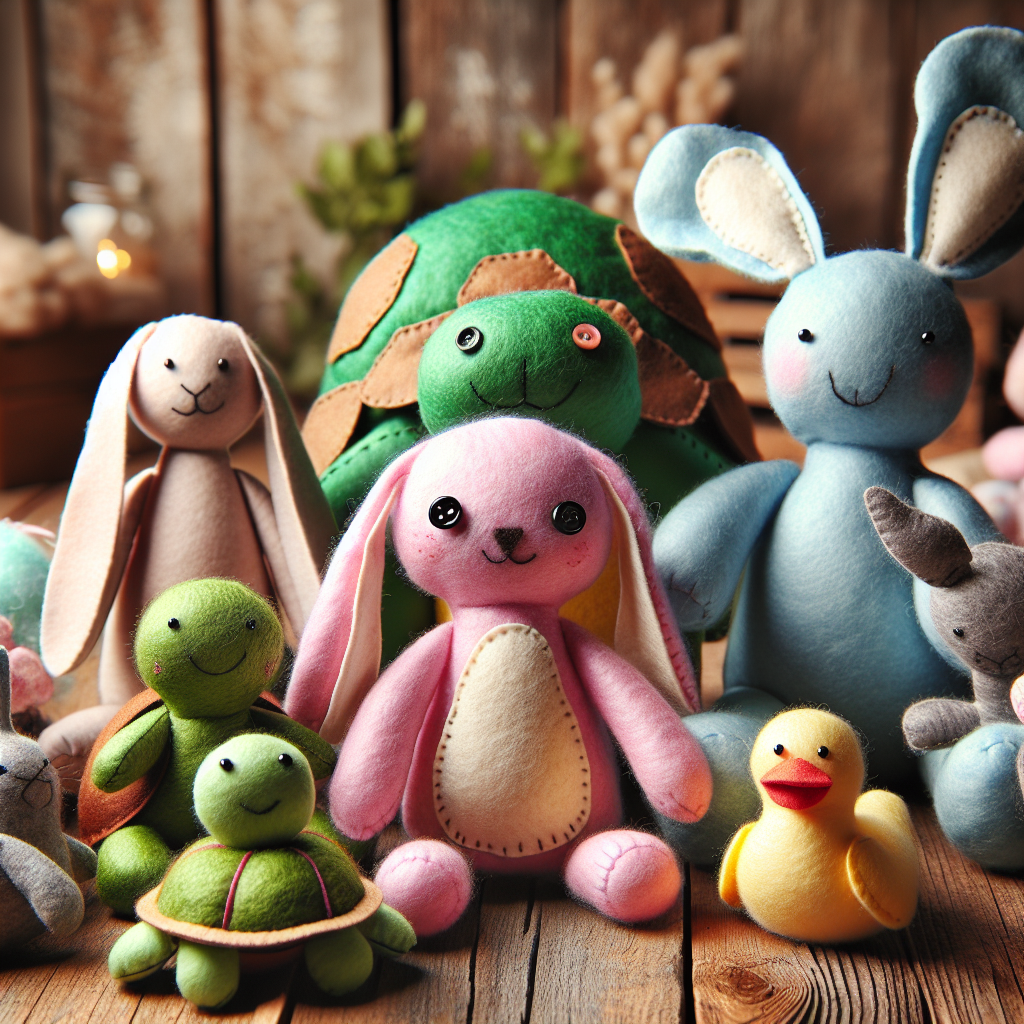
Hand-Sewn Felt Toys: A Step-by-Step Guide to Creating Adorable and Unique Toys
Are you looking for a fun and creative project that will not only entertain you but also result in a delightful toy? Look no further! In this comprehensive guide, we will walk you through the process of hand-sewing felt toys. Whether you are a beginner or an experienced crafter, this project is perfect for anyone who wants to unleash their creativity and make something truly special. So, gather your materials and let’s get started!
Materials You Will Need
- Felt fabric in various colors
- Embroidery floss
- Embroidery needles
- Scissors
- Pins
- Stuffing material (polyester fiberfill or cotton batting)
- Optional: Buttons, ribbons, and other embellishments
Step 1: Choose Your Toy Design
The first step in creating your hand-sewn felt toy is to decide on the design. You can choose from a wide range of options, such as animals, fruits, or even mythical creatures. Let your imagination run wild! Once you have chosen your design, sketch it out on a piece of paper to serve as your template.
Step 2: Gather Your Materials
Before you begin sewing, make sure you have all the necessary materials at hand. Lay out your felt fabric, embroidery floss, needles, scissors, pins, and stuffing material on a clean and organized workspace. Having everything within reach will make the process much smoother.
Step 3: Cut Out the Felt Pieces
Using your template, carefully cut out the felt pieces needed to assemble your toy. Take your time and be precise, as this will ensure that your toy looks polished and professional. Remember to cut two identical pieces for each part that requires sewing.
Step 4: Embroider the Details
Now it’s time to add some personality to your toy! Thread your embroidery needle with a contrasting color of embroidery floss and start stitching the details onto the felt pieces. This could include eyes, mouths, or any other features you want to highlight. Get creative and experiment with different stitches to achieve the desired effect.
Step 5: Sew the Toy Together
With the details in place, it’s time to start sewing the toy together. Take two matching felt pieces and align them, making sure the embroidered details are facing inward. Use pins to secure the pieces in place, then thread your needle with a coordinating color of embroidery floss. Start sewing along the edges, using a whip stitch or any other stitch of your choice. Leave a small opening for stuffing.
Step 6: Stuff Your Toy
Once you have sewn most of the toy together, it’s time to stuff it! Take small amounts of stuffing material and carefully fill the toy through the opening you left. Use a pencil or the eraser end of a pencil to push the stuffing into small corners and crevices. Make sure to stuff the toy firmly but not too tightly, as this will give it a soft and cuddly feel.
Step 7: Finish Sewing
After stuffing your toy, it’s time to close up the opening. Thread your needle with the same color of embroidery floss you used for sewing and carefully stitch the opening closed. Make sure your stitches are secure and hidden within the seam. Once you have finished sewing, tie a knot and trim any excess thread.
Step 8: Add Embellishments (Optional)
If you want to take your felt toy to the next level, consider adding some embellishments. You can sew on buttons for eyes, attach ribbons for hair, or even glue on small fabric accessories. Let your creativity shine and make your toy truly unique!
Step 9: Admire Your Handiwork
Now that your hand-sewn felt toy is complete, take a moment to admire your creation. Hold it in your hands, feel its softness, and appreciate the time and effort you put into making it. You have created something truly special that will bring joy to both children and adults alike.
Conclusion
Hand-sewing felt toys is a rewarding and enjoyable DIY project that allows you to unleash your creativity and create something truly unique. By following the step-by-step instructions in this guide, you can make adorable and personalized toys that will be cherished for years to come. So, gather your materials, choose your design, and let your imagination soar as you embark on this delightful crafting adventure!


