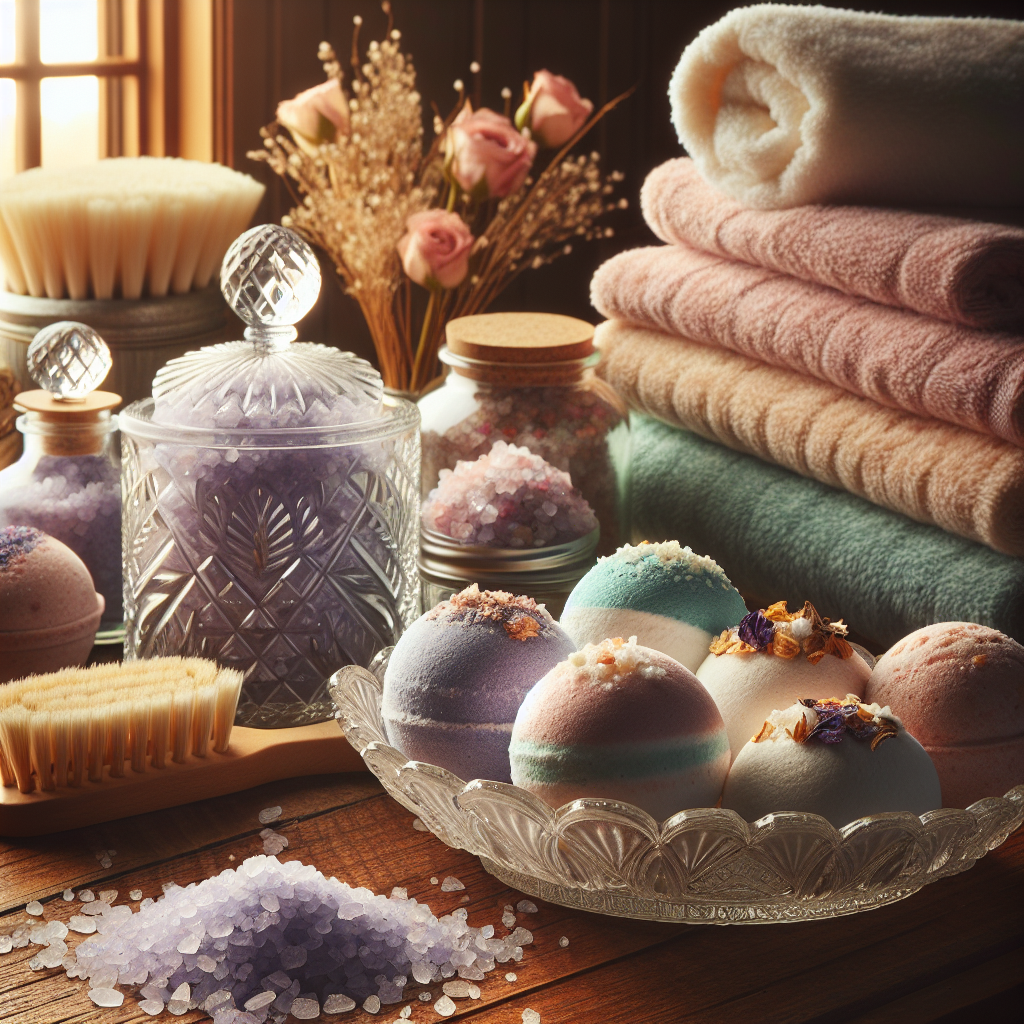
Homemade Bath Bombs and Salts: Create Your Own Luxurious Spa Experience
Are you tired of spending a fortune on bath products that promise relaxation and rejuvenation but fail to deliver? Look no further! In this comprehensive guide, we will teach you how to make your own homemade bath bombs and salts. With just a few simple ingredients and a little bit of creativity, you can create luxurious spa-like experiences right in the comfort of your own home. So, let’s dive in and discover the secrets to crafting the perfect bath bombs and salts!
Materials You’ll Need
Before we get started, let’s gather all the necessary materials for this project. Here’s a list of what you’ll need:
- Baking soda
- Citric acid
- Epsom salt
- Cornstarch
- Essential oils (such as lavender, eucalyptus, or rose)
- Coloring agents (such as food coloring or natural dyes)
- Dried flowers or herbs (optional)
- Molds (silicone molds work best)
- Spray bottle filled with water
- Bowls and spoons for mixing
- Measuring cups and spoons
- Plastic wrap or airtight containers for storage
Step-by-Step Instructions
Step 1: Prepare Your Workstation
Before you begin making your bath bombs and salts, it’s important to set up a clean and organized workspace. Clear off a countertop or table and gather all your materials in one place. This will make the process much smoother and more enjoyable.
Step 2: Mix the Dry Ingredients
In a large bowl, combine 1 cup of baking soda, 1/2 cup of citric acid, 1/2 cup of Epsom salt, and 1/2 cup of cornstarch. Use a whisk or spoon to thoroughly mix the dry ingredients together. This mixture will form the base of your bath bombs and salts.
Step 3: Add Your Fragrance
Now it’s time to add the delightful scents that will transform your bath into a heavenly oasis. Add 20-30 drops of your chosen essential oil to the dry mixture. You can use a single oil or create your own unique blend by combining different scents. Mix well to ensure the fragrance is evenly distributed.
Step 4: Incorporate Color
If you want to add a pop of color to your bath bombs and salts, now is the time to do so. Add a few drops of food coloring or natural dye to the mixture and stir until the color is evenly dispersed. Be careful not to add too much, as it can stain your bathtub. Remember, a little goes a long way!
Step 5: Spritz with Water
Using a spray bottle filled with water, lightly spritz the dry mixture while stirring continuously. The goal is to achieve a consistency similar to wet sand. Be careful not to oversaturate the mixture, as it may cause premature fizzing. Test the mixture by squeezing it in your hand – if it holds its shape, it’s ready for molding.
Step 6: Mold Your Bath Bombs and Salts
Now comes the fun part – molding your bath bombs and salts into beautiful shapes! Fill each half of your silicone mold with the mixture, pressing firmly to ensure it’s tightly packed. If desired, you can add dried flowers or herbs to the center of the mold for an extra touch of elegance. Once both halves are filled, press them together firmly to create a seamless sphere.
Step 7: Let Them Dry
After molding your bath bombs and salts, carefully remove them from the silicone molds and place them on a flat surface to dry. Allow them to air dry for at least 24 hours, or until they are completely hardened. Patience is key here – rushing the drying process may cause your creations to crumble.
Step 8: Store and Enjoy
Once your bath bombs and salts are fully dried, it’s time to store them in airtight containers or wrap them in plastic wrap to preserve their freshness. When you’re ready to indulge in a luxurious bath, simply drop one or two bath bombs or a handful of salts into warm water and watch as they fizz and dissolve, releasing their delightful scents and nourishing properties.
Creating Your Own Spa Experience
Now that you know how to make your own homemade bath bombs and salts, it’s time to take your bathing routine to the next level. Here are a few tips to create a truly spa-like experience:
- Dim the lights and light some scented candles to create a relaxing ambiance.
- Play soft music or nature sounds to enhance the soothing atmosphere.
- Add a few drops of your favorite essential oil to the bathwater for an extra burst of fragrance.
- Use a loofah or bath sponge to gently exfoliate your skin while soaking.
- Take this time to unwind and disconnect from the outside world. Leave your phone outside the bathroom and focus on self-care.
Remember, the goal is to create a tranquil and rejuvenating experience that allows you to escape the stresses of everyday life. So go ahead, treat yourself to a homemade spa day and enjoy the luxurious bath bombs and salts you’ve created!
Conclusion
Creating your own homemade bath bombs and salts is not only a fun and creative project, but it also allows you to customize your bathing experience to suit your preferences. By following our step-by-step instructions and using high-quality ingredients, you can enjoy the luxury of a spa-like experience right in the comfort of your own home. So gather your materials, unleash your creativity, and get ready to indulge in the ultimate relaxation with your homemade bath bombs and salts!


