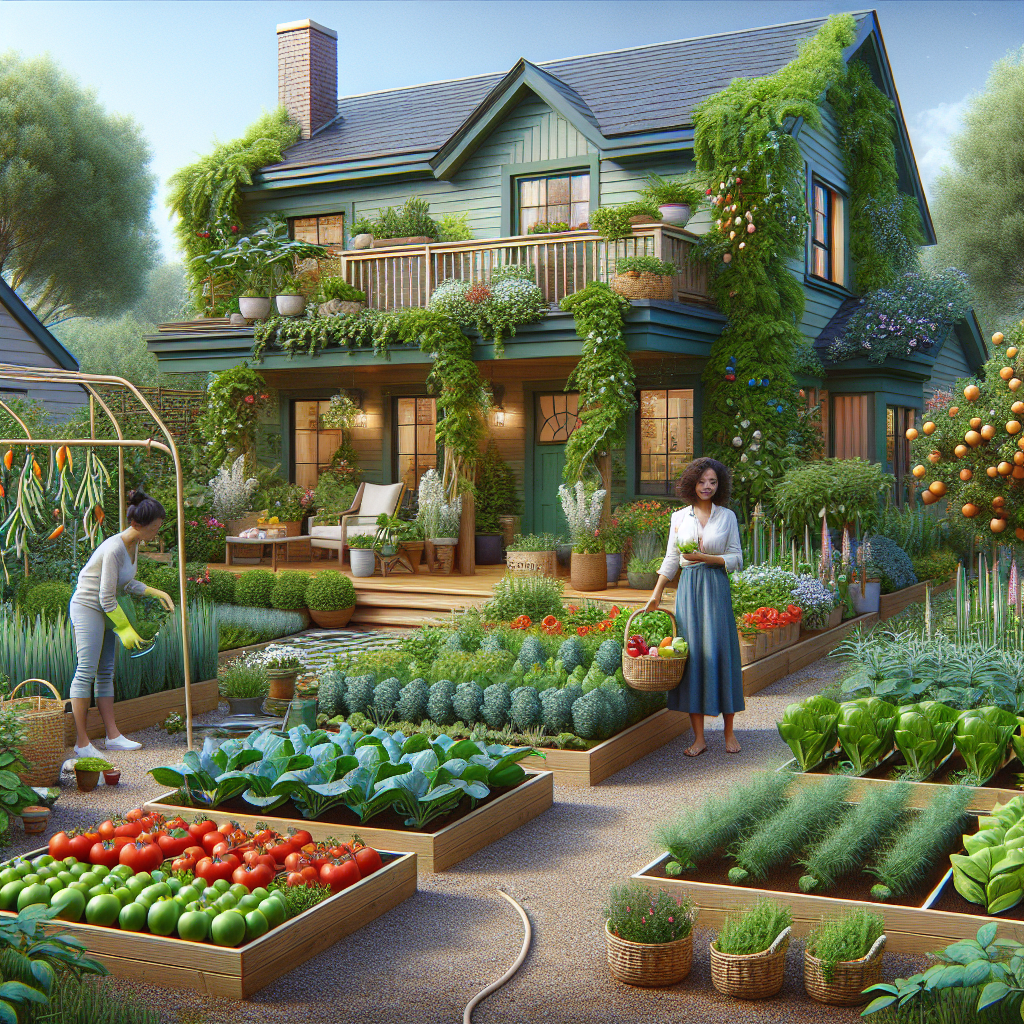
Vegetable Garden Visions: Blending Edibles into Your Home’s Exterior
Are you looking to add a touch of greenery to your home’s exterior? Why not consider creating a vegetable garden that not only provides you with fresh and organic produce but also enhances the beauty of your outdoor space? In this comprehensive guide, we will walk you through the step-by-step process of designing and building a vegetable garden that seamlessly blends into your home’s exterior. Get ready to transform your outdoor space into a vibrant and sustainable oasis!
Step 1: Assessing Your Space
Before diving into the exciting world of vegetable gardening, it’s important to assess your available space. Take a walk around your home’s exterior and identify potential areas where you can create your vegetable garden. Look for spots that receive ample sunlight throughout the day and have good drainage. Keep in mind that most vegetables require at least six hours of direct sunlight to thrive.
Once you’ve identified the perfect location, measure the area to determine its size. This will help you plan the layout of your garden and decide how many plants you can accommodate. Remember to leave enough space between each plant to allow for proper growth and airflow.
Step 2: Choosing the Right Vegetables
Now that you have a clear idea of your available space, it’s time to choose the vegetables you want to grow. Consider your family’s preferences and the climate in your area. Opt for vegetables that are well-suited to your region’s growing conditions to ensure a successful harvest.
Some popular vegetables that are relatively easy to grow include tomatoes, peppers, lettuce, cucumbers, and herbs like basil and parsley. If you’re a beginner, it’s best to start with a few varieties and gradually expand your garden as you gain more experience.
Step 3: Preparing the Soil
Good soil is the foundation of a thriving vegetable garden. Start by removing any weeds or grass from the area you’ve chosen. Dig up the soil to a depth of at least 12 inches, breaking up any clumps and removing rocks or debris.
Next, enrich the soil with organic matter such as compost or well-rotted manure. This will improve its fertility and drainage, providing your plants with the nutrients they need to grow. Spread a layer of organic matter over the soil and mix it in thoroughly using a garden fork or tiller.
Step 4: Building Raised Beds
While not necessary, building raised beds can offer several advantages for your vegetable garden. They provide better drainage, prevent soil compaction, and make it easier to control weeds. Additionally, raised beds can add a visually appealing element to your home’s exterior.
To build raised beds, start by measuring and marking the dimensions of each bed using stakes and string. Dig a trench around the perimeter of the marked area, about 6 inches deep. Place wooden boards or bricks along the trench to create the walls of your raised beds. Make sure the boards are securely fastened together to prevent them from shifting over time.
Fill the raised beds with the prepared soil, ensuring it is level and evenly distributed. Leave a small gap between the top of the soil and the top of the raised bed to prevent it from spilling over when watering.
Step 5: Planting Your Vegetables
Now comes the exciting part – planting your vegetables! Start by following the planting instructions provided on the seed packets or plant labels. Dig small holes in the soil, spaced according to the recommended distance for each vegetable.
Gently remove the seedlings from their containers and place them in the holes, making sure they are at the same depth as they were in their original containers. Firmly press the soil around the base of each plant to secure it in place.
Water your newly planted vegetables thoroughly, ensuring the soil is evenly moist. As your plants grow, continue to water them regularly, keeping the soil consistently moist but not waterlogged.
Step 6: Maintaining Your Vegetable Garden
Proper maintenance is crucial for the success of your vegetable garden. Here are some essential tasks to keep in mind:
- Watering: Regularly check the moisture level of the soil and water your plants as needed. Aim to keep the soil consistently moist, but avoid overwatering, as it can lead to root rot.
- Weeding: Remove any weeds that sprout in your vegetable garden to prevent them from competing with your plants for nutrients and sunlight.
- Fertilizing: Feed your plants with a balanced organic fertilizer every few weeks to ensure they receive the necessary nutrients for healthy growth.
- Pest Control: Monitor your plants for any signs of pests or diseases. If you notice any issues, take appropriate measures to control the problem, such as using organic insecticides or introducing beneficial insects.
- Pruning: Some vegetables, like tomatoes and peppers, benefit from regular pruning to promote better airflow and fruit production. Remove any dead or diseased leaves and branches to keep your plants healthy.
Step 7: Harvesting and Enjoying Your Bounty
After weeks of nurturing your vegetable garden, it’s finally time to reap the rewards! Harvest your vegetables when they reach their peak ripeness, as indicated by their color, size, and texture. Use a sharp knife or pruning shears to carefully cut the vegetables from the plants.
Enjoy the fruits of your labor by incorporating your homegrown vegetables into delicious meals. Whether it’s a fresh salad, a hearty stir-fry, or a flavorful pasta sauce, savor the flavors of your garden-to-table creations.
Conclusion
Creating a vegetable garden that seamlessly blends into your home’s exterior is a rewarding and fulfilling project. By following the steps outlined in this guide, you can transform your outdoor space into a vibrant and sustainable oasis. From assessing your space to harvesting your bounty, each step plays a crucial role in the success of your vegetable garden. So roll up your sleeves, grab your gardening tools, and get ready to embark on an exciting journey of growing your own food!