Garden Pond with Water Lilies and Fish: A Step-by-Step Guide
Creating a beautiful garden pond with water lilies and fish can transform your outdoor space into a serene and captivating oasis. Not only will it add a touch of elegance to your garden, but it will also provide a habitat for aquatic plants and wildlife. In this comprehensive guide, we will walk you through the process of building your own garden pond, from planning and excavation to adding water lilies and fish. So roll up your sleeves and let’s get started!
Materials and Tools You’ll Need
Before we dive into the step-by-step instructions, let’s gather all the materials and tools you’ll need for this project:
- Shovel
- Tape measure
- Rope or garden hose
- Sand
- Pond liner
- Water pump
- Filter system
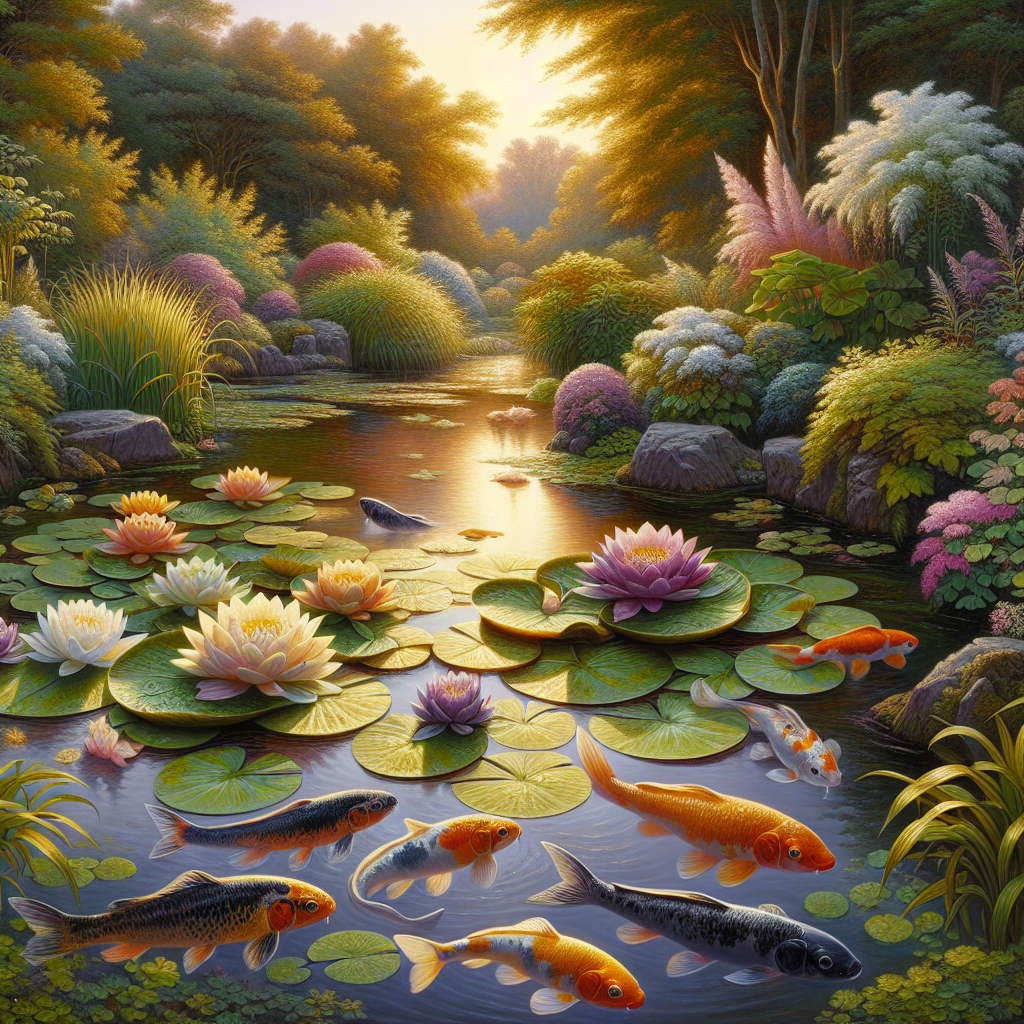
- Water lilies
- Aquatic plants
- Fish (such as koi or goldfish)
- Decorative rocks or pebbles
- Water test kit
- Net or mesh cover
Step 1: Planning and Design
The first step in creating your garden pond is to plan and design its layout. Take some time to envision how you want your pond to look and where you want it to be located in your garden. Consider factors such as sunlight exposure, proximity to trees, and accessibility for maintenance.
Once you have a clear idea of the pond’s location, mark it out using a rope or garden hose. This will help you visualize the size and shape of the pond before you start digging.
Step 2: Excavation
Now that you have your pond’s layout marked out, it’s time to start digging. Grab your shovel and begin excavating the area within the marked boundaries. Dig to a depth of at least 18 inches, but feel free to go deeper if you prefer a larger pond.
As you dig, make sure to create shelves or ledges around the edges of the pond. These shelves will provide a place for water lilies and other aquatic plants to sit, adding depth and visual interest to your pond.
Step 3: Preparing the Base
Once you have finished excavating, it’s important to prepare the base of your pond to ensure proper water retention. Start by removing any sharp rocks or debris from the bottom of the hole. Then, spread a layer of sand evenly across the entire base. This will help protect the pond liner from punctures and create a smooth surface for the liner to rest on.
Step 4: Installing the Pond Liner
Now it’s time to install the pond liner. Carefully unfold the liner and place it into the hole, making sure it covers the entire excavated area. Gently press the liner into the contours of the hole, smoothing out any wrinkles or folds.
Once the liner is in place, use rocks or bricks to secure the edges and prevent it from shifting. Make sure the liner is taut and free of any creases, as this will affect the overall appearance of your pond.
Step 5: Adding Water and Testing
With the pond liner securely in place, it’s time to fill your pond with water. Use a garden hose or a water pump to slowly fill the pond, taking care not to disturb the liner. As the water fills the pond, periodically check for any leaks or seepage.
Once the pond is filled, use a water test kit to check the pH and chemical levels. This will ensure a healthy environment for your water lilies and fish. Make any necessary adjustments to the water chemistry before proceeding to the next step.
Step 6: Installing the Water Pump and Filter System
A water pump and filter system are essential for maintaining the cleanliness and circulation of your pond. Install the water pump according to the manufacturer’s instructions, placing it in a central location within the pond.
Connect the pump to the filter system, which will help remove debris and maintain water quality. Position the filter system near the edge of the pond for easy access and maintenance.
Step 7: Adding Water Lilies and Aquatic Plants
Now it’s time to add some greenery to your pond. Start by planting water lilies on the shelves or ledges you created during excavation. Gently place the water lily tubers into pots filled with aquatic soil, making sure the growing tips are facing up. Submerge the pots in the pond, allowing the leaves to float on the water’s surface.
In addition to water lilies, you can also add other aquatic plants such as water hyacinths, lotus, or water lettuce. These plants will not only enhance the beauty of your pond but also provide shade and shelter for your fish.
Step 8: Introducing Fish to Your Pond
No garden pond is complete without the graceful presence of fish. Choose fish species that are suitable for your climate and pond size, such as koi or goldfish. Introduce the fish slowly to their new environment, allowing them to acclimate to the water temperature.
Monitor the water quality regularly and feed your fish a balanced diet to ensure their health and well-being. Remember to avoid overfeeding, as excess food can lead to water pollution.
Step 9: Adding Decorative Rocks and Finishing Touches
To give your garden pond a natural and polished look, consider adding decorative rocks or pebbles around the edges. These rocks will not only enhance the aesthetics but also provide hiding spots for your fish.
Take some time to arrange the rocks in a visually pleasing manner, creating a sense of depth and texture. You can also add floating plants or a small fountain to further enhance the ambiance of your pond.
Step 10: Maintenance and Care
Now that your garden pond is complete, it’s important to establish a regular maintenance routine to keep it clean and healthy. Here are some essential maintenance tasks:
- Regularly remove debris, fallen leaves, and algae from the surface of the pond using a net or skimmer.
- Trim and prune water lilies and other aquatic plants as needed to prevent overgrowth.
- Monitor water quality and test it regularly to ensure optimal conditions for your fish and plants.
- Perform regular water changes to maintain a balanced ecosystem.
- Protect your pond from predators by installing a net