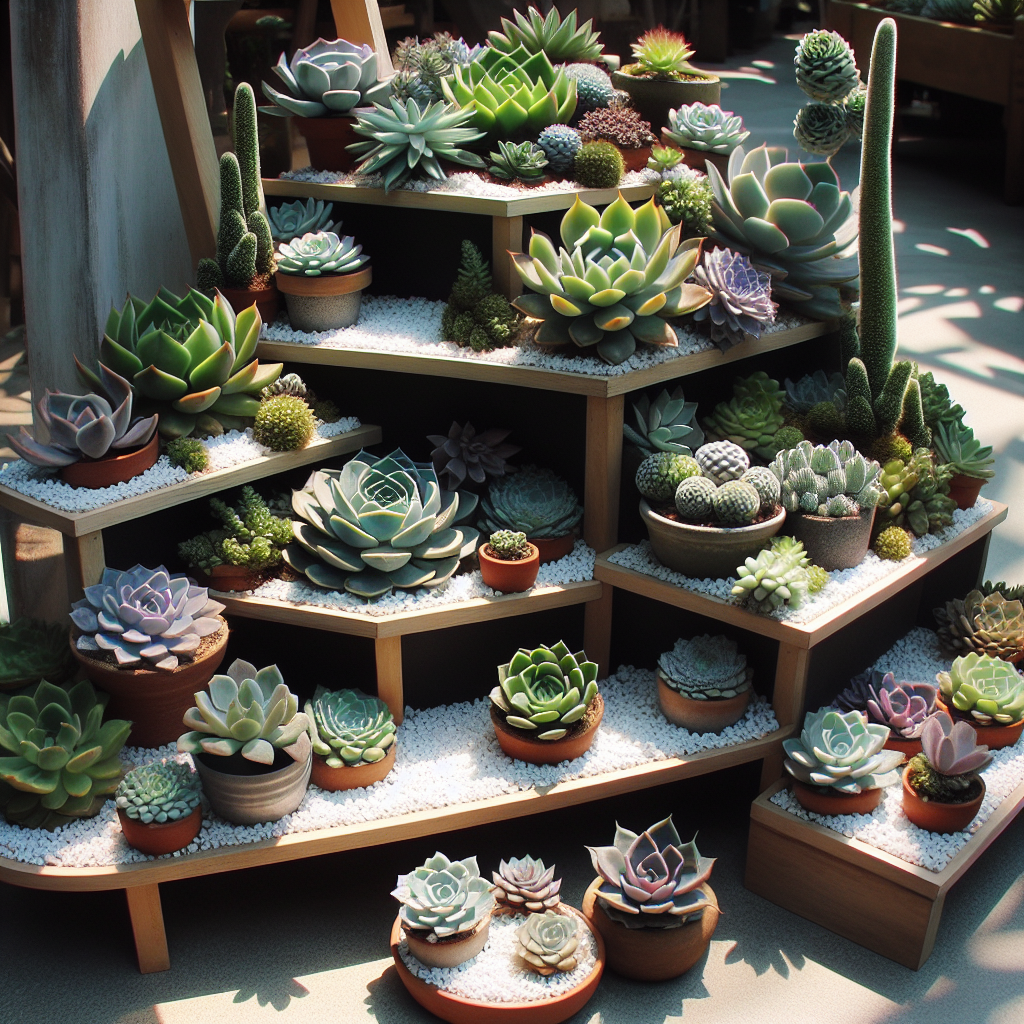
Garden Trellis with Climbing Vines for Vertical Impact
Are you looking to add a touch of elegance and beauty to your garden? A garden trellis with climbing vines can be the perfect solution. Not only will it provide a stunning visual impact, but it will also create a vertical element in your garden, making the most of your available space. In this article, we will guide you through the step-by-step process of creating a garden trellis with climbing vines, ensuring that you have all the necessary information and instructions to complete this project successfully.
Materials and Tools
Before we dive into the construction process, let’s gather all the materials and tools you will need:
- Wooden posts (4×4 inches)
- Wooden beams (2×4 inches)
- Wire mesh or lattice panels
- Screws
- Drill
- Saw
- Measuring tape
- Pencil
- Level
- Wire cutters
- Staple gun
- Pruning shears
- Gloves
Step 1: Planning and Design
Before you start building your garden trellis, it’s essential to plan and design the structure. Consider the available space in your garden, the desired height and width of the trellis, and the type of climbing vines you want to grow. Sketch out your design on paper, taking into account the dimensions and proportions.
Step 2: Marking the Locations
Once you have your design ready, it’s time to mark the locations where you will install the wooden posts. Use a measuring tape, pencil, and level to ensure accuracy. The distance between the posts will depend on the width of your trellis and the strength of the climbing vines you plan to grow. Typically, a spacing of 6 to 8 feet between posts works well.
Step 3: Digging Holes
With the locations marked, it’s time to dig the holes for the wooden posts. The depth of the holes should be at least one-third of the total height of the posts. Use a shovel or post hole digger to create the holes, ensuring that they are deep and wide enough to provide stability for the trellis.
Step 4: Installing the Wooden Posts
Once the holes are ready, it’s time to install the wooden posts. Place each post in its respective hole and use a level to ensure they are perfectly vertical. Fill the holes with soil, firmly packing it around the posts to provide stability. Use a measuring tape to ensure that the posts are at the same height.
Step 5: Attaching the Beams
Now that the posts are securely in place, it’s time to attach the wooden beams. These beams will provide the framework for the wire mesh or lattice panels. Measure the desired height and width of the trellis and cut the beams accordingly. Attach them to the posts using screws, ensuring that they are level and securely fastened.
Step 6: Adding the Wire Mesh or Lattice Panels
With the framework in place, it’s time to add the wire mesh or lattice panels. Measure the dimensions required and cut the material accordingly. Use a staple gun to attach the wire mesh or lattice panels to the wooden beams, ensuring that they are taut and securely fastened. Trim any excess material using wire cutters.
Step 7: Preparing the Soil
Before you start planting your climbing vines, it’s essential to prepare the soil. Remove any weeds or debris from the area around the trellis and loosen the soil using a garden fork or tiller. Add compost or organic matter to improve the soil’s fertility and drainage.
Step 8: Choosing and Planting Climbing Vines
Now comes the exciting part – choosing and planting your climbing vines. Consider the climate and sunlight conditions in your area, as different vines thrive in different environments. Some popular choices include clematis, jasmine, honeysuckle, and wisteria. Dig holes around the base of the trellis, ensuring that they are deep enough to accommodate the root ball of the vine. Place the vine in the hole, backfill with soil, and gently firm it around the base.
Step 9: Training and Pruning
As your climbing vines grow, it’s important to train and prune them to ensure they follow the desired path on the trellis. Use garden twine or plant ties to gently guide the vines along the wire mesh or lattice panels. Regularly prune any dead or damaged branches to promote healthy growth and maintain the desired shape of the trellis.
Step 10: Maintenance and Care
Once your garden trellis with climbing vines is established, it’s important to provide regular maintenance and care. Water the vines regularly, especially during dry periods, and fertilize them according to the specific requirements of the chosen vine species. Monitor for pests and diseases, and take appropriate action if necessary. Regularly inspect the trellis for any signs of damage or instability and make any necessary repairs.
Conclusion
Creating a garden trellis with climbing vines can be a rewarding and visually stunning project for any garden enthusiast. By following the step-by-step instructions outlined in this article, you now have all the knowledge and guidance to embark on this DIY project. Remember to plan and design your trellis, gather all the necessary materials and tools, and follow each step carefully. With time and proper care, your garden trellis will become a focal point in your garden, providing vertical impact and a beautiful display of climbing vines.


