Step-by-Step Guide to DIY Bathtub Refinishing
Are you tired of looking at your old, worn-out bathtub? Do you dream of a luxurious, spa-like experience every time you step into your bathroom? Well, you don’t have to break the bank to achieve that new look you desire. With a little bit of time and effort, you can give your bathtub a stunning makeover with a DIY refinishing project. In this step-by-step guide, we will walk you through the process of bathtub refinishing, so you can transform your bathroom into a sanctuary of relaxation and beauty.
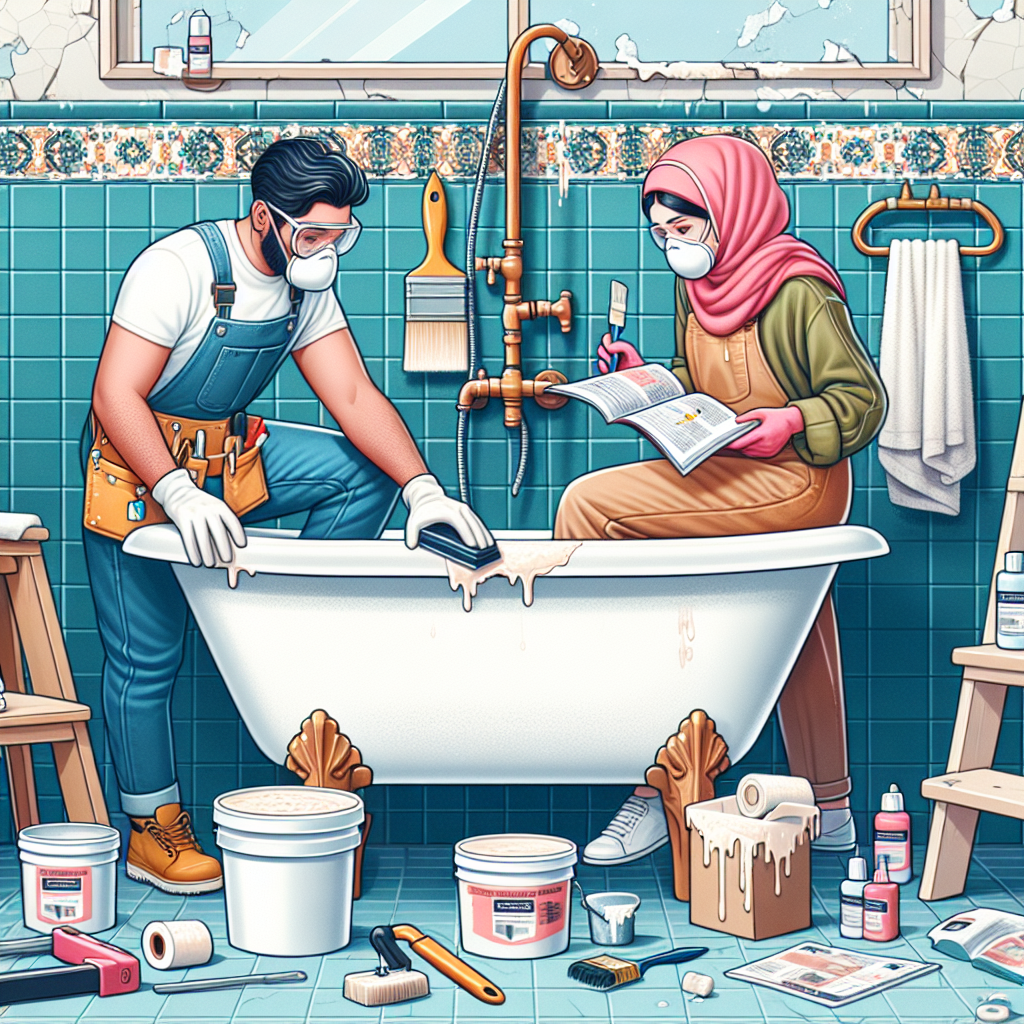
The first step in any DIY project is preparation. Before you begin refinishing your bathtub, make sure you have all the necessary tools and materials. You will need a bathtub refinishing kit, which typically includes a cleaner, primer, paint, and a topcoat. Additionally, gather some sandpaper, a paintbrush or roller, a drop cloth, and a mask for protection.
Once you have everything you need, start by thoroughly cleaning your bathtub. Remove any soap scum, dirt, or grime using a non-abrasive cleaner. Make sure to rinse the bathtub well and let it dry completely before moving on to the next step.
Next, it’s time to sand the surface of your bathtub. This step is crucial for creating a smooth and even finish. Use a fine-grit sandpaper to gently sand the entire surface of the bathtub. This will help the primer adhere better and ensure a long-lasting finish. Remember to wear a mask to protect yourself from any dust particles.
After sanding, wipe down the bathtub with a damp cloth to remove any dust. Now, it’s time to apply the primer. Follow the instructions on your refinishing kit to apply an even coat of primer to the bathtub. Allow the primer to dry completely before moving on to the next step. This usually takes a few hours, so be patient.
Once the primer is dry, it’s time to apply the paint. Choose a color that complements your bathroom decor and creates the ambiance you desire. Using a paintbrush or roller, apply an even coat of paint to the entire surface of the bathtub. Take your time and make sure to cover every inch of the bathtub. Allow the paint to dry completely before applying a second coat if necessary.
Finally, it’s time to apply the topcoat. The topcoat will protect the paint and give your bathtub a glossy, finished look. Follow the instructions on your refinishing kit to apply the topcoat evenly. Allow the topcoat to dry completely before using your bathtub.
Congratulations! You have successfully completed your DIY bathtub refinishing project. Step back and admire your newly transformed bathtub. It’s amazing how a little bit of time and effort can make such a big difference. Now, every time you step into your bathroom, you will be greeted by a beautiful, spa-like bathtub that will make you feel like you’re on vacation.
Remember, DIY projects can be fun and rewarding, but they also require patience and attention to detail. Take your time, follow the instructions carefully, and don’t rush the process. With a little bit of effort, you can achieve the bathroom of your dreams without breaking the bank. So go ahead, grab your refinishing kit, and start transforming your bathtub today. You deserve a little luxury in your life!


