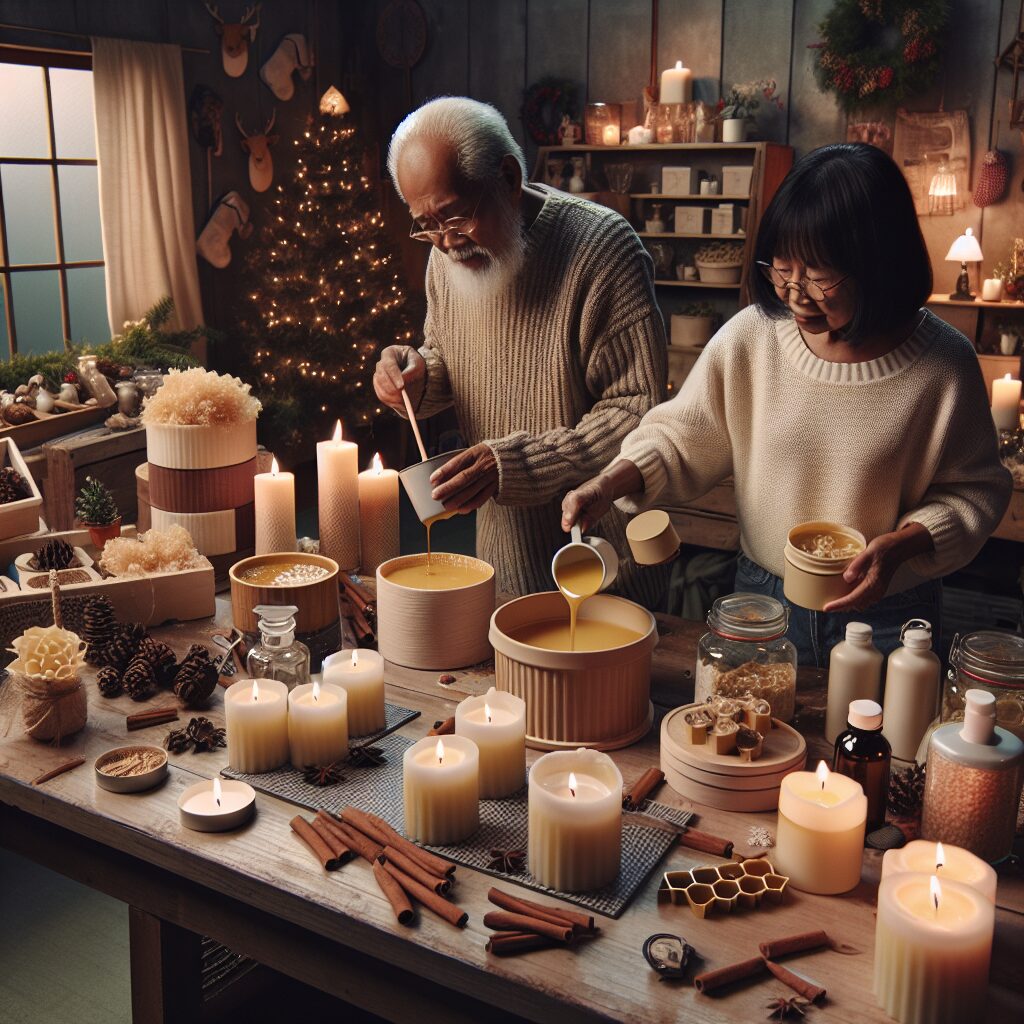
Christmas Candle Making: Make Scented Candles for a Warm Holiday Atmosphere
Are you looking to add a touch of warmth and coziness to your home this holiday season? Look no further than Christmas candle making! Creating your own scented candles is not only a fun and creative project, but it also allows you to customize the scents and designs to perfectly suit your taste. In this comprehensive guide, we will walk you through the step-by-step process of making scented candles that will fill your home with a delightful aroma and create a warm holiday atmosphere. So, let’s get started!
Materials You’ll Need
Before we dive into the candle making process, let’s gather all the necessary materials. Here’s what you’ll need:
- Wax flakes or blocks
- Candle wicks
- Candle containers or molds
- Fragrance oils
- Candle dye or color blocks
- Double boiler or a heat-resistant container
- Thermometer
- Stirring utensil (preferably a metal spoon)
- Adhesive (such as hot glue or wick stickers)
- Scissors
- Optional: Decorative elements (such as dried flowers, cinnamon sticks, or glitter)
Once you have gathered all the materials, you’re ready to start making your own scented candles!
Step 1: Prepare Your Workspace
Before you begin, it’s important to set up a clean and organized workspace. Clear a table or countertop and cover it with newspaper or a plastic sheet to protect the surface from any spills or wax drips. Make sure you have all your materials within reach for easy access during the candle making process.
Step 2: Choose Your Wax
The first decision you’ll need to make is what type of wax to use for your candles. There are several options available, including soy wax, beeswax, and paraffin wax. Each type of wax has its own unique characteristics, so choose the one that best suits your preferences and needs. Soy wax is a popular choice for its clean burn and eco-friendly nature, while beeswax offers a natural honey scent. Paraffin wax, on the other hand, is known for its excellent scent throw and affordability.
Step 3: Prepare Your Candle Containers or Molds
If you’re using candle containers, clean them thoroughly to ensure there are no dust or residue. If you prefer to use molds, make sure they are clean and dry. Additionally, if you’re using molds, you’ll need to prepare them by attaching the wick to the bottom. You can use a small amount of hot glue or a wick sticker to secure the wick in place.
Step 4: Melt the Wax
Now it’s time to melt the wax. If you’re using wax flakes, place them in a double boiler or a heat-resistant container. If you’re using wax blocks, chop them into smaller pieces to facilitate melting. Fill a larger pot with water and place the double boiler or heat-resistant container inside. Heat the water over medium heat until the wax melts completely. Use a thermometer to monitor the temperature and ensure it doesn’t exceed the recommended melting point for your chosen wax.
Step 5: Add Fragrance and Color
Once the wax has melted, it’s time to add fragrance and color to your candles. Measure the desired amount of fragrance oil using a dropper or a measuring spoon. The recommended ratio is approximately 1 ounce of fragrance oil per pound of wax, but you can adjust it according to your preference. Similarly, if you want to add color to your candles, you can use candle dye or color blocks. Start with a small amount and gradually add more until you achieve the desired color intensity.
Step 6: Pour the Wax
Before pouring the wax into your containers or molds, make sure the temperature has cooled down slightly. Ideally, it should be around 140-160°F (60-71°C) to prevent any damage to the containers or molds. Slowly and carefully pour the wax into the prepared containers or molds, leaving a small space at the top. If you’re using molds, make sure the wick stays centered as you pour the wax.
Step 7: Let the Candles Cool and Set
Allow the candles to cool and set undisturbed for several hours or overnight. This will ensure that the wax solidifies completely and the candles are ready for use. Avoid moving or touching the candles during this time to prevent any imperfections or uneven surfaces.
Step 8: Trim the Wicks
Once the candles have fully set, it’s time to trim the wicks. Use a pair of scissors to trim the wicks to approximately ¼ inch (0.6 cm) above the wax surface. This will help ensure a clean and even burn when you light the candles.
Step 9: Optional: Decorate Your Candles
If you want to add a personal touch to your candles, you can decorate them with various elements. Consider tying a festive ribbon around the container or attaching dried flowers, cinnamon sticks, or glitter to create a beautiful and unique design. Let your creativity shine!
Step 10: Enjoy Your Homemade Scented Candles
Now that your scented candles are ready, it’s time to enjoy the warm and cozy holiday atmosphere they create. Light them up, sit back, and bask in the delightful aroma that fills your home. These homemade candles also make wonderful gifts for friends and family, so consider sharing the joy of candle making with your loved ones.
Conclusion
Candle making is a rewarding and enjoyable DIY project that allows you to create personalized scented candles for a warm holiday atmosphere. By following the step-by-step instructions in this guide, you can make your own candles with ease. Remember to gather all the necessary materials, prepare your workspace, choose the right wax, add fragrance and color, pour the wax carefully, and let the candles cool and set. Don’t forget to trim the wicks and, if desired, decorate your candles to add a special touch. Now, it’s time to embrace the holiday spirit and enjoy the cozy ambiance created by your homemade scented candles. Happy candle making!


