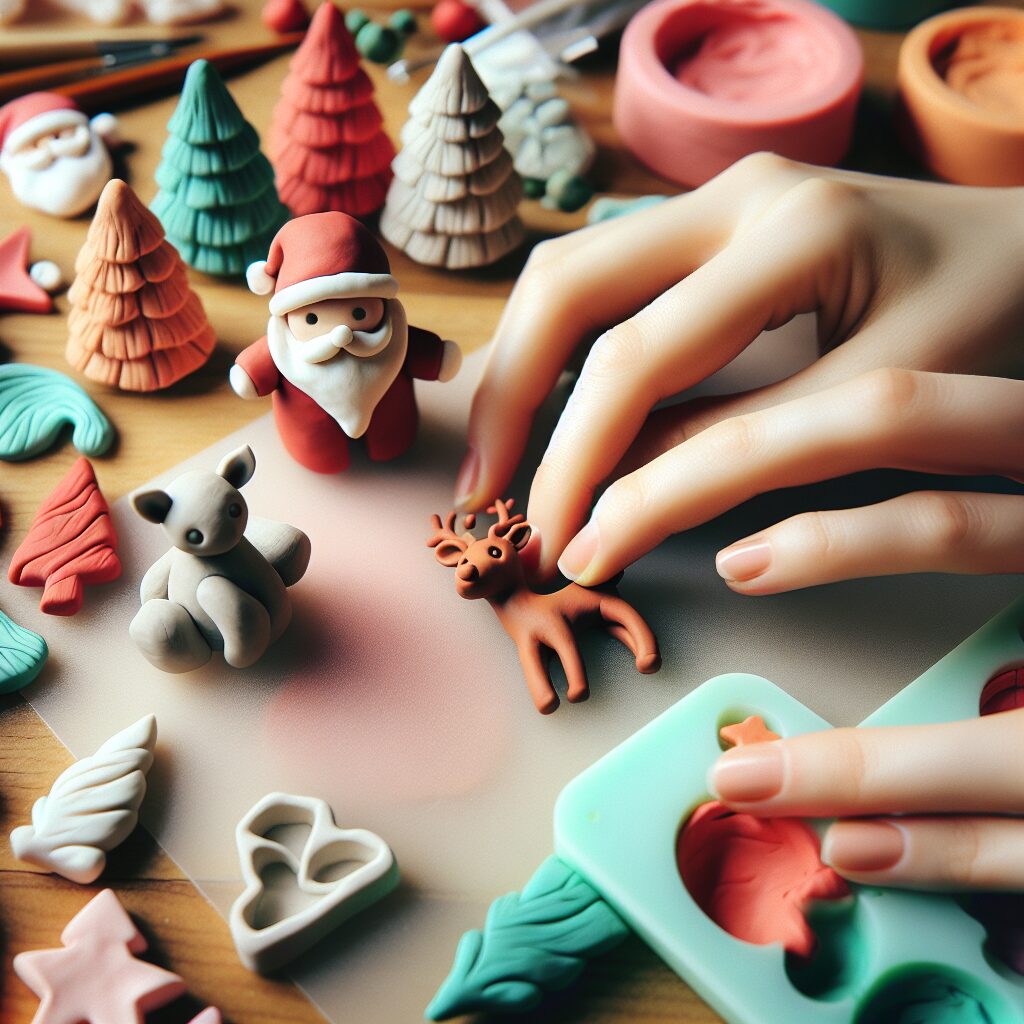
Christmas Clay Figurines: Mold and Paint Clay Figurines for a Personal Touch
Christmas is a time of joy, love, and creativity. What better way to add a personal touch to your holiday decorations than by making your own clay figurines? With just a few simple materials and some creativity, you can create beautiful and unique Christmas clay figurines that will impress your friends and family. In this article, we will guide you through the step-by-step process of molding and painting clay figurines, providing you with valuable insights and detailed instructions to complete this fun and rewarding DIY project.
Materials Needed
- Clay (air-dry or oven-bake)
- Sculpting tools
- Acrylic paints
- Paintbrushes
- Water container
- Palette or plate
- Clear varnish (optional)
- Glitter (optional)
- Ribbon or string (for hanging)
Step 1: Gather Your Inspiration
Before you start molding your clay figurines, it’s important to gather inspiration for your designs. Browse through magazines, websites, or even take a walk in nature to find ideas that resonate with you. Consider traditional Christmas symbols like Santa Claus, reindeer, snowflakes, or angels, or let your imagination run wild with unique and whimsical characters.
Step 2: Prepare Your Workspace
Creating clay figurines can get messy, so it’s essential to prepare your workspace properly. Lay down a plastic tablecloth or some newspaper to protect your surfaces. Make sure you have enough space to work comfortably and gather all your materials within reach.
Step 3: Choose Your Clay
There are two main types of clay you can use for this project: air-dry clay and oven-bake clay. Air-dry clay is convenient as it doesn’t require baking, but it may take longer to dry and can be more fragile. Oven-bake clay, on the other hand, is more durable and dries quickly, but it requires baking in an oven according to the manufacturer’s instructions. Choose the type of clay that suits your preferences and needs.
Step 4: Start Molding
Now it’s time to bring your ideas to life by molding the clay. Start by kneading the clay to make it soft and pliable. Roll it into a ball and flatten it slightly to create a base for your figurine. Use your sculpting tools to shape the clay into the desired form, adding details and textures as you go. Don’t be afraid to experiment and let your creativity shine!
Step 5: Let It Dry
If you’re using air-dry clay, carefully place your molded figurines on a clean surface and let them dry completely. This process may take several days, depending on the thickness of your clay and the humidity in your environment. If you’re using oven-bake clay, follow the manufacturer’s instructions for baking times and temperatures.
Step 6: Paint Your Figurines
Once your clay figurines are dry, it’s time to add color and personality to them. Gather your acrylic paints, paintbrushes, and a palette or plate for mixing colors. Start by applying a base coat of paint to your figurines, covering the entire surface. Then, use smaller brushes to add details and highlights. Let your imagination guide you as you bring your figurines to life with vibrant colors.
Step 7: Add Finishing Touches
To make your clay figurines truly special, consider adding some finishing touches. You can apply a coat of clear varnish to protect the paint and give your figurines a glossy finish. If you want to add some sparkle, sprinkle a touch of glitter on certain areas while the varnish is still wet. Finally, attach a ribbon or string to your figurines so you can hang them on your Christmas tree or around your home.
Step 8: Display and Enjoy!
Now that your Christmas clay figurines are complete, it’s time to display them proudly and enjoy the festive atmosphere they bring to your home. Arrange them on a mantel, create a centerpiece for your dining table, or hang them on your Christmas tree. Let your creativity shine and share your beautiful creations with your loved ones.
Summary
Creating your own Christmas clay figurines is a wonderful way to add a personal touch to your holiday decorations. By following these step-by-step instructions, you can mold and paint clay figurines that reflect your creativity and style. Remember to gather inspiration, prepare your workspace, choose the right clay, mold your figurines, let them dry, paint them with care, add finishing touches, and proudly display your creations. This DIY project is not only fun and rewarding but also allows you to create lasting memories and traditions. So, grab your clay and sculpting tools, and let your imagination run wild this Christmas!


