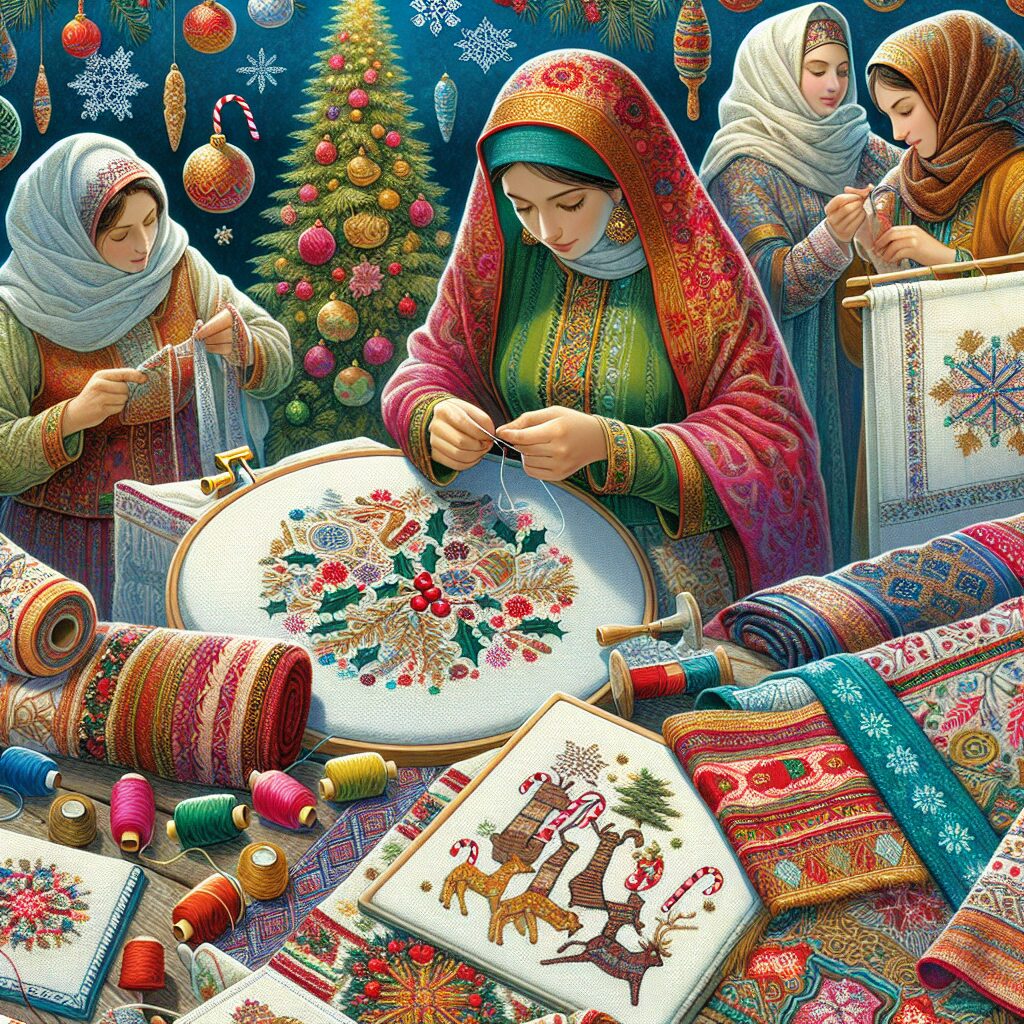
Christmas Embroidery Projects: Embroider Holiday Motifs on Various Textiles
Are you looking to add a personal touch to your Christmas decorations this year? Why not try your hand at Christmas embroidery projects? Embroidering holiday motifs on various textiles is a fun and creative way to bring the festive spirit into your home. In this article, we will guide you through the step-by-step process of creating beautiful embroidered pieces that will impress your family and friends. So, grab your needle and thread, and let’s get started!
Materials Needed
Before we dive into the embroidery process, let’s gather all the materials you’ll need for this project:
- Embroidery hoop
- Embroidery needles
- Embroidery floss in various colors
- Fabric (such as cotton or linen)
- Embroidery scissors
- Transfer pen or pencil
- Iron-on transfer patterns or stencils (optional)
- Embroidery transfer paper (if not using iron-on transfers)
- Water-soluble fabric marker
- Embroidery thread organizer (optional)
- Thimble (optional)
Once you have gathered all the necessary materials, you’re ready to start your Christmas embroidery project!
Step 1: Choose Your Design
The first step in any embroidery project is to choose a design. For Christmas embroidery, there are countless holiday motifs to choose from. You can opt for classic designs like snowflakes, Christmas trees, or reindeer, or get creative and design your own unique motif. Consider the size and complexity of the design, as well as the fabric you’ll be embroidering on.
If you’re new to embroidery or looking for some inspiration, you can find a wide range of Christmas embroidery patterns online or in craft stores. These patterns often come with detailed instructions and can be a great starting point for beginners.
Step 2: Prepare Your Fabric
Once you have chosen your design, it’s time to prepare your fabric. Start by washing and ironing the fabric to remove any wrinkles or dirt. This will ensure a smooth surface for your embroidery. If you’re using a fabric with a loose weave, you may also want to consider using a stabilizer to prevent puckering or distortion during the embroidery process.
Step 3: Transfer the Design
Next, you’ll need to transfer the design onto your fabric. There are several methods you can use to transfer your design:
- Iron-on transfer patterns or stencils: If you’re using iron-on transfers, simply follow the instructions provided with the transfer. Place the transfer on the fabric, apply heat with an iron, and the design will transfer onto the fabric.
- Embroidery transfer paper: If you’re not using iron-on transfers, you can trace the design onto embroidery transfer paper using a transfer pen or pencil. Place the transfer paper on the fabric, with the traced side facing down, and trace over the design with a pen or pencil. The pressure will transfer the design onto the fabric.
- Water-soluble fabric marker: Another option is to use a water-soluble fabric marker to directly draw the design onto the fabric. This marker will disappear when you wash or dampen the fabric.
Choose the method that works best for you and carefully transfer the design onto your fabric.
Step 4: Thread Your Needle
Now it’s time to thread your needle. Select the embroidery floss colors that match your design and separate the strands. Most embroidery floss comes in six strands, but you may only need two or three strands for your project. Thread your needle with the desired number of strands and tie a knot at the end.
Step 5: Start Embroidering
With your fabric prepared and your needle threaded, it’s time to start embroidering! Follow these steps to create beautiful holiday motifs:
- Choose your starting point: Decide where you want to begin your embroidery. It’s often best to start from the center of the design and work your way outwards.
- Secure your thread: To secure your thread, bring the needle up from the back of the fabric and leave a small tail at the back. Stitch over the tail with your first few stitches to hold it in place.
- Embroidery stitches: There are various embroidery stitches you can use to create different effects. Some common stitches for Christmas embroidery include backstitch, satin stitch, French knot, and chain stitch. Experiment with different stitches to add texture and dimension to your design.
- Follow your design: Use your transferred design as a guide and carefully stitch along the lines. Take your time and make sure your stitches are even and neat.
- Change colors: If your design requires multiple colors, simply tie off the thread at the back of the fabric and start with a new color. Make sure to secure the ends of your threads to prevent them from unraveling.
- Finishing touches: Once you have completed your embroidery, make any necessary adjustments and trim any excess threads. If you used a stabilizer, carefully remove it from the back of the fabric.
Continue embroidering until you have completed your design. Take breaks when needed and enjoy the process of creating something beautiful with your own hands.
Step 6: Display Your Embroidery
Once you have finished embroidering your holiday motifs, it’s time to display your creations! Here are a few ideas for showcasing your embroidered pieces:
- Frame it: Place your embroidered fabric in a decorative frame and hang it on a wall or display it on a shelf.
- Make a pillow: Turn your embroidered fabric into a festive pillow by sewing it onto a plain pillowcase or creating a new pillow cover.
- Decorate a table runner: Embroider holiday motifs onto a plain table runner to add a touch of elegance to your Christmas table.
- Personalize stockings: Embroider names or initials onto Christmas stockings to make them extra special.
- Create ornaments: Cut out your embroidered designs and attach them to ribbon or string to create unique Christmas ornaments.
Get creative


