Christmas Snow Globe Creations: Make Your Own Snow Globes for a Charming Holiday Display
Are you looking for a unique and charming addition to your holiday decorations? Look no further than creating your own Christmas snow globes! These delightful creations not only add a touch of whimsy to your home but also make for a fun and engaging DIY project. In this article, we will guide you through the step-by-step process of making your own snow globes, providing you with detailed insights and instructions to ensure your success. So, let’s get started and bring some holiday magic into your home!
Materials You Will Need
Before we dive into the process, let’s gather all the materials you’ll need to create your Christmas snow globes:
- A glass jar with a tight-fitting lid
- A waterproof adhesive or epoxy
- A small figurine or ornament
- Distilled water
- Glycerin
- Glitter or fake snow
- A small piece of foam or cork
- Ribbon or decorative elements (optional)
Make sure you have all these materials ready before you begin the project. Now, let’s move on to the step-by-step instructions.
Step 1: Choose Your Jar
The first step in creating your Christmas snow globe is to select a glass jar with a tight-fitting lid. You can repurpose an old jam jar or find a suitable jar at a craft store. Ensure that the jar is clean and free from any labels or residue.
Step 2: Select Your Figurine or Ornament
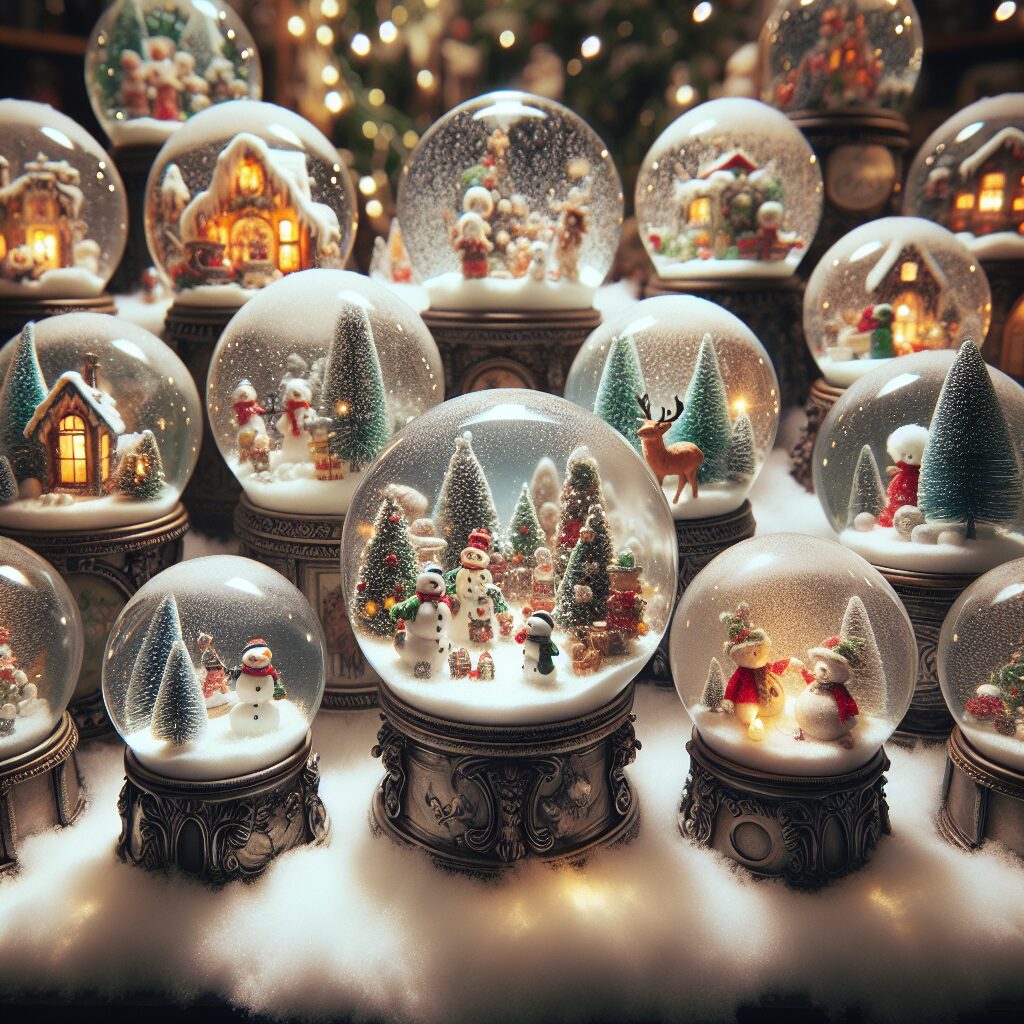
Next, choose a small figurine or ornament that will be the centerpiece of your snow globe. It could be a miniature Christmas tree, a snowman, or even a tiny Santa Claus. Get creative and select something that captures the holiday spirit.
Step 3: Attach the Figurine
Using a waterproof adhesive or epoxy, securely attach the figurine to the inside of the jar lid. Allow the adhesive to dry completely before moving on to the next step. This will ensure that your figurine stays in place when you shake the snow globe.
Step 4: Create the Snowy Scene
Now it’s time to create the snowy scene inside your snow globe. Take a small piece of foam or cork and attach it to the bottom of the jar using the adhesive. This will serve as the base for your figurine and help create the illusion of snow-covered ground.
Step 5: Add Water and Glycerin
Fill the jar with distilled water, leaving a small space at the top to allow for displacement when you insert the figurine. Add a few drops of glycerin to the water. The glycerin will thicken the water slightly and help the glitter or fake snow fall more slowly, creating a mesmerizing effect.
Step 6: Add Glitter or Fake Snow
Now comes the fun part! Sprinkle some glitter or fake snow into the water. Choose colors that complement your figurine and add a touch of sparkle to your snow globe. Experiment with different amounts and types of glitter to achieve your desired effect.
Step 7: Seal the Jar
Carefully place the jar lid with the attached figurine onto the jar, ensuring it is tightly sealed. Give it a gentle shake to test if the figurine stays in place and if the water and glitter create the desired snowfall effect. If everything looks good, your snow globe is ready to be displayed!
Step 8: Decorate the Jar (Optional)
If you want to add an extra festive touch to your snow globe, consider decorating the jar itself. You can tie a ribbon around the lid, attach a small bow, or even paint the jar with holiday-themed designs. Let your creativity shine and make your snow globe truly unique.
Step 9: Display and Enjoy!
Find the perfect spot in your home to display your Christmas snow globe creation. It could be on a mantel, a side table, or even as a centerpiece for your holiday dinner table. When you’re ready to enjoy its enchanting beauty, simply give it a gentle shake and watch the snowfall.
Estimated Time and Final Thoughts
The time required to complete this project will vary depending on your crafting skills and the complexity of your snow globe design. On average, it should take around 30 minutes to an hour to create a beautiful Christmas snow globe.
Remember, the key to a successful snow globe is to ensure that the figurine is securely attached, the water is sealed tightly, and the glitter or fake snow creates a magical snowfall effect. Feel free to experiment with different elements and designs to make your snow globe truly unique.
Now that you have all the knowledge and instructions you need, it’s time to unleash your creativity and start making your own Christmas snow globes. Get ready to bring the holiday spirit to life with these charming and personalized decorations. Happy crafting!


