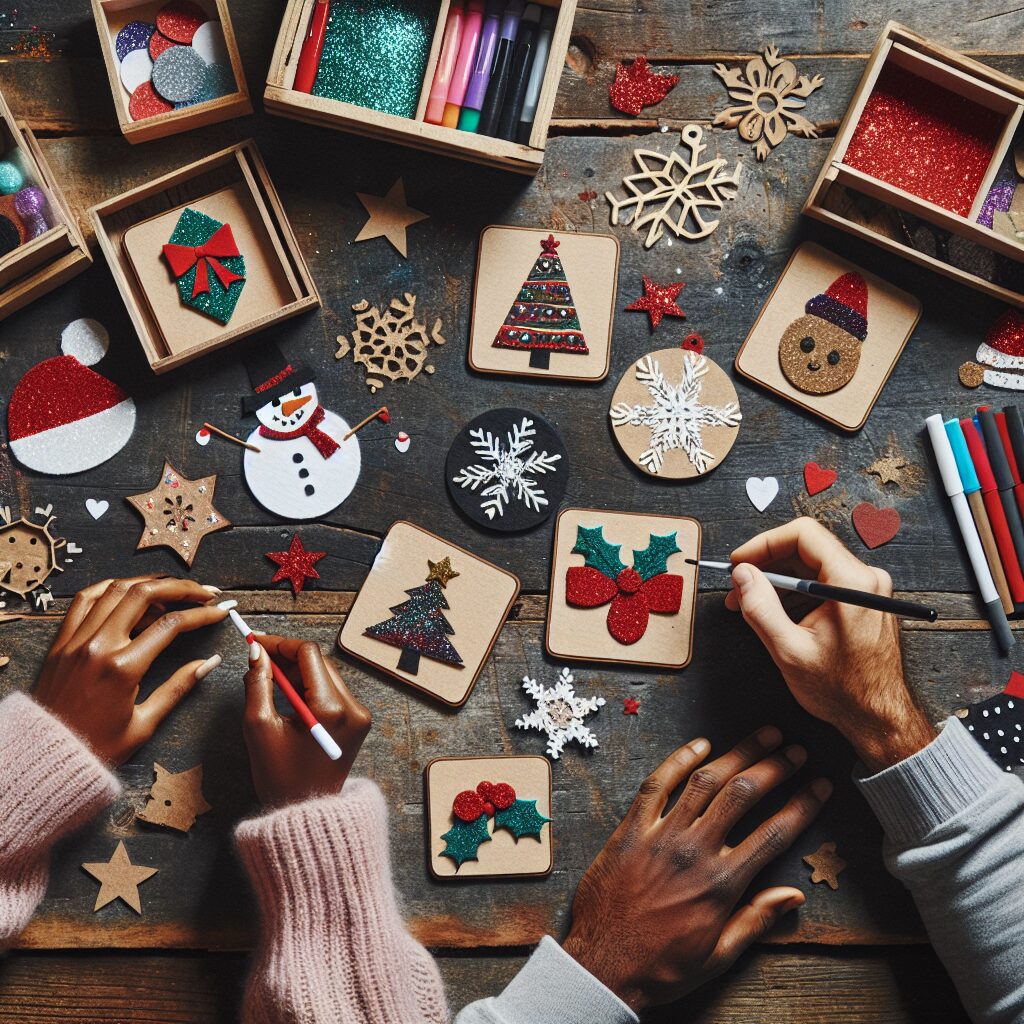
Christmas Themed Coasters Making: Craft Coasters with Festive Designs
Are you looking to add a touch of holiday cheer to your home decor? Why not try making your own Christmas themed coasters? These festive coasters not only protect your furniture from unsightly water rings but also serve as beautiful decorations during the holiday season. In this step-by-step guide, we will walk you through the process of creating unique and eye-catching coasters that will impress your guests. So, let’s get started!
Materials You Will Need
- 4-inch square ceramic tiles (quantity depends on how many coasters you want to make)
- Mod Podge or any other decoupage glue
- Christmas-themed scrapbook paper or napkins
- Scissors
- Paintbrush
- Felt or cork sheets
- Hot glue gun
- Clear acrylic sealer spray
- Ribbon or twine (optional)
Step-by-Step Instructions
Step 1: Prepare Your Workspace
Before you begin crafting, it’s important to set up a clean and organized workspace. Lay down some newspaper or a plastic tablecloth to protect your surfaces from any spills or glue mishaps. Gather all your materials and tools within reach, ensuring that everything is easily accessible.
Step 2: Cut the Scrapbook Paper
Take your Christmas-themed scrapbook paper or napkins and cut them into 4-inch squares. These will be the decorative tops of your coasters. Choose patterns and designs that resonate with the holiday spirit, such as snowflakes, reindeer, or Christmas trees.
Step 3: Apply Mod Podge
Using a paintbrush, apply a thin layer of Mod Podge or decoupage glue to the surface of a ceramic tile. Make sure to cover the entire area evenly.
Step 4: Attach the Scrapbook Paper
Place one of the cut scrapbook paper squares onto the glued surface of the tile. Smooth out any wrinkles or air bubbles using your fingers or a clean cloth. Press firmly to ensure proper adhesion.
Step 5: Seal the Design
Once the scrapbook paper is securely attached, apply another layer of Mod Podge or decoupage glue on top of the paper. This will seal the design and protect it from moisture. Make sure to cover the entire surface of the paper evenly.
Step 6: Repeat Steps 3-5
Repeat steps 3 to 5 for each ceramic tile and scrapbook paper square until all your coasters are decorated. Allow them to dry completely before moving on to the next step.
Step 7: Cut Felt or Cork Backings
Measure and cut squares of felt or cork that are slightly smaller than your ceramic tiles. These will serve as the backings for your coasters, providing a soft and non-slip surface.
Step 8: Attach the Backings
Using a hot glue gun, carefully apply a thin line of glue along the edges of the felt or cork squares. Press them firmly onto the backside of each ceramic tile, ensuring that they are centered and aligned.
Step 9: Apply Clear Acrylic Sealer
To protect your coasters from spills and stains, spray a coat of clear acrylic sealer over the entire surface. This will create a waterproof barrier and give your coasters a glossy finish. Follow the instructions on the sealer spray can for best results.
Step 10: Add a Festive Touch (Optional)
If you want to add an extra festive touch to your coasters, you can tie a ribbon or twine around each set. This will not only enhance their appearance but also make them ready for gifting.
Project Completion and Inspiration
Congratulations! You have successfully crafted your own Christmas themed coasters. Now, take a step back and admire your handiwork. These coasters will not only protect your furniture but also add a festive and personalized touch to your home decor during the holiday season.
Imagine setting your dining table with these beautiful coasters, each showcasing a different Christmas design. Your guests will be impressed by your creativity and attention to detail. These coasters also make wonderful gifts for family and friends. Wrap them up in a festive box or tie them with a ribbon for a thoughtful and handmade present.
Remember, the possibilities are endless when it comes to designing your coasters. You can experiment with different scrapbook paper patterns, colors, and even add embellishments like glitter or sequins. Let your imagination run wild and create coasters that truly reflect your personal style and the spirit of the holiday season.
Key Takeaways
- Making Christmas themed coasters is a fun and creative DIY project.
- Gather all the necessary materials and set up a clean workspace before starting.
- Cut scrapbook paper into 4-inch squares and attach them to ceramic tiles using Mod Podge.
- Seal the design with another layer of Mod Podge to protect it from moisture.
- Add felt or cork backings to the coasters for a soft and non-slip surface.
- Apply a coat of clear acrylic sealer to make the coasters waterproof.
- Consider adding a festive touch with ribbons or twine.
- Admire your completed coasters and use them to decorate your home or give as gifts.
Now that you have learned how to make Christmas themed coasters, it’s time to unleash your creativity and start crafting. Enjoy the process and have fun making these festive and functional decorations for your home!


