Christmas Themed Wall Art: Make Your Own Festive Masterpiece
Are you looking to add a touch of holiday cheer to your home this Christmas season? Look no further than creating your own Christmas themed wall art! Not only will it add a festive ambiance to your space, but it will also showcase your creativity and DIY skills. In this comprehensive guide, we will walk you through the step-by-step process of making your own Christmas themed wall art. So, let’s get started and bring the holiday spirit to your walls!
Materials You Will Need
- Canvas or wooden board
- Acrylic paints in various colors (red, green, white, gold, silver, etc.)
- Paintbrushes in different sizes
- Pencil
- Eraser
- Masking tape
- Palette or disposable plate for mixing paints
- Water cup for rinsing brushes
- Palette knife (optional)
- Christmas-themed stencils or stamps (optional)
- Glitter or sequins (optional)
- Hot glue gun (optional)
- Ribbon or twine for hanging
Step-by-Step Instructions
Step 1: Prepare Your Workspace
Before diving into the creative process, it’s important to set up a clean and organized workspace. Lay down a protective covering on your table or floor to prevent any accidental spills or stains. Gather all your materials and arrange them within easy reach. This will ensure a smooth and enjoyable crafting experience.
Step 2: Choose Your Design
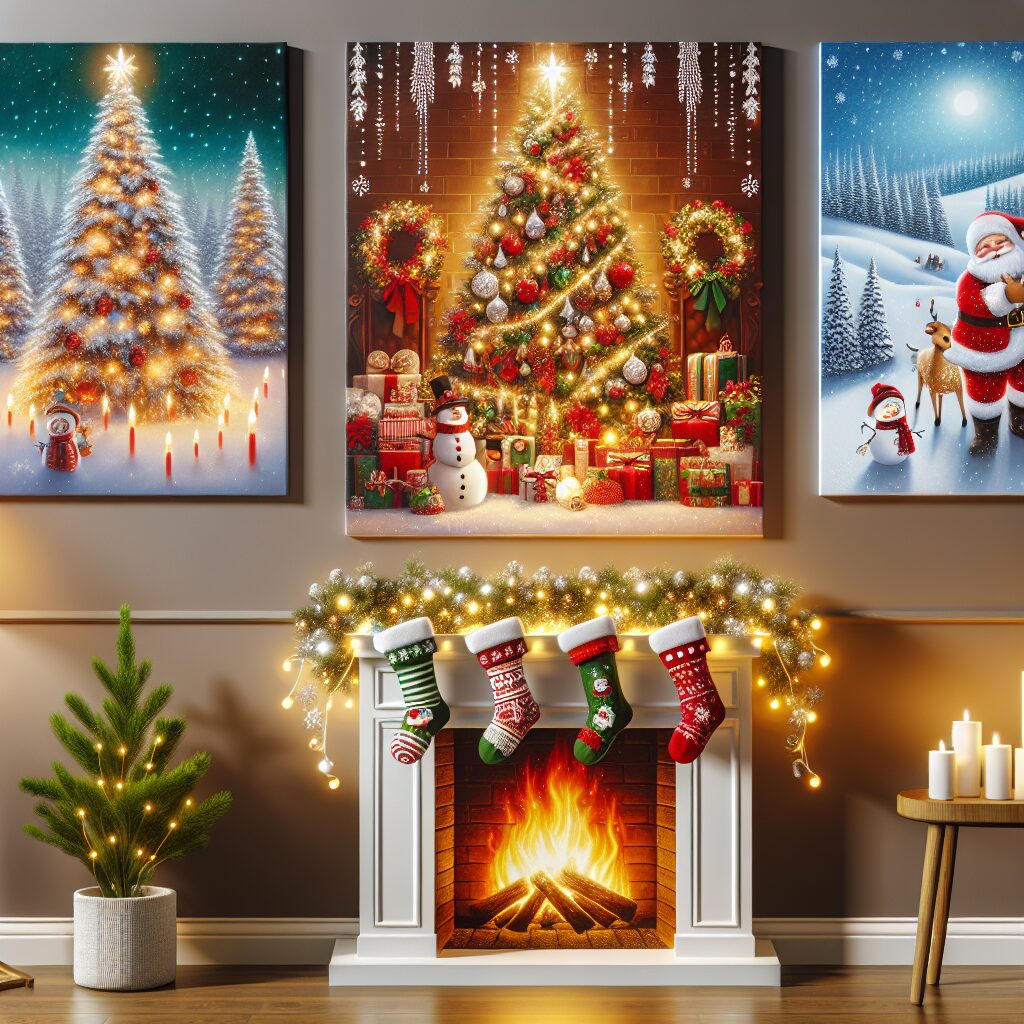
Now it’s time to decide on the design for your Christmas themed wall art. You can go for a classic holiday scene, such as a snow-covered landscape or a cozy fireplace with stockings. Alternatively, you can opt for a more modern and abstract approach, using geometric shapes or typography. Let your imagination run wild and choose a design that resonates with your personal style.
Step 3: Sketch Your Design
Using a pencil, lightly sketch your chosen design onto the canvas or wooden board. Don’t worry about making it perfect at this stage; it’s just a rough guideline to follow while painting. If you’re not confident in your drawing skills, you can also print out a template or use stencils to trace the design onto your surface.
Step 4: Prepare Your Paints
Squeeze out the acrylic paints onto your palette or disposable plate. Make sure to use a separate brush for each color to avoid muddying the shades. If you want to create custom colors, you can mix different paints using a palette knife. Experiment with different combinations until you achieve the desired hues for your Christmas themed wall art.
Step 5: Start Painting
Now comes the fun part – painting! Begin by filling in the larger areas of your design with the base colors. Use a larger brush for this step to cover more surface area quickly. As you progress, switch to smaller brushes for adding finer details and intricate elements. Take your time and enjoy the process of bringing your design to life with vibrant colors.
Step 6: Add Texture and Depth
To make your Christmas themed wall art more visually interesting, consider adding texture and depth to certain elements. You can achieve this by using techniques like dry brushing, stippling, or sponging. For example, you can use a dry brush to create a snowy effect on a winter landscape or use a sponge to add a textured background. Play around with different techniques and see what works best for your design.
Step 7: Incorporate Stencils or Stamps (Optional)
If you want to add some extra flair to your wall art, consider incorporating Christmas-themed stencils or stamps. These can be used to create intricate patterns, festive motifs, or even holiday greetings. Place the stencil or stamp on the desired area and apply paint using a sponge or brush. This step allows you to personalize your wall art and make it truly unique.
Step 8: Add Sparkle with Glitter or Sequins (Optional)
If you’re a fan of all things sparkly, why not add some glitter or sequins to your Christmas themed wall art? Apply a thin layer of glue using a brush or a hot glue gun on the areas where you want to add the sparkle. Sprinkle the glitter or carefully place the sequins onto the glue, pressing them gently to ensure they adhere properly. This step will give your wall art a magical touch that captures the essence of the holiday season.
Step 9: Let It Dry
Once you have finished painting and adding any additional embellishments, set your Christmas themed wall art aside to dry completely. This may take a few hours or overnight, depending on the thickness of the paint and the climate in your area. Avoid touching or moving the artwork until it is fully dry to prevent smudging or smearing.
Step 10: Hang and Enjoy!
Finally, it’s time to display your masterpiece! Attach a ribbon or twine to the back of the canvas or wooden board using a hot glue gun or staples. Make sure it is securely fastened to support the weight of the artwork. Choose a prominent spot on your wall and hang your Christmas themed wall art with pride. Step back and admire your creation, knowing that you have added a festive touch to your home with your own hands.
Estimated Time and Final Thoughts
The time required to complete your Christmas themed wall art will depend on the complexity of your design and the drying time of the paint. On average, this project can take anywhere from a few hours to a couple of days. It’s important to allocate enough time and be patient throughout the process to achieve the best results.
Creating your own Christmas themed wall art is not only a fun and rewarding DIY project but also a fantastic way to infuse your home with holiday spirit. Whether you’re a seasoned artist or a beginner, this step-by-step guide has provided you with the necessary instructions and inspiration to get started. So gather your materials, unleash your creativity, and let your walls shine with festive cheer this Christmas!


