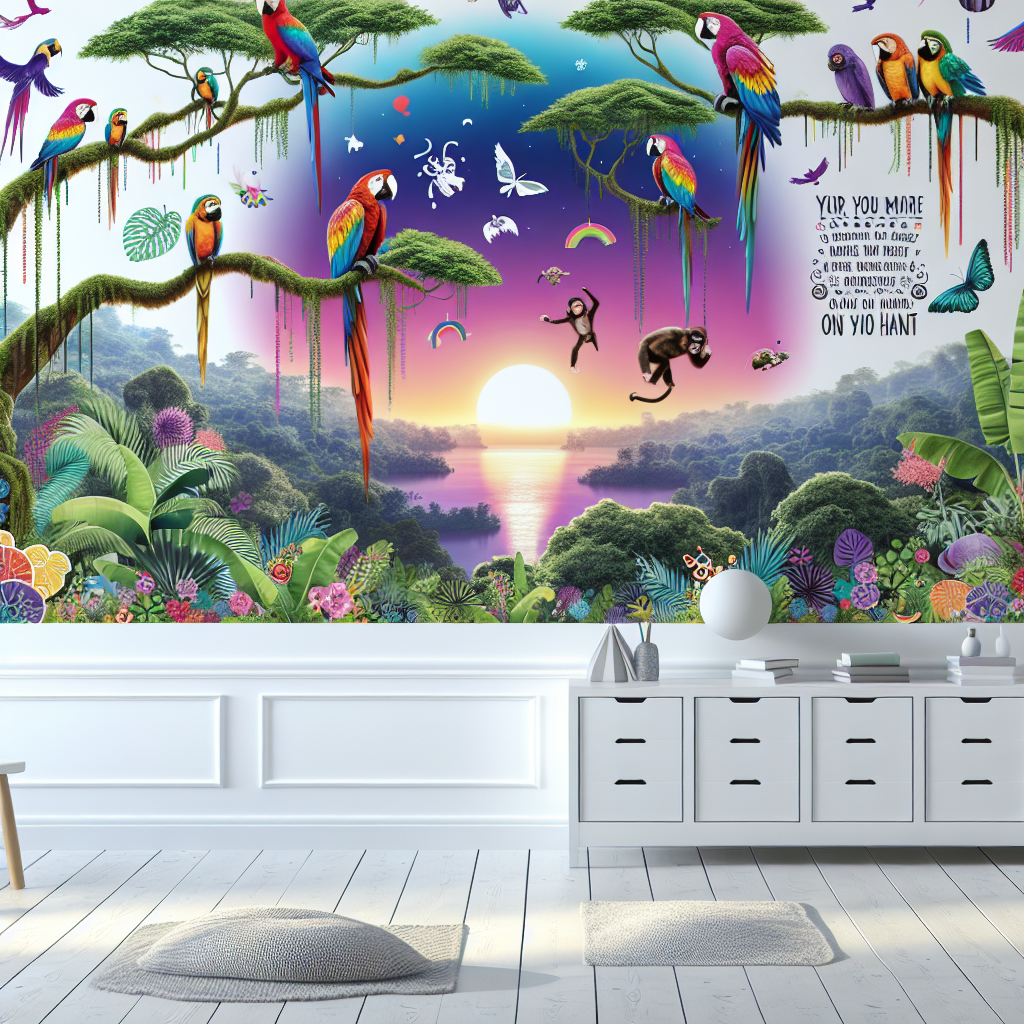
Customized Wall Decals: A Step-by-Step Guide to Personalize Your Space
Are you tired of staring at plain, boring walls? Do you want to add a touch of personality and creativity to your living space? Look no further! In this comprehensive guide, we will teach you how to create customized wall decals that will transform your walls into works of art. With just a few materials and a little bit of creativity, you can easily bring your vision to life. So, let’s get started on this exciting DIY project!
Materials You Will Need
- Self-adhesive vinyl sheets
- Scissors or craft knife
- Transfer paper
- Pencil
- Ruler or measuring tape
- Painter’s tape
- Optional: Cutting machine (e.g., Cricut or Silhouette)
Step 1: Choose Your Design
The first step in creating customized wall decals is to choose a design that reflects your personal style and complements your space. You can either create your own design or find inspiration from various sources such as magazines, websites, or even nature. Once you have a design in mind, sketch it out on a piece of paper using a pencil. This will serve as your template for cutting the vinyl.
Step 2: Measure and Prepare Your Wall
Before you start cutting the vinyl, it’s important to measure the wall where you plan to apply the decal. Use a ruler or measuring tape to determine the dimensions of the area. This will help you determine the size of your design and ensure a perfect fit. Clean the wall thoroughly to remove any dust or dirt that may interfere with the adhesion of the decal.
Step 3: Cut the Vinyl
Now it’s time to bring your design to life! Take your self-adhesive vinyl sheet and place it on a flat surface. Using your template as a guide, carefully cut out the design using scissors or a craft knife. If you have a cutting machine, such as a Cricut or Silhouette, you can use it to cut the vinyl more precisely. Make sure to follow the manufacturer’s instructions for your specific machine.
Step 4: Weed the Vinyl
Weeding is the process of removing the excess vinyl from your design. This step is crucial to ensure that only the desired elements of your design remain. Start by peeling away the outer edges of the vinyl, then use a weeding tool or your fingers to remove the smaller pieces. Take your time and be careful not to damage the delicate parts of your design.
Step 5: Apply Transfer Paper
Transfer paper is a crucial tool for transferring your vinyl design onto the wall. Cut a piece of transfer paper slightly larger than your design and carefully peel off the backing. Place the sticky side of the transfer paper onto your vinyl design, making sure to smooth out any air bubbles or wrinkles. Use a squeegee or a credit card to firmly press the transfer paper onto the vinyl, ensuring a strong bond.
Step 6: Transfer the Design to the Wall
Now comes the exciting part – transferring your design onto the wall! Start by positioning the vinyl with the transfer paper onto the desired location on the wall. Use painter’s tape to secure the top edge of the design, ensuring it doesn’t shift during the transfer process. Slowly peel away the transfer paper, starting from one corner and working your way across the design. Use the squeegee or credit card to smooth out any air bubbles or wrinkles as you go.
Step 7: Remove the Transfer Paper
Once the vinyl is securely adhered to the wall, carefully peel away the transfer paper, leaving only the vinyl design behind. Take your time and be gentle to avoid damaging the design or the wall. If any parts of the vinyl start to lift, simply press them back down with your fingers or the squeegee.
Step 8: Finishing Touches
Now that your customized wall decal is in place, take a step back and admire your handiwork! If you’re satisfied with the result, you’re done. However, if you want to add some extra flair, consider adding additional elements such as smaller decals, paint accents, or even LED lights to enhance the overall look.
Estimated Time and Tips
The time required to complete this project will vary depending on the complexity of your design and your level of experience. On average, it can take anywhere from 1 to 3 hours. It’s important to take your time and work carefully to achieve the best results. Here are a few additional tips to ensure success:
- Practice on a small piece of vinyl before cutting your final design.
- Use a sharp craft knife or scissors to ensure clean cuts.
- Apply the vinyl to a smooth, clean, and dry wall for optimal adhesion.
- Experiment with different colors and finishes of vinyl to create unique effects.
- Consider using removable vinyl if you want the option to change or update your design in the future.
Conclusion
Customized wall decals are a fantastic way to add a personal touch to your living space. With just a few materials and some creativity, you can transform your walls into a canvas for self-expression. By following the step-by-step instructions in this guide, you’ll be able to create stunning wall decals that reflect your unique style and personality. So, gather your materials, unleash your creativity, and get ready to turn your walls into works of art!


