Decorative Paper Mache Bowls: A Step-by-Step Guide to Create Stunning DIY Masterpieces
Are you looking for a creative and budget-friendly way to add a touch of elegance to your home decor? Look no further! In this comprehensive guide, we will teach you how to make beautiful decorative paper mache bowls that will impress your guests and elevate the style of any room. With just a few simple materials and a little bit of patience, you can create stunning DIY masterpieces that are both functional and visually appealing.
Materials You Will Need:
- Newspaper or old magazines
- All-purpose flour
- Water
- Bowl or container for mixing
- Balloon or bowl for shaping
- Paintbrush
- Acrylic paint
- Mod Podge or clear varnish
- Scissors
- Sandpaper
Step 1: Prepare Your Workstation
Before you begin, it’s important to set up a clean and organized workspace. Lay down some old newspapers or a plastic tablecloth to protect your surfaces from any mess. Gather all your materials and make sure you have everything you need within reach.
Step 2: Create the Paper Mache Paste
To make the paper mache paste, mix equal parts of all-purpose flour and water in a bowl or container. Stir well until you achieve a smooth and creamy consistency. If the paste is too thick, add a little more water. If it’s too runny, add more flour. The paste should be thick enough to adhere to the newspaper strips without dripping.
Step 3: Tear the Newspaper into Strips
Take your newspaper or old magazines and tear them into long strips, approximately 1-2 inches wide. The length of the strips can vary, but aim for around 6-8 inches. You will need enough strips to cover the entire surface of your balloon or bowl.
Step 4: Inflate the Balloon or Prepare the Bowl
If you’re using a balloon, inflate it to your desired size. This will determine the size of your paper mache bowl. Alternatively, you can use a bowl as a mold for shaping your bowl. Make sure to apply a layer of petroleum jelly or cooking oil to the surface of the balloon or bowl to prevent the paper mache from sticking.
Step 5: Apply the First Layer of Paper Mache
Dip a strip of newspaper into the paper mache paste, making sure it is fully coated. Remove any excess paste by running the strip between your fingers. Place the strip onto the balloon or bowl, smoothing it down with your fingers. Repeat this process, slightly overlapping each strip, until the entire surface is covered with one layer of paper mache.
Step 6: Repeat for Additional Layers
Allow the first layer to dry completely before applying additional layers. This will ensure that your paper mache bowl is sturdy and durable. Repeat Step 5 for each layer, applying at least three to four layers in total. The more layers you add, the stronger your bowl will be.
Step 7: Let It Dry
Once you have applied all the layers, allow your paper mache bowl to dry completely. This can take anywhere from 24 to 48 hours, depending on the thickness of the layers and the humidity in your environment. To speed up the drying process, you can place the bowl in a well-ventilated area or use a fan.
Step 8: Remove the Balloon or Bowl
Once your paper mache bowl is completely dry, it’s time to remove the balloon or bowl from the inside. Carefully deflate the balloon or gently separate the paper mache from the bowl. If you used a bowl as a mold, you may need to cut a small opening in the paper mache to remove it.
Step 9: Sand and Smooth the Edges
Use sandpaper to gently sand and smooth the edges of your paper mache bowl. This will give it a more polished and professional look. Be careful not to sand too aggressively, as you don’t want to damage the structure of the bowl.
Step 10: Paint and Decorate
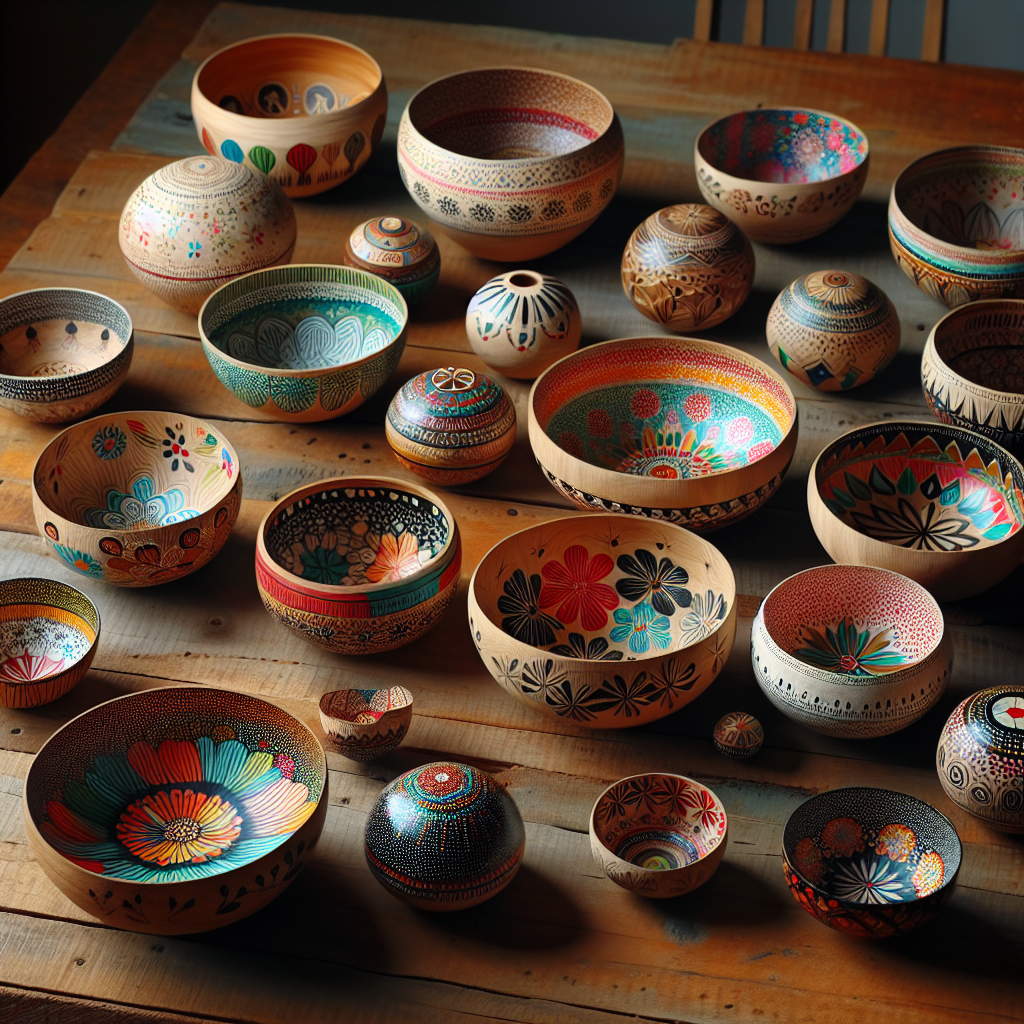
Now comes the fun part – painting and decorating your paper mache bowl! Use acrylic paint in your desired colors to add a personal touch to your creation. You can create intricate designs, use stencils, or even experiment with different painting techniques. Let your creativity shine!
Step 11: Apply a Protective Finish
To protect your paper mache bowl and give it a glossy finish, apply a coat of Mod Podge or clear varnish. This will seal the paint and make your bowl more durable. Allow the protective finish to dry completely before using or displaying your masterpiece.
Step 12: Enjoy Your Beautiful Paper Mache Bowl
Congratulations! You have successfully created a stunning decorative paper mache bowl. Now it’s time to find the perfect spot in your home to showcase your masterpiece. Use it to hold keys, jewelry, or other small items, or simply display it as a work of art. Sit back, admire your handiwork, and enjoy the compliments from your friends and family!
Conclusion
Decorative paper mache bowls are not only a fun and creative DIY project but also a great way to add a touch of elegance to your home decor. By following the step-by-step instructions in this guide, you can create stunning masterpieces that are both functional and visually appealing. Remember to gather all the necessary materials, prepare your workstation, and take your time to ensure each layer of paper mache is applied properly. Let your creativity shine through as you paint and decorate your bowl, and don’t forget to apply a protective finish for added durability. With a little bit of patience and a lot of imagination, you can transform simple materials into beautiful works of art. So why wait? Start your paper mache bowl project today and unleash your inner artist!


