Decorative String Art on Wood: A Step-by-Step Guide
Are you looking for a creative and unique way to add a touch of personality to your home decor? Look no further than decorative string art on wood! This fun and easy DIY project allows you to create stunning pieces of art that will impress your friends and family. In this comprehensive guide, we will walk you through the step-by-step process of creating your own decorative string art masterpiece. So grab your materials and let’s get started!
Materials Needed
- Wooden board (preferably pine or plywood)
- Hammer
- Nails
- String or embroidery floss
- Scissors
- Printed template or design
- Tape
- Pencil
- Ruler
- Sandpaper
- Paint or stain (optional)
- Paintbrush (optional)
Step 1: Prepare Your Wood
Start by preparing your wooden board. If necessary, sand the surface to ensure it is smooth and free from any rough edges. You can also paint or stain the wood to add a pop of color or enhance its natural beauty. Allow the paint or stain to dry completely before moving on to the next step.
Step 2: Choose Your Design
Next, choose a design for your string art. You can find printable templates online or create your own. Once you have your design, print it out and cut it to the desired size. Tape the template onto the wooden board, making sure it is centered and secure.
Step 3: Mark Your Nails
Using a pencil and ruler, mark the spots where you will hammer in the nails. The distance between each nail will depend on the complexity of your design. For simpler designs, you can space the nails about half an inch apart. For more intricate designs, you may need to space them closer together. Make sure the marks are evenly spaced and aligned with your design.
Step 4: Hammer in the Nails
Now it’s time to start hammering in the nails. Place a nail on each marked spot and gently tap it into the wood using a hammer. Make sure the nails are secure and protruding about half an inch from the surface. Be careful not to hammer the nails too close to the edge of the wood, as it may split.
Step 5: Remove the Template
Once all the nails are in place, carefully remove the template from the wooden board. Take your time to avoid accidentally pulling out any nails. If there are any remaining bits of tape or paper, gently peel them off.
Step 6: Start Stringing
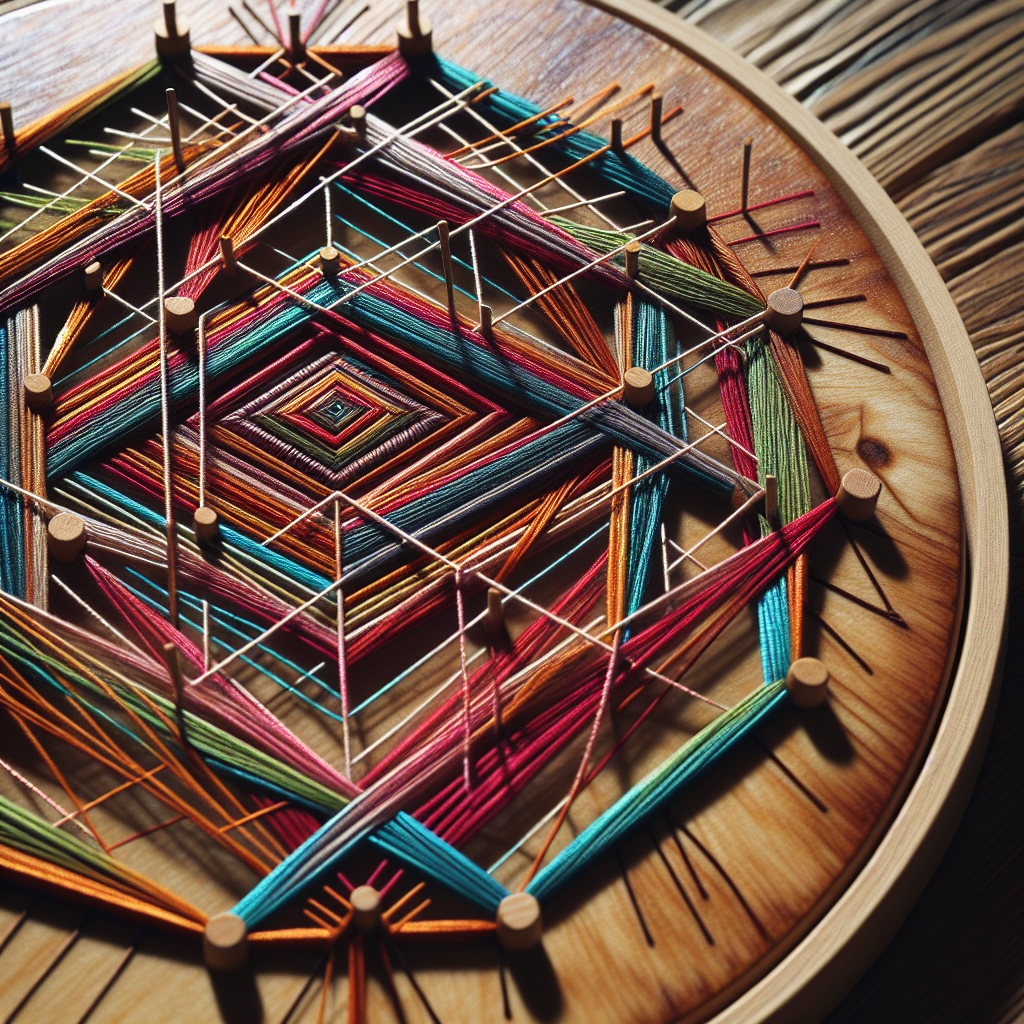
Now comes the fun part – stringing! Choose a color of string or embroidery floss that complements your design. Tie one end of the string to a nail, leaving a tail long enough to secure later. Begin weaving the string around the nails, following the outline of your design. You can go in any direction you like – horizontally, vertically, or diagonally. Get creative and experiment with different patterns and techniques!
Step 7: Secure the String
Once you have completed your design, tie off the string to a nail, making sure it is secure. You can also add a drop of glue to the knot for extra reinforcement. Trim any excess string with scissors.
Step 8: Finishing Touches
Take a step back and admire your beautiful string art creation! If desired, you can add some finishing touches to make it even more unique. Consider painting the wooden board’s edges or adding embellishments like beads or charms. Let your creativity shine!
Estimated Time and Tips
The time it takes to complete your decorative string art project will depend on the complexity of your design and your level of experience. On average, it can take anywhere from a few hours to a couple of days. Take your time and enjoy the process – after all, it’s all about the journey, not just the end result!
Here are a few tips to help you along the way:
- Use a lightweight hammer to avoid damaging the wood or bending the nails.
- Experiment with different string colors and thicknesses to achieve different effects.
- If you make a mistake, don’t worry! Simply remove the string and start again.
- Consider using a template with fewer nails for a more minimalist look.
- Display your finished string art on a wall, shelf, or as a unique gift for a loved one.
Summary
Decorative string art on wood is a fantastic way to unleash your creativity and add a personal touch to your home decor. With just a few simple materials and some patience, you can create stunning pieces of art that will impress everyone who sees them. Follow our step-by-step guide, and soon you’ll be stringing your way to beautiful masterpieces. So gather your supplies, let your imagination run wild, and enjoy the process of creating your own decorative string art on wood!


