Design Your Own Christmas Cookie Jars for a Sweet and Festive Kitchen Decoration
Christmas is a time for joy, love, and delicious treats. What better way to celebrate the holiday season than by creating your own personalized Christmas cookie jars? These festive and sweet kitchen decorations will not only add a touch of charm to your home but also make wonderful gifts for friends and family. In this article, we will guide you through the step-by-step process of designing and creating your own Christmas cookie jars. So, put on your creative hat and let’s get started!
Materials You Will Need
- Glass jars with lids
- Acrylic paint in various colors
- Paintbrushes in different sizes
- Painter’s tape
- Clear varnish spray
- Ribbon or twine
- Decorative Christmas-themed stickers or stencils
- Scissors
- Glue
- Assorted Christmas-themed decorations (e.g., mini ornaments, bells, faux snow)
- Optional: Glitter, sequins, or other embellishments
Step-by-Step Instructions
Step 1: Clean and Prepare the Jars
The first step in creating your own Christmas cookie jars is to ensure that the glass jars are clean and free from any residue. Wash them thoroughly with warm soapy water and dry them completely. Remove any labels or stickers that may be on the jars. This will provide a clean surface for painting and decorating.
Step 2: Choose Your Design
Now comes the fun part – choosing the design for your Christmas cookie jars! You can opt for traditional holiday motifs like snowflakes, reindeer, or Christmas trees, or you can get creative and come up with your own unique design. Consider using painter’s tape to create clean lines or stencils to achieve precise shapes. Let your imagination run wild!
Step 3: Paint the Jars
Once you have decided on your design, it’s time to bring it to life. Using acrylic paint in your chosen colors, carefully paint the exterior of the glass jars. Start with a base coat and let it dry completely before adding additional layers or details. Remember to use different brush sizes to achieve different effects and textures. Allow the paint to dry thoroughly between each step.
Step 4: Add Decorative Elements
To make your Christmas cookie jars truly special, consider adding some decorative elements. You can use Christmas-themed stickers or stencils to create intricate designs, or you can glue on mini ornaments, bells, or faux snow for a three-dimensional effect. Get creative and experiment with different materials and textures to make your jars stand out.
Step 5: Seal and Protect
Once you are satisfied with the design and decorations on your Christmas cookie jars, it’s important to seal and protect them. Apply a clear varnish spray over the painted surface to prevent the paint from chipping or fading over time. This will also give your jars a glossy finish and make them more durable.
Step 6: Add Finishing Touches
To complete the look of your Christmas cookie jars, add some finishing touches. Tie a festive ribbon or twine around the neck of the jar to create a charming bow. You can also attach a small gift tag or label with a personalized message. These little details will make your jars even more special and add a personal touch.
How Long Will It Take?
The time required to complete this DIY project will depend on your design complexity and the drying time of the paint and varnish. On average, it may take approximately 2-3 hours to paint and decorate each jar, including drying time. However, it’s important to allow ample time for the paint and varnish to dry completely before handling or using the jars.
Inspiration for Your Christmas Cookie Jars
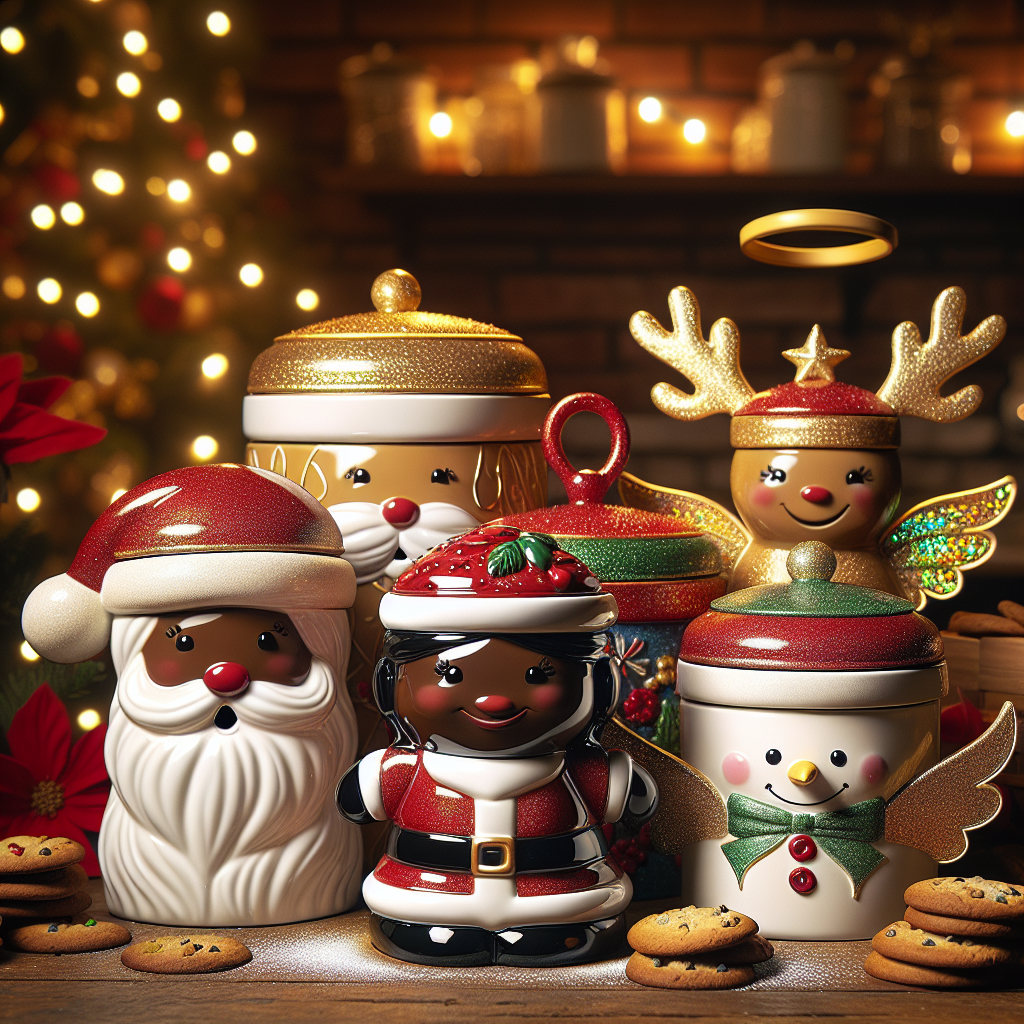
Now that you have a clear understanding of the step-by-step process, let’s take a moment to imagine how your completed Christmas cookie jars will look. Picture a set of beautifully painted jars adorned with intricate snowflake designs, shimmering with a touch of glitter. The jars are filled with delicious homemade cookies, their sweet aroma filling the air. Placed on your kitchen countertop or displayed on a festive holiday table, these cookie jars will undoubtedly become the centerpiece of your Christmas decorations.
Summary
Designing your own Christmas cookie jars is a delightful and creative way to add a festive touch to your kitchen decor. By following the step-by-step instructions provided in this article, you can create personalized jars that reflect your unique style and holiday spirit. Remember to gather all the necessary materials, choose your design, paint and decorate the jars, seal and protect them, and add those finishing touches. With a little time and effort, you’ll have beautiful Christmas cookie jars that will bring joy to your home and make wonderful gifts for your loved ones. So, let your creativity shine and enjoy the process of making these sweet and festive kitchen decorations!


