DIY Bird Feeders: Create a Beautiful Haven for Feathered Friends
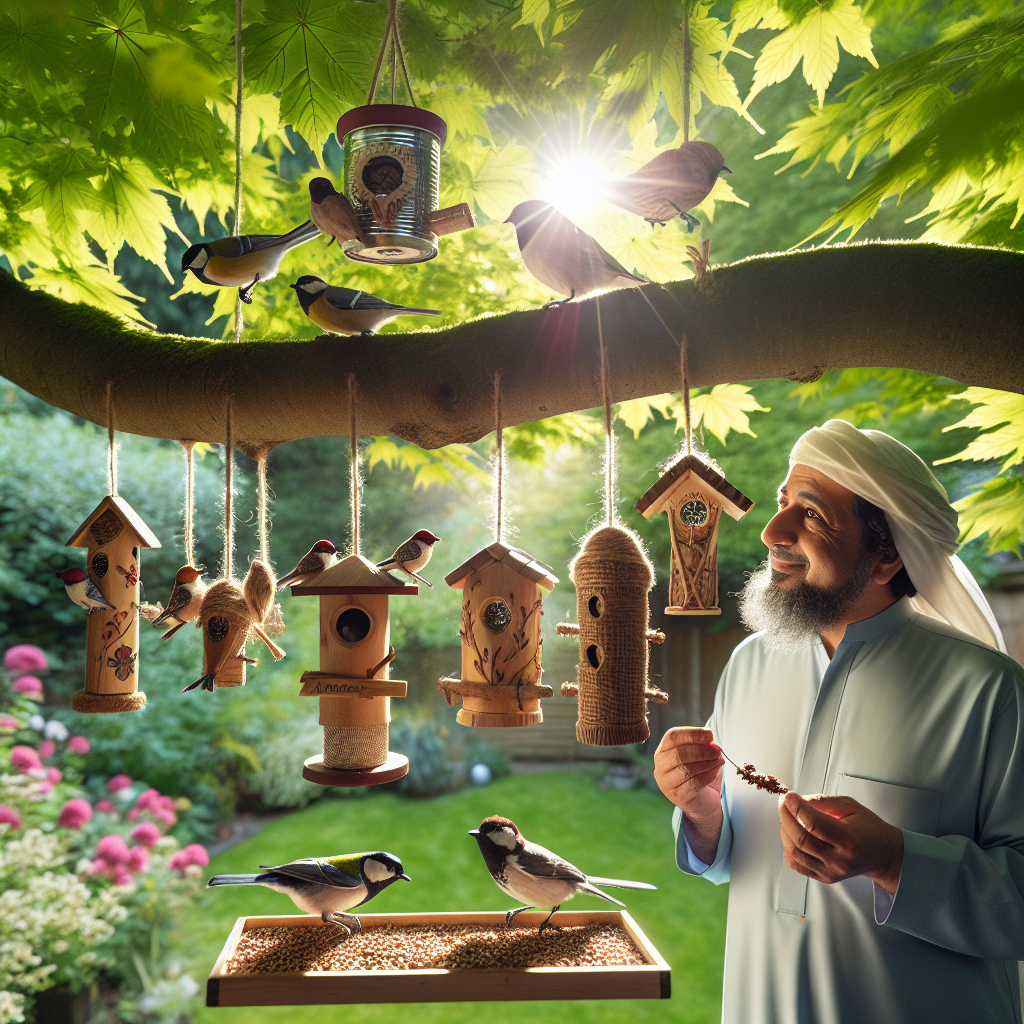
Welcome to the world of DIY bird feeders! If you’re a nature enthusiast and want to attract beautiful birds to your backyard, this step-by-step guide will help you create a haven for our feathered friends. Not only will you be providing them with a reliable food source, but you’ll also have the pleasure of observing their vibrant colors and melodious songs. So, let’s dive in and get started on this exciting project!
Materials You’ll Need
Before we begin, let’s gather all the necessary materials. Here’s a comprehensive list of what you’ll need:
- Wooden plank (12×12 inches)
- Drill
- Wood screws
- Wire or string
- Wooden dowel or branch
- Paint or wood stain
- Paintbrush
- Birdseed
- Waterproof sealant
- Scissors
- Measuring tape
Step 1: Choose the Perfect Location
First, find a suitable location in your backyard to hang your bird feeder. Ideally, it should be near trees or shrubs to provide birds with a sense of safety and cover. Make sure it’s easily visible from your home, so you can enjoy watching the birds from the comfort of your living room.
Step 2: Prepare the Wooden Plank
Take the wooden plank and measure and mark the center point on one side. This is where you’ll drill a hole for the dowel or branch. Use a drill bit that matches the diameter of your dowel or branch. Carefully drill the hole, making sure not to go all the way through the plank.
Step 3: Attach the Dowel or Branch
Insert the dowel or branch into the hole you just drilled. Make sure it fits snugly. If necessary, you can use a small amount of wood glue to secure it in place. Allow the glue to dry completely before moving on to the next step.
Step 4: Paint or Stain the Feeder
Now it’s time to add some color and personality to your bird feeder! Choose a paint or wood stain that is safe for outdoor use and complements your backyard aesthetic. Apply the paint or stain evenly to the entire wooden plank, including the dowel or branch. Let it dry completely before proceeding.
Step 5: Add the Wire or String
Take the wire or string and cut a piece long enough to hang the bird feeder from a tree branch or hook. Thread one end through the hole in the wooden plank and tie a secure knot. Ensure that the wire or string is strong enough to support the weight of the feeder and the birds.
Step 6: Fill the Feeder with Birdseed
Now comes the exciting part – filling your bird feeder with delicious birdseed! Choose a high-quality birdseed mix that is suitable for the types of birds you want to attract. Fill the feeder to the top, making sure not to overfill it. You can also add a small tray at the bottom of the feeder to catch any fallen seeds.
Step 7: Apply Waterproof Sealant
To protect your bird feeder from the elements, apply a waterproof sealant to the entire surface. This will help prevent the wood from rotting and ensure your feeder lasts for years to come. Follow the manufacturer’s instructions for the specific sealant you’re using and allow it to dry completely.
Step 8: Hang and Enjoy!
Finally, it’s time to hang your beautiful DIY bird feeder! Find the perfect spot in your backyard, whether it’s from a tree branch, a hook, or a dedicated bird feeder pole. Make sure it’s at a height that is easily accessible for both birds and yourself. Step back and admire your creation as you wait for the birds to discover their new feeding station.
Conclusion
Congratulations on completing your DIY bird feeder! By following these simple steps, you’ve created a welcoming haven for birds in your backyard. Remember to regularly refill the feeder with fresh birdseed and clean it to maintain a healthy environment for our feathered friends. Sit back, relax, and enjoy the beauty and joy that these winged creatures bring to your life.


