DIY Christmas Advent Calendar: Make an Advent Calendar for a Fun Countdown to Christmas
Christmas is a magical time of year, filled with joy, love, and anticipation. One of the best ways to build excitement for the holiday season is by creating a DIY Christmas Advent Calendar. This festive project allows you to count down the days until Christmas while adding a touch of creativity and personalization to your home decor. In this article, we will guide you through the step-by-step process of making your own Advent Calendar, providing detailed instructions, materials needed, and inspiring images to help bring your vision to life.
Materials Needed
Before we dive into the instructions, let’s gather all the materials you’ll need to create your DIY Christmas Advent Calendar:
- 24 small envelopes or boxes
- Cardstock or scrapbook paper
- Scissors
- Glue or double-sided tape
- Number stickers or markers
- Decorative ribbon or twine
- Mini clothespins or paper clips
- Small treats or gifts
- Optional: festive embellishments (stickers, glitter, etc.)
Step-by-Step Instructions
Now that you have all your materials ready, let’s get started on creating your DIY Christmas Advent Calendar:
Step 1: Prepare the Envelopes or Boxes
If you’re using envelopes, seal them shut and trim off any excess flaps. If you’re using boxes, make sure they are clean and empty. You can also decorate the envelopes or boxes with festive embellishments if desired.
Step 2: Cut the Cardstock or Scrapbook Paper
Using the scissors, cut the cardstock or scrapbook paper into 24 small rectangles. These will serve as the backdrops for each day of your Advent Calendar. Make sure the rectangles are slightly smaller than the envelopes or boxes so that they fit inside.
Step 3: Decorate the Cardstock or Scrapbook Paper
Now it’s time to get creative! Use the number stickers or markers to add the numbers 1 to 24 on each rectangle. You can also add festive designs or patterns to make them visually appealing. Let your imagination run wild!
Step 4: Attach the Cardstock or Scrapbook Paper to the Envelopes or Boxes
Using glue or double-sided tape, attach each decorated rectangle to the front of the corresponding envelope or box. Make sure the numbers are clearly visible and centered.
Step 5: Fill the Envelopes or Boxes
Now comes the fun part! Fill each envelope or box with a small treat or gift. It can be anything from chocolates and candies to small toys or trinkets. Tailor the contents to suit the preferences of the person or people who will be using the Advent Calendar.
Step 6: Hang the Envelopes or Boxes
Take your decorative ribbon or twine and cut a length that is long enough to hang all 24 envelopes or boxes. Attach the ribbon or twine to a wall, mantel, or any other suitable surface. Use mini clothespins or paper clips to hang each envelope or box in numerical order.
Step 7: Enjoy the Countdown to Christmas
Now that your DIY Christmas Advent Calendar is complete, it’s time to start the countdown! Each day, starting from December 1st, open one envelope or box to reveal the surprise inside. This daily ritual will bring joy and excitement to both children and adults alike as Christmas draws near.
Estimated Time
The time required to complete this DIY Christmas Advent Calendar project will vary depending on your crafting skills and the level of detail you choose to incorporate. On average, it should take approximately 2-3 hours to gather materials, decorate the envelopes or boxes, and fill them with treats or gifts. Allow additional time if you plan to add extra embellishments or decorations.
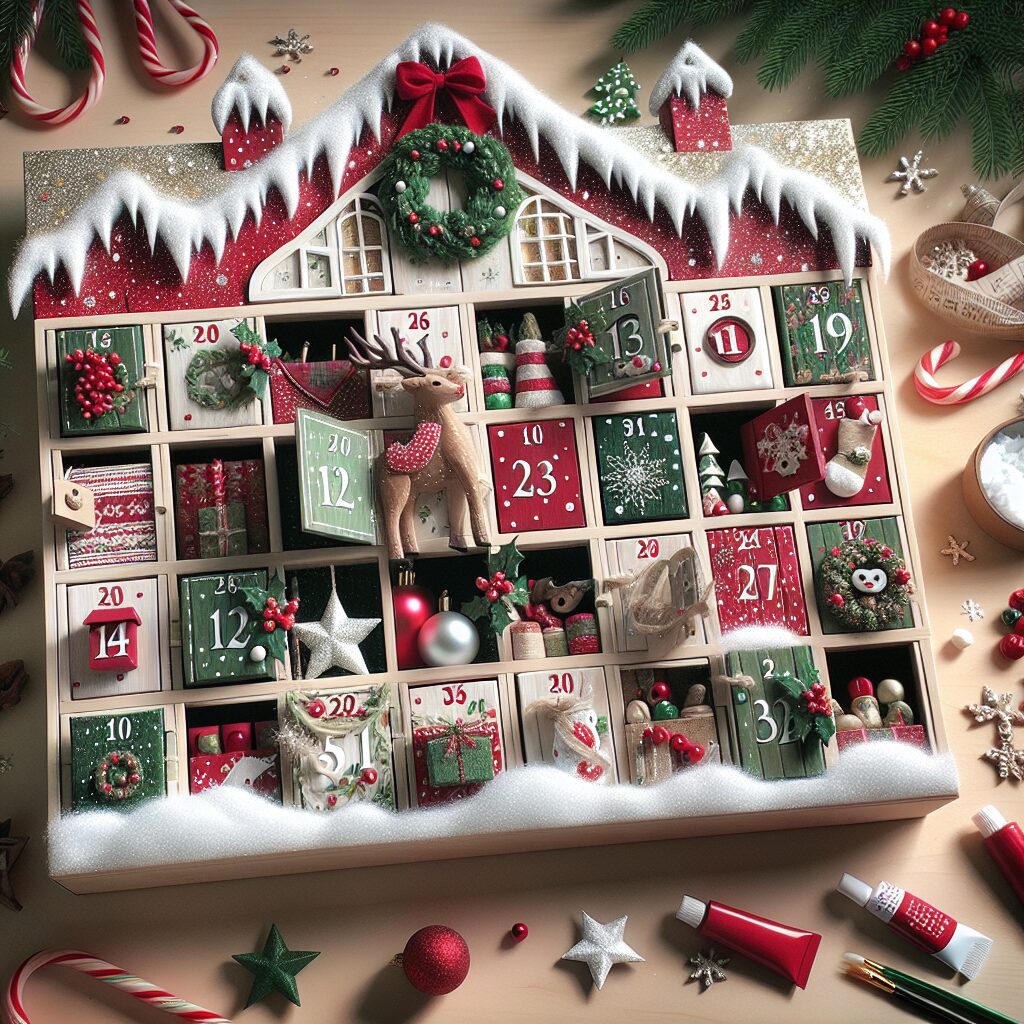
Inspiring Image
Imagine a beautifully decorated wall adorned with a row of festive envelopes or boxes, each one holding a surprise for the day. The colorful cardstock or scrapbook paper adds a touch of whimsy, while the hanging ribbon or twine creates a sense of anticipation. As you open each envelope or box, the excitement builds, bringing you one step closer to the joyous celebration of Christmas.
Summary
Creating a DIY Christmas Advent Calendar is a wonderful way to make the holiday season even more special. By following our step-by-step instructions and gathering the necessary materials, you can craft a personalized Advent Calendar that will bring joy and excitement to your home. Remember to take your time, unleash your creativity, and enjoy the process. Happy crafting and Merry Christmas!


