DIY Christmas Door Hanger: Welcome Guests with a Homemade Door Hanger
Welcome to this step-by-step guide on how to create a beautiful and festive DIY Christmas door hanger. With the holiday season just around the corner, what better way to welcome your guests than with a personalized and handmade decoration? In this article, we will provide you with detailed instructions, materials needed, and inspiring images to help you complete this project. Let’s get started!
Materials Needed
- Wooden door hanger base
- Acrylic paint (red, green, white, and gold)
- Paintbrushes (various sizes)
- Christmas-themed stencils
- Glitter
- Hot glue gun
- Ribbon
- Scissors
- Clear varnish spray
Step 1: Prepare the Door Hanger Base
Start by preparing your wooden door hanger base. Ensure that it is clean and free from any dust or debris. If needed, sand the surface lightly to create a smooth finish.
Step 2: Paint the Background
Choose a color for the background of your door hanger. We recommend using a festive color like red or green. Apply a base coat of paint using a large paintbrush, covering the entire surface of the door hanger. Allow it to dry completely.
Step 3: Add Festive Designs
Now it’s time to add some festive designs to your door hanger. Use Christmas-themed stencils to create patterns such as snowflakes, reindeer, or Christmas trees. Place the stencil on the door hanger and secure it with tape. Dip a smaller paintbrush into a contrasting color, such as white or gold, and carefully fill in the stencil. Remove the stencil and let the paint dry.
Step 4: Add Glitter Accents
To add a touch of sparkle to your door hanger, apply glitter accents to the painted designs. Use a small paintbrush to apply a thin layer of clear glue on the desired areas. Sprinkle glitter over the glue and gently tap off any excess. Allow the glue to dry completely before moving on to the next step.
Step 5: Personalize Your Door Hanger
Add a personal touch to your door hanger by including your family name or a festive message. Use stencils or freehand painting to create the desired text. Choose a contrasting color that stands out against the background. Allow the paint to dry before proceeding.
Step 6: Seal and Protect
To ensure the longevity of your door hanger, seal it with a clear varnish spray. This will protect the paint and glitter from fading or chipping over time. Apply the varnish according to the manufacturer’s instructions and allow it to dry completely.
Step 7: Attach a Ribbon
Now it’s time to attach a ribbon to your door hanger, allowing you to hang it on your front door. Cut a length of ribbon that is long enough to create a loop for hanging. Use a hot glue gun to secure the ends of the ribbon to the back of the door hanger. Make sure it is centered and secure before moving on.
Step 8: Hang and Admire
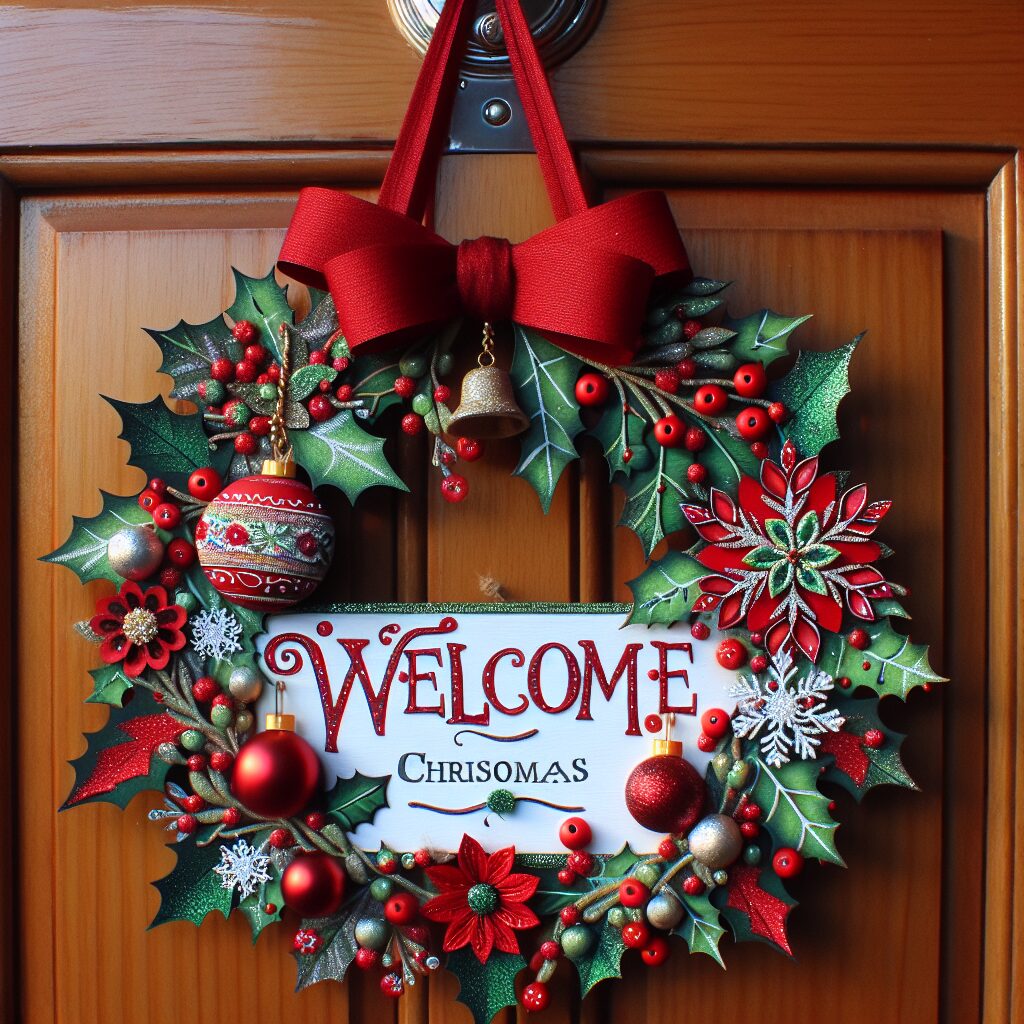
Finally, hang your DIY Christmas door hanger on your front door and step back to admire your handiwork. The festive colors, personalized design, and glitter accents will surely impress your guests and create a warm and welcoming atmosphere.
Summary
Creating a DIY Christmas door hanger is a fun and rewarding project that allows you to showcase your creativity and add a personal touch to your holiday decorations. By following these step-by-step instructions, you can easily make a beautiful and festive door hanger that will welcome your guests with style. Remember to gather all the necessary materials, take your time with each step, and enjoy the process. Happy crafting and happy holidays!


