DIY Christmas Jingle Bells: Craft Your Own Festive Decorations and Musical Instruments
Are you looking to add a touch of holiday cheer to your home this Christmas? Why not try making your own jingle bells? Not only will they serve as beautiful decorations, but they can also be used as musical instruments to create a festive atmosphere. In this step-by-step guide, we will show you how to craft your own jingle bells, providing you with detailed instructions and valuable insights. So, let’s get started and bring some jingle to your holiday season!
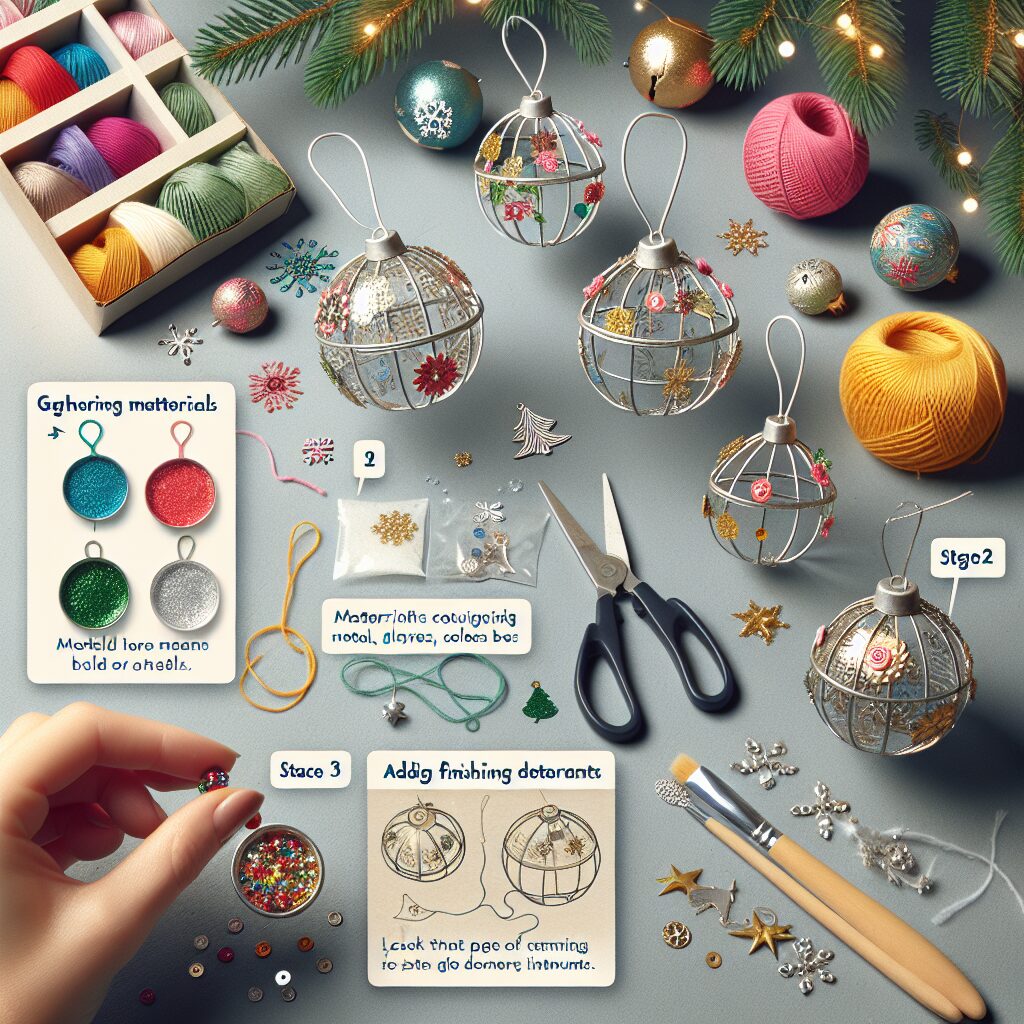
Materials You Will Need
- Small metal bells
- Thin wire or string
- Decorative ribbons
- Scissors
- Pliers
- Hot glue gun
- Decorative beads or charms (optional)
Step 1: Prepare Your Materials
Before you begin crafting your jingle bells, gather all the necessary materials listed above. Make sure you have enough bells to create the desired number of decorations or musical instruments. Additionally, choose ribbons that match your Christmas theme or personal style. Once you have everything ready, find a well-lit and comfortable workspace to begin your DIY project.
Step 2: Attach the Bells
Take a piece of thin wire or string and cut it to your desired length. This will depend on how long you want your jingle bells to hang. Thread one end of the wire through the loop of a bell, leaving a small tail. Use pliers to twist the wire tightly around itself to secure the bell in place. Repeat this process for each bell you wish to attach.
Step 3: Create the Bell Cluster
Once all the bells are securely attached to the wire, gather them together to form a cluster. Hold the wire tightly and twist it around itself several times to create a sturdy connection. This will ensure that the bells stay in place and produce a delightful jingling sound when moved.
Step 4: Add Decorative Elements
If you want to add an extra touch of charm to your jingle bells, consider incorporating decorative beads or charms. Thread them onto the wire between the bells, spacing them out evenly. This will create a visually appealing design and add a unique flair to your DIY project.
Step 5: Attach Ribbons
Now it’s time to add the finishing touch to your jingle bells. Cut a length of decorative ribbon and tie it around the wire, just above the cluster of bells. Make sure the ribbon is securely fastened, as it will be used to hang the jingle bells. You can also attach additional ribbons to create a cascading effect or to match your overall Christmas decor.
Step 6: Secure the Ribbons
To ensure that your jingle bells hang properly, use a hot glue gun to secure the ribbons in place. Apply a small amount of glue to the knot or bow of each ribbon and press it firmly against the wire. Be careful not to burn yourself while handling the hot glue gun. Allow the glue to dry completely before moving on to the next step.
Step 7: Hang and Enjoy!
Now that your DIY jingle bells are complete, it’s time to find the perfect spot to hang them. Whether it’s on your Christmas tree, above the fireplace, or as part of a festive garland, these handmade decorations will add a joyful touch to your home. When the bells are gently shaken or moved, they will produce a delightful jingling sound, creating a merry atmosphere for all to enjoy.
Summary
Creating your own jingle bells is a fun and rewarding DIY project that allows you to add a personal touch to your Christmas decorations. By following the step-by-step instructions provided in this guide, you can craft beautiful jingle bells that serve as both festive ornaments and musical instruments. Remember to gather all the necessary materials, attach the bells securely, add decorative elements, and hang your creations with care. With your homemade jingle bells, you’ll bring the spirit of the season to life and spread holiday cheer throughout your home. Happy crafting and jingling!


