DIY Christmas Light Displays: Create Unique Light Displays for Your Home or Yard
Are you ready to transform your home or yard into a dazzling winter wonderland? With DIY Christmas light displays, you can create a magical and festive atmosphere that will leave your neighbors in awe. In this comprehensive guide, we will walk you through the step-by-step process of designing and building your own unique light displays. Get ready to unleash your creativity and spread holiday cheer like never before!
Materials You Will Need
Before we dive into the exciting world of DIY Christmas light displays, let’s gather all the materials you will need for this project:
- String lights (LED lights are recommended for their energy efficiency and durability)
- Extension cords
- Outdoor-rated electrical tape
- Outdoor-rated power strips
- Zip ties or twist ties
- Outdoor-rated timers
- Decorative items (optional)
Make sure to choose high-quality materials that are suitable for outdoor use. Safety should always be your top priority when working with electricity, so invest in products that are specifically designed for outdoor environments.
Step 1: Plan Your Design
Before you start hanging lights, take some time to plan your design. Consider the layout of your home or yard and think about the areas you want to highlight. Do you want to create a stunning display on your roofline? Or perhaps you want to illuminate your trees and shrubs? Sketch out your ideas and make a rough plan of where you want to place the lights.
Remember to take measurements and calculate the length of string lights you will need. It’s always better to have a little extra than to run out in the middle of your project.
Step 2: Test Your Lights
Before you start hanging your lights, it’s crucial to test them to ensure they are in working order. Plug in each strand of lights and check for any burnt-out bulbs or faulty connections. Replace any defective lights before proceeding.
Step 3: Hang the Lights
Now it’s time to bring your design to life! Follow these steps to hang your lights:
- Start by attaching the lights to the highest point of your display area. This could be the roofline, the top of a tree, or any other elevated structure.
- Secure the lights using zip ties or twist ties. Make sure they are tightly fastened to prevent them from falling or getting tangled.
- Continue attaching the lights along your planned design, working your way down to the lower areas.
- Use extension cords and outdoor-rated power strips to connect multiple strands of lights. Be mindful of the electrical load and avoid overloading your circuits.
- Use outdoor-rated electrical tape to secure the connections and protect them from the elements.
- If you want to add extra flair to your display, incorporate decorative items such as wreaths, bows, or figurines. Attach them securely to the lights using zip ties or twist ties.
Remember to step back and admire your work as you go along. This will help you make adjustments and ensure that your design looks balanced and visually appealing.
Step 4: Set Up Timers
To save energy and ensure your lights turn on and off automatically, set up outdoor-rated timers. Timers allow you to program specific times for your lights to illuminate, so you don’t have to worry about manually turning them on and off every day.
Follow the manufacturer’s instructions to install and program the timers. Set the desired on and off times according to your preferences and local regulations.
Step 5: Safety Precautions
When working with electricity, it’s crucial to prioritize safety. Here are some important safety precautions to keep in mind:
- Always use outdoor-rated extension cords, power strips, and timers.
- Keep all electrical connections and wires away from water sources.
- Avoid overloading circuits by distributing the load evenly.
- Inspect your lights regularly for any signs of damage or wear and tear. Replace any damaged lights immediately.
- Turn off the lights and unplug them when you’re not around or when you go to bed.
By following these safety precautions, you can enjoy your DIY Christmas light display with peace of mind.
Step 6: Maintenance and Storage
Once the holiday season is over, it’s time to take down your light display. Follow these steps for proper maintenance and storage:
- Inspect the lights for any damage or issues. Replace any faulty bulbs or connections.
- Carefully remove the lights, starting from the bottom and working your way up.
- Wrap the lights around a sturdy reel or piece of cardboard to prevent tangling.
- Store the lights in a cool, dry place away from direct sunlight.
Proper maintenance and storage will ensure that your lights last for many holiday seasons to come.
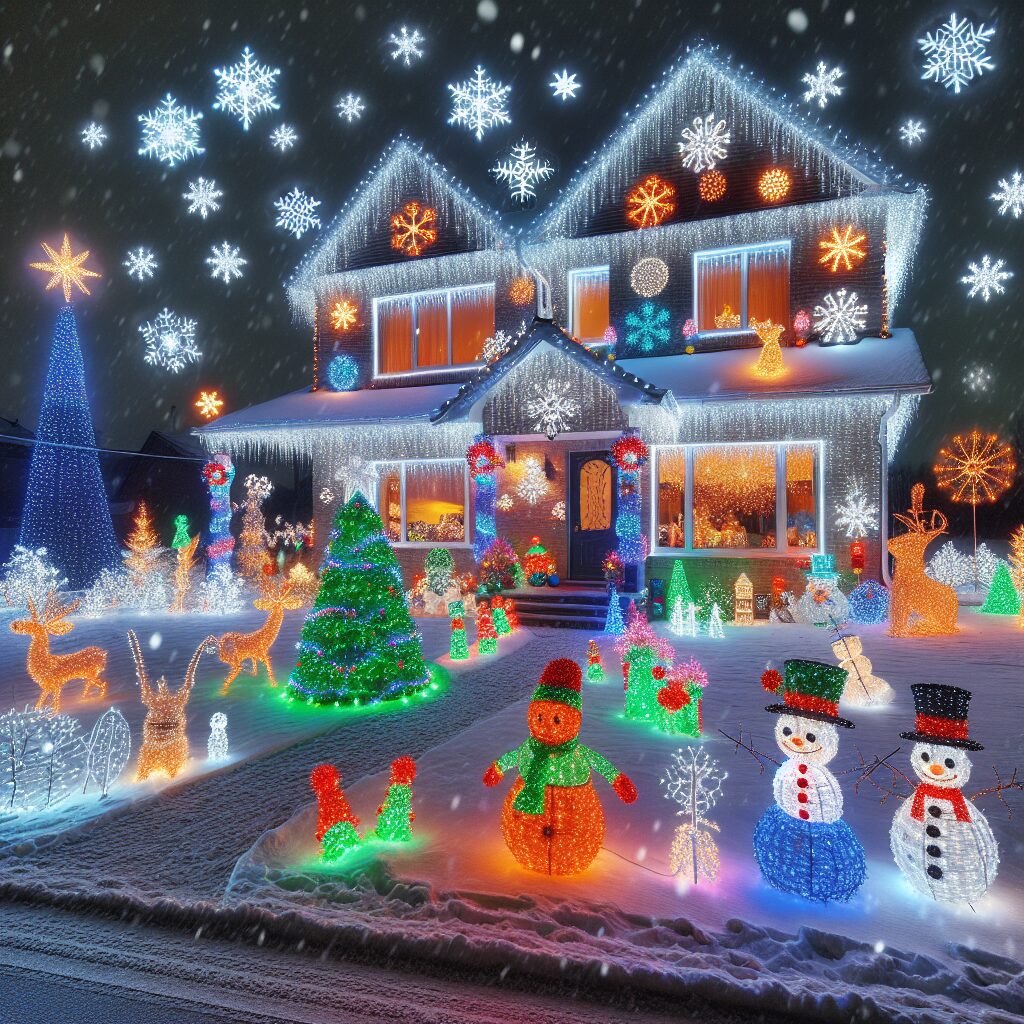
Inspiration for Your DIY Christmas Light Display
Now that you know how to create your own DIY Christmas light display, let’s explore some inspiring ideas to spark your creativity:
- Pinterest is a treasure trove of unique and creative Christmas light displays. Browse through different themes, color schemes, and arrangements to find inspiration for your own design.
- Consider incorporating other elements into your display, such as inflatable decorations, lighted figures, or even synchronized music. These additions can take your light display to the next level.
- Experiment with different lighting techniques, such as wrapping lights around tree trunks, creating light curtains, or outlining architectural features of your home.
- Don’t be afraid to mix and match different colors and types of lights. Play with warm white lights, multicolored lights, or even twinkling lights to achieve the desired effect.
Remember, the sky’s the limit when it comes to designing your DIY Christmas light display. Let your imagination run wild and create a magical spectacle that will bring joy to all who see it.
Conclusion
With this comprehensive guide, you now have all the knowledge and inspiration you need to create your own DIY Christmas light display. From planning and design to installation and maintenance, we’ve covered every step of the process. Remember to prioritize safety, invest in high-quality


