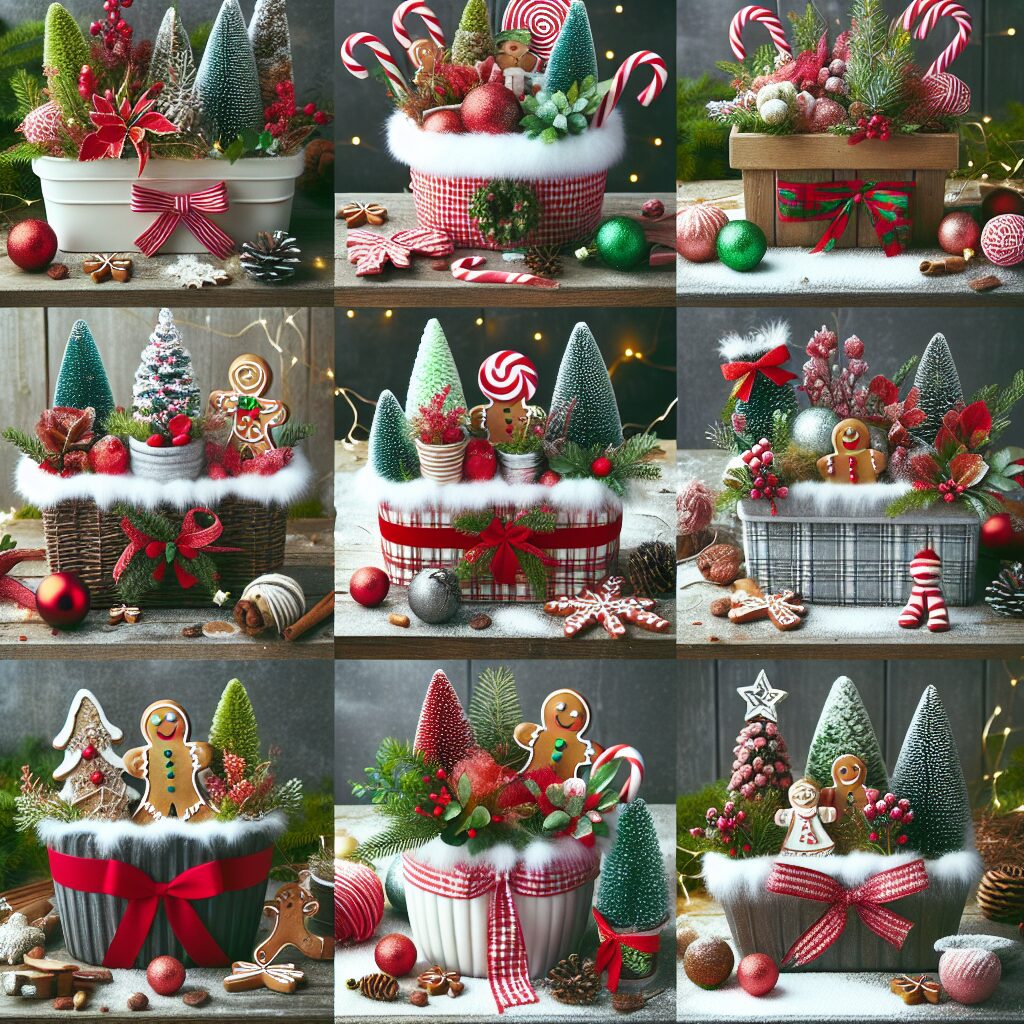
DIY Christmas Planters: Decorate Your Garden or Porch with Festive Flair
Are you looking to add a touch of holiday cheer to your garden or porch? Look no further than DIY Christmas planters! These festive decorations are not only easy to make, but they also provide a beautiful and welcoming display for your outdoor space. In this article, we will guide you through the step-by-step process of creating your own Christmas planters, complete with detailed instructions, materials needed, and inspiring images of the finished project. Let’s get started!
Materials Needed
- Large planters or pots
- Evergreen branches
- Pinecones
- Berries or holly branches
- Ribbon or bows
- Ornaments
- Floral foam or oasis
- Pruning shears
- Hot glue gun
- Wire or floral tape
- Scissors
Step 1: Choose the Right Planters
The first step in creating your DIY Christmas planters is to select the perfect planters or pots. Opt for larger containers that can accommodate the size and height of your desired arrangement. Consider the overall aesthetic of your outdoor space and choose planters that complement your existing decor. Whether you prefer traditional terracotta pots or modern metal containers, make sure they are sturdy and have proper drainage holes.
Step 2: Gather Evergreen Branches
Evergreen branches are the foundation of your Christmas planters, providing a lush and festive backdrop for the rest of the decorations. Head to your local garden center or gather branches from your own yard. Look for branches with vibrant green foliage and a variety of textures. Popular choices include pine, spruce, and cedar branches. Cut the branches into manageable lengths using pruning shears.
Step 3: Prepare the Floral Foam
To ensure that your Christmas planters stay fresh and vibrant throughout the holiday season, it’s important to use floral foam or oasis. Soak the foam in water until it is fully saturated. Trim the foam to fit snugly inside your planters, leaving enough space for the other elements of your arrangement. The foam will help retain moisture and provide a stable base for your greenery.
Step 4: Arrange the Evergreen Branches
Now it’s time to start building your Christmas planter! Begin by inserting the evergreen branches into the floral foam, starting from the center and working your way outwards. Vary the lengths and angles of the branches to create depth and dimension. Make sure to cover the entire surface of the foam, concealing it completely. Step back and assess the arrangement, adjusting the branches as needed.
Step 5: Add Pinecones and Berries
Pinecones and berries are classic Christmas elements that add texture and visual interest to your planters. Gather pinecones of different sizes and attach them to wire or floral tape. Insert the wire or tape into the floral foam, securing the pinecones in various spots throughout the arrangement. Similarly, tuck in holly branches or artificial berries to add pops of color and festive charm.
Step 6: Incorporate Ornaments and Ribbons
No Christmas decoration is complete without ornaments and ribbons! Select a variety of ornaments in different shapes, sizes, and colors. Attach wire or floral tape to the ornaments and insert them into the floral foam, spacing them evenly throughout the arrangement. To add a finishing touch, tie bows or ribbons around the planter handles or drape them around the greenery. This will create a whimsical and joyful look.
Step 7: Secure Loose Elements
Once you are satisfied with the overall arrangement, take a moment to secure any loose elements. Use a hot glue gun to attach any ornaments, pinecones, or berries that may be wobbly or unstable. This will ensure that your Christmas planters withstand the elements and stay intact throughout the holiday season.
Step 8: Display and Enjoy!
Now that your DIY Christmas planters are complete, it’s time to find the perfect spot to display them. Whether you choose to place them by your front door, on your porch, or in your garden, make sure they are visible and easily accessible. Consider adding additional outdoor decorations, such as string lights or a festive doormat, to enhance the overall holiday ambiance. Step back and admire your handiwork – your garden or porch is now ready to spread Christmas cheer!
Summary
Creating DIY Christmas planters is a fun and rewarding project that allows you to showcase your creativity while adding a festive touch to your outdoor space. By following these step-by-step instructions and using the right materials, you can easily create stunning planters that will impress your guests and bring holiday joy to your home. Remember to choose the right planters, gather evergreen branches, prepare the floral foam, arrange the greenery, add pinecones and berries, incorporate ornaments and ribbons, secure loose elements, and finally, display and enjoy your beautiful creations. Happy crafting and Merry Christmas!


