DIY Macrame Plant Hangers: Step-by-Step Guide to Create Beautiful Hanging Plant Holders
Are you looking to add a touch of elegance and greenery to your home? Macrame plant hangers are the perfect solution! Not only do they provide a stylish way to display your favorite plants, but they also add a unique and bohemian vibe to any space. In this comprehensive guide, we will walk you through the step-by-step process of creating your own DIY macrame plant hangers. Get ready to unleash your creativity and bring a touch of nature indoors!
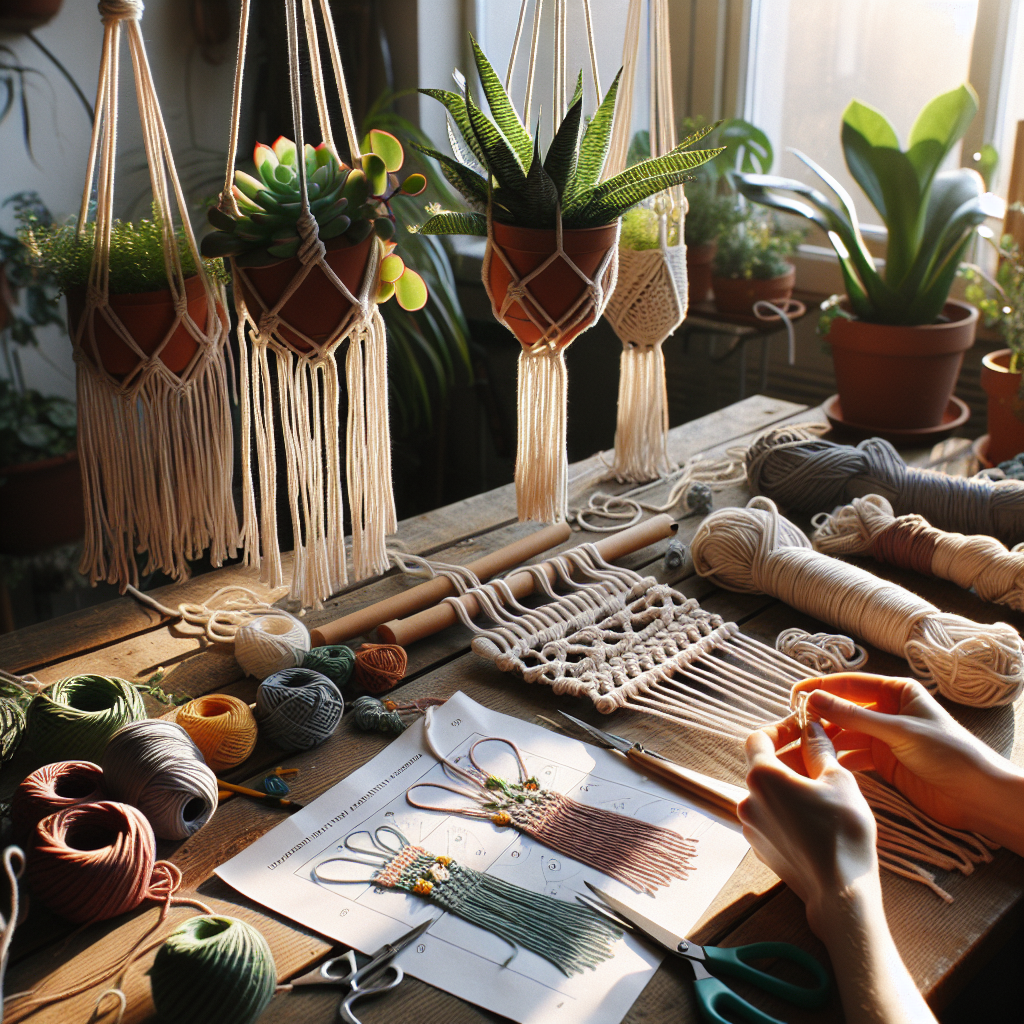
Materials You’ll Need
Before we dive into the instructions, let’s gather all the necessary materials for this project. Here’s what you’ll need:
- Macrame cord or rope
- Scissors
- Wooden or metal ring
- Pot or container for your plant
- Measuring tape
- Optional: decorative beads or feathers
Step 1: Measure and Cut the Cord
The first step in creating your macrame plant hanger is to measure and cut the cord. Start by determining the desired length of your plant hanger. A good rule of thumb is to measure the distance from where you want the top of the hanger to hang to the bottom of the pot, and then double that length. This will give you enough cord to create the knots and the hanging portion of the hanger.
Once you have determined the length, cut four equal pieces of cord. Remember to add a few extra inches to account for knots and trimming later on.
Step 2: Create the Top Knot
Now that you have your four pieces of cord, it’s time to create the top knot that will hold your plant hanger together. Take all four cords and fold them in half, so you have a loop at the top. Pass the loop through the ring, then pull the loose ends of the cords through the loop and tighten. This will create a secure knot that will serve as the starting point for your macrame plant hanger.
Step 3: Start the Square Knot Pattern
With the top knot in place, it’s time to start creating the square knot pattern that will form the body of your plant hanger. Follow these steps to create a basic square knot:
- Take the first four cords and separate them into two groups of two.
- Take the left group of cords and cross them over the right group.
- Take the right group of cords and pass them under the left group and through the loop created on the left side.
- Pull the cords tight to create the first half of the square knot.
- Repeat steps 2-4, but this time start with the right group of cords crossing over the left group.
- Continue alternating between left and right to create a row of square knots.
Continue creating rows of square knots until you reach the desired length for your plant hanger. Remember to leave enough space at the bottom for your plant pot.
Step 4: Add Decorative Accents (Optional)
If you want to add a personal touch to your macrame plant hanger, now is the perfect time to do so. You can incorporate decorative beads, feathers, or even colorful threads into your design. Simply thread them onto the cords before tying the knots, and they will become part of the overall pattern.
Step 5: Finish the Plant Hanger
Once you have reached the desired length and added any decorative accents, it’s time to finish off your macrame plant hanger. Take all the cords and gather them together. Trim the ends to your desired length, making sure they are even.
If you want to add a little extra flair, you can create a tassel at the bottom of the plant hanger. To do this, take a separate piece of cord and fold it in half. Loop it around the bottom of the plant hanger, then pass the loose ends through the loop and tighten. Trim the ends to your desired length.
Step 6: Hang Your Plant Hanger
Now that your macrame plant hanger is complete, it’s time to hang it and display your favorite plant. Find a sturdy hook or nail in the desired location, and hang the plant hanger from the ring at the top. Make sure the hanger is secure before placing your plant pot inside.
Step 7: Enjoy Your Beautiful Macrame Plant Hanger
Congratulations! You have successfully created your own DIY macrame plant hanger. Step back and admire your handiwork as your plant hangs beautifully in its new home. Not only have you added a touch of greenery to your space, but you have also created a unique and stylish piece of decor.
Summary
Creating your own macrame plant hangers is a fun and rewarding DIY project that allows you to showcase your creativity while adding a touch of nature to your home. By following the step-by-step instructions in this guide, you can create beautiful and unique plant hangers that will impress your friends and family. Remember to gather all the necessary materials, measure and cut the cord, create the top knot, start the square knot pattern, add decorative accents if desired, finish the plant hanger, and finally, hang it up and enjoy the beauty of your creation. Happy crafting!


