DIY Shabby Chic Furniture Distressing: Transform Your Old Furniture into Vintage Masterpieces
Are you tired of your old, worn-out furniture? Do you dream of giving your home a touch of vintage charm? Look no further! In this comprehensive guide, we will teach you how to create stunning shabby chic furniture by distressing your existing pieces. With just a few simple steps and some basic materials, you can transform your tired furniture into beautiful, one-of-a-kind masterpieces that will add character and style to any room. So roll up your sleeves and let’s get started!
Materials You Will Need
Before we dive into the step-by-step process, let’s gather all the materials you will need for this project:
- Sandpaper (medium and fine grit)
- Paint (chalk paint or acrylic paint)
- Paintbrushes (various sizes)
- Clear wax or furniture wax
- Lint-free cloth
- Drop cloth or old newspapers
- Protective gloves
- Optional: decorative knobs or handles
Step 1: Prepare Your Workspace
Before you begin distressing your furniture, it’s important to set up a suitable workspace. Lay down a drop cloth or old newspapers to protect your floor or work surface from any paint or wax spills. Make sure you have good ventilation in the area, as some paint and wax fumes can be strong. Put on your protective gloves to keep your hands clean and safe throughout the process.
Step 2: Choose the Right Piece of Furniture
Not all furniture is suitable for shabby chic distressing. Look for pieces that have a solid structure and are made of wood or other sturdy materials. Avoid furniture with laminate or veneer surfaces, as distressing techniques may not work well on these materials. Additionally, consider the size and style of the piece. Shabby chic works best with vintage or antique-inspired furniture, but you can also experiment with modern pieces for a unique twist.
Step 3: Prepare the Surface
Before you can start distressing, you need to prepare the surface of your furniture. Start by cleaning the piece thoroughly with a damp cloth to remove any dirt or grime. If there are any existing finishes or varnishes, you may need to sand them down lightly to create a rough surface for the paint to adhere to. Use medium-grit sandpaper for this step, and be sure to wipe away any dust with a clean cloth before moving on.
Step 4: Apply the Base Coat
Now it’s time to apply the base coat of paint. Choose a color that complements your overall design scheme. Chalk paint or acrylic paint works best for shabby chic furniture, as they have a matte finish and are easy to distress. Use a paintbrush to apply an even coat of paint to the entire piece, making sure to get into all the nooks and crannies. Allow the paint to dry completely before moving on to the next step.
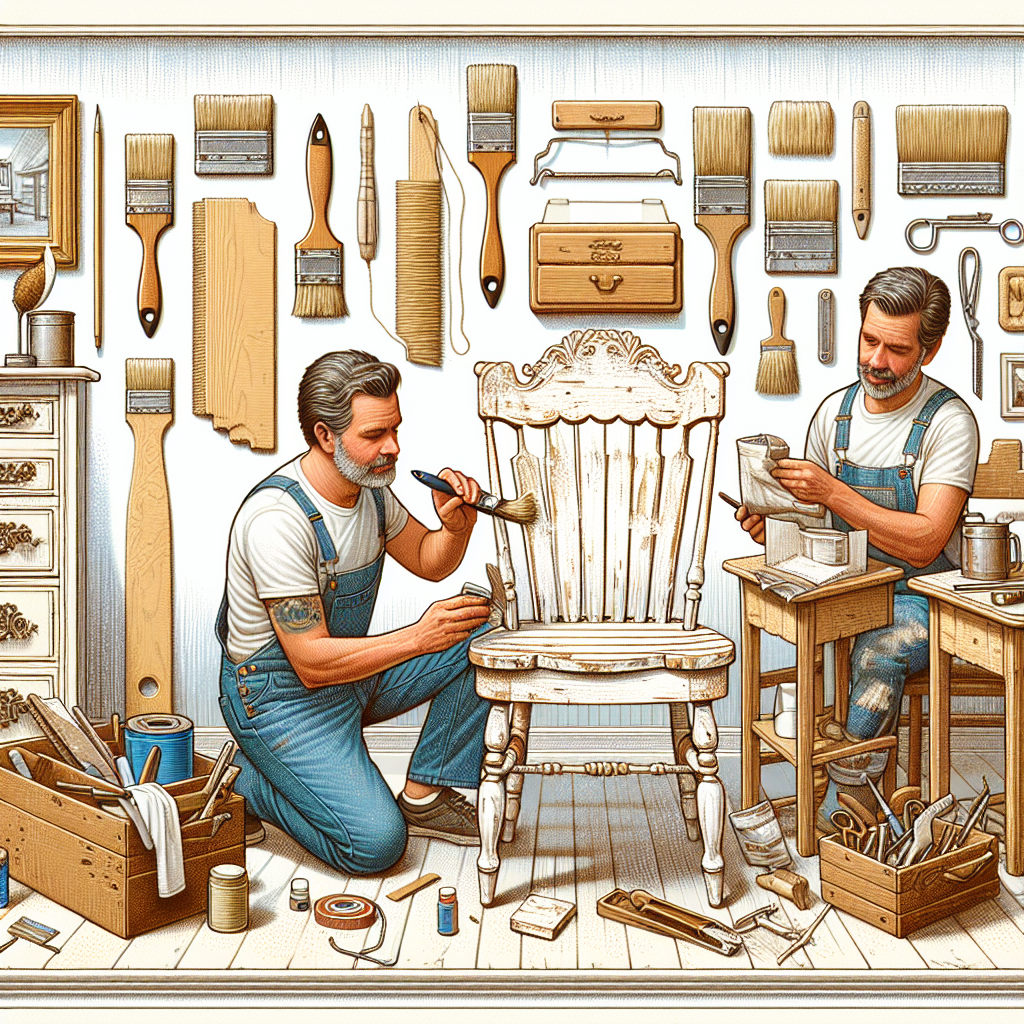
Step 5: Distress the Furniture
This is where the magic happens! Distressing is the key to achieving that shabby chic, vintage look. Start by using fine-grit sandpaper to gently sand the edges and corners of the furniture, as well as any areas that would naturally wear over time. Focus on areas that would naturally receive more wear and tear, such as the edges of drawers or the top of a table. Don’t be afraid to experiment and create unique patterns and textures.
For a more pronounced distressed look, you can also use a hammer, chains, or other tools to create dents and dings in the wood. Be careful not to go overboard, as you want the distressing to look natural and intentional. Step back occasionally to assess your progress and make sure you’re achieving the desired effect.
Step 6: Apply the Finishing Touches
Once you’re satisfied with the level of distressing, it’s time to apply the finishing touches. Use a lint-free cloth to apply a thin layer of clear wax or furniture wax to the entire piece. This will protect the paint and give it a subtle sheen. Work in small sections, applying the wax in a circular motion and then wiping away any excess. Allow the wax to dry and cure according to the manufacturer’s instructions.
If desired, you can also add decorative knobs or handles to your furniture to enhance its vintage charm. Look for antique or vintage-inspired hardware that complements the style of your piece. This small detail can make a big difference in the overall look and feel of your shabby chic furniture.
Step 7: Enjoy Your Shabby Chic Masterpiece
Congratulations! You have successfully transformed your old furniture into a stunning shabby chic masterpiece. Find the perfect spot in your home to showcase your creation and enjoy the vintage charm it brings to your space. Whether it’s a distressed dresser, a shabby chic coffee table, or a beautifully aged bookshelf, your DIY project is sure to be a conversation starter and a source of pride.
Conclusion
Distressing furniture to achieve a shabby chic look is a fun and rewarding DIY project that allows you to unleash your creativity and give new life to old pieces. By following the step-by-step instructions in this guide, you can create unique and beautiful furniture that adds character and style to your home. Remember to gather all the necessary materials, prepare your workspace, and take your time with each step. The end result will be well worth the effort, and you’ll have a one-of-a-kind piece that you can proudly display for years to come.


