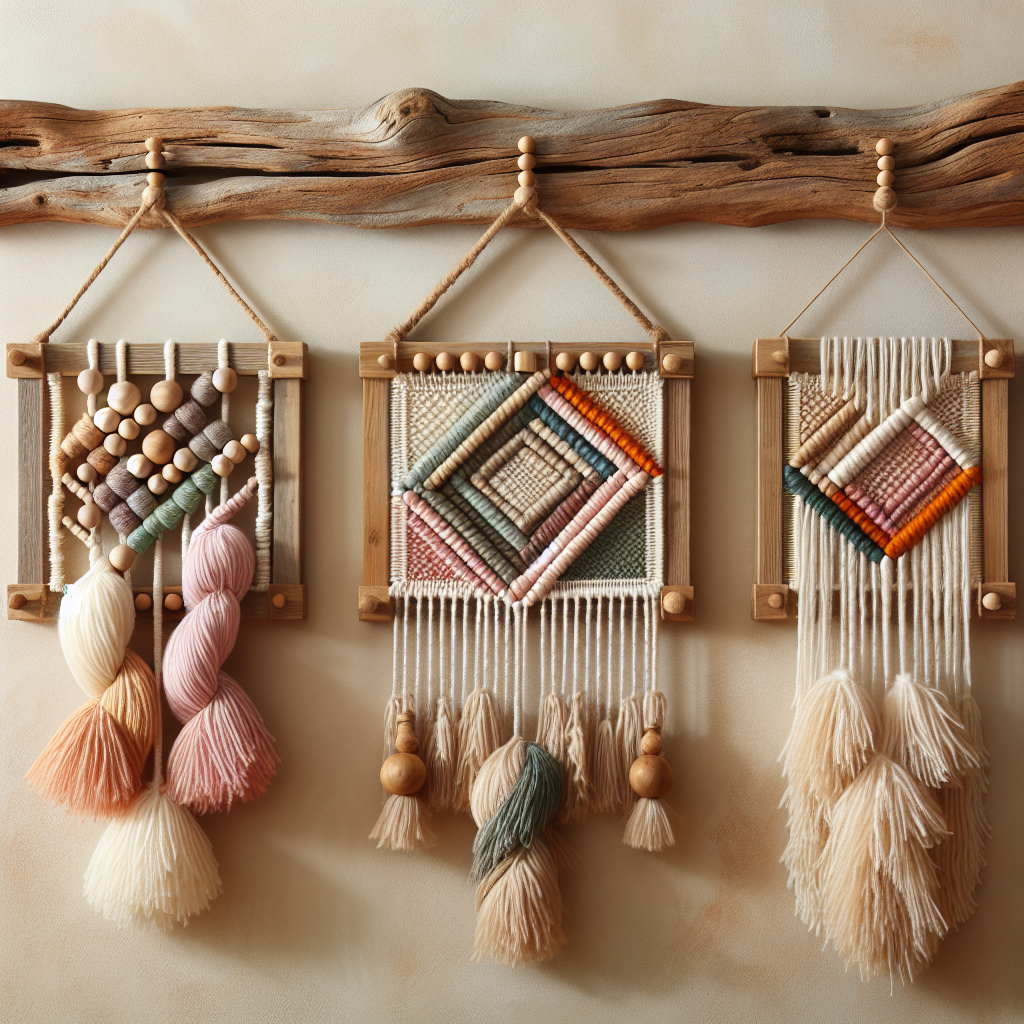
Easy Yarn Wall Hangings: A Step-by-Step Guide
Are you looking to add a touch of creativity and warmth to your living space? Yarn wall hangings are a fantastic DIY project that can transform any room into a cozy and stylish haven. With just a few materials and some basic crafting skills, you can create beautiful and unique wall decor that reflects your personal style. In this step-by-step guide, we will walk you through the process of making your own easy yarn wall hangings. So grab your supplies and let’s get started!
Materials You’ll Need
- Wooden dowel or branch
- Yarn in various colors and textures
- Scissors
- Measuring tape
- Comb or brush
- Optional: beads, feathers, or other decorative elements
Step 1: Prepare Your Workspace
Before diving into the project, it’s important to set up a clean and organized workspace. Clear a table or desk and gather all your materials in one place. This will make the process much smoother and more enjoyable.
Step 2: Measure and Cut Your Yarn
Start by deciding how long you want your yarn wall hanging to be. Measure and cut several pieces of yarn to your desired length, keeping in mind that you will be folding them in half later. It’s always better to cut the yarn a bit longer than you think you’ll need, as you can always trim it later.
Step 3: Attach the Yarn to the Dowel
Take one piece of yarn and fold it in half. Place the folded end under the dowel, creating a loop at the top. Pull the loose ends of the yarn through the loop and tighten to secure it. Repeat this process with the rest of your yarn pieces, spacing them evenly along the dowel. You can use as many or as few yarn pieces as you like, depending on the desired fullness of your wall hanging.
Step 4: Create the Fringe
Now it’s time to add some texture to your yarn wall hanging. Take one yarn piece and separate it into two sections. Comb or brush each section to remove any tangles or knots. Repeat this process with the rest of your yarn pieces.
Once all the yarn pieces are combed, you can leave them as is for a simple fringe look, or get creative by adding knots, braids, or beads. Experiment with different techniques to achieve the desired effect.
Step 5: Trim and Shape
Once you’re happy with the overall look of your yarn wall hanging, it’s time to trim and shape the yarn. Use your scissors to cut the ends of the yarn into your desired shape. You can go for a straight edge, a V-shape, or even an asymmetrical design. Don’t be afraid to get creative and try different shapes!
Step 6: Add Decorative Elements (Optional)
If you want to take your yarn wall hanging to the next level, consider adding some decorative elements. Beads, feathers, and small trinkets can add a unique touch to your creation. Thread them onto the yarn or attach them with a small piece of string or wire.
Step 7: Hang and Enjoy!
Once you’ve completed all the steps, it’s time to hang your yarn wall hanging and admire your handiwork. Find a spot on the wall where it will be showcased best, and use a nail or hook to secure the dowel in place. Step back and enjoy the cozy and artistic atmosphere your new wall decor brings to your space.
Conclusion
Creating your own easy yarn wall hangings is a fun and rewarding DIY project that allows you to express your creativity and add a personal touch to your home. With just a few materials and some basic crafting skills, you can transform any room into a cozy and stylish haven. Follow the step-by-step guide outlined in this article, and soon you’ll have a beautiful yarn wall hanging that reflects your unique style. So gather your supplies, unleash your creativity, and let the yarn do the talking!


