Fabric Scrap Bunting: A DIY Project to Add Color and Charm to Your Space
Are you looking for a creative and budget-friendly way to add a pop of color and charm to your space? Look no further than fabric scrap bunting! This simple and fun DIY project allows you to repurpose fabric scraps into a beautiful decorative garland that can be hung anywhere in your home or at special events. In this article, we will guide you through the step-by-step process of creating your own fabric scrap bunting, providing you with valuable insights and detailed instructions along the way.
Materials You Will Need
Before we dive into the project, let’s gather all the necessary materials:
- Fabric scraps in various colors and patterns
- Scissors
- Twine or ribbon
- Hot glue gun or fabric glue
- Measuring tape or ruler
- Iron and ironing board
- Optional: sewing machine
Step-by-Step Instructions
Now that you have all the materials ready, let’s get started on creating your fabric scrap bunting:
Step 1: Prepare Your Fabric Scraps
Begin by sorting through your fabric scraps and selecting the ones you want to use for your bunting. Choose a variety of colors, patterns, and textures to create an eye-catching and eclectic look. Make sure the fabric scraps are clean and free from any stains or tears.
Step 2: Cut Out Triangular Flags
Using your scissors, cut out triangular flags from the fabric scraps. The size of the flags can vary depending on your preference, but a good starting point is to make them approximately 6 inches wide and 8 inches long. You can use a ruler or measuring tape to ensure consistent sizing.
Step 3: Iron the Flags
Once you have cut out all the flags, it’s time to give them a crisp and polished look. Heat up your iron and ironing board, then carefully press each flag to remove any wrinkles or creases. This step is especially important if your fabric scraps are wrinkled or have been stored for a while.
Step 4: Arrange the Flags
Now that your flags are ready, it’s time to arrange them in the desired order. Lay out your twine or ribbon horizontally and place the flags on top, leaving a small gap between each flag. Play around with different color combinations and patterns until you find a layout that you love.
Step 5: Attach the Flags
Once you are satisfied with the arrangement, it’s time to attach the flags to the twine or ribbon. You can use a hot glue gun or fabric glue for this step. Apply a small amount of glue to the top edge of each flag and press it firmly onto the twine or ribbon. Make sure to leave enough excess twine or ribbon on each end for hanging.
Step 6: Optional – Sew the Flags
If you prefer a more secure attachment, you can choose to sew the flags onto the twine or ribbon instead of using glue. Set up your sewing machine with a coordinating thread color and stitch along the top edge of each flag, leaving a small gap between each flag. This method will ensure that your bunting withstands the test of time.
Step 7: Hang and Enjoy!
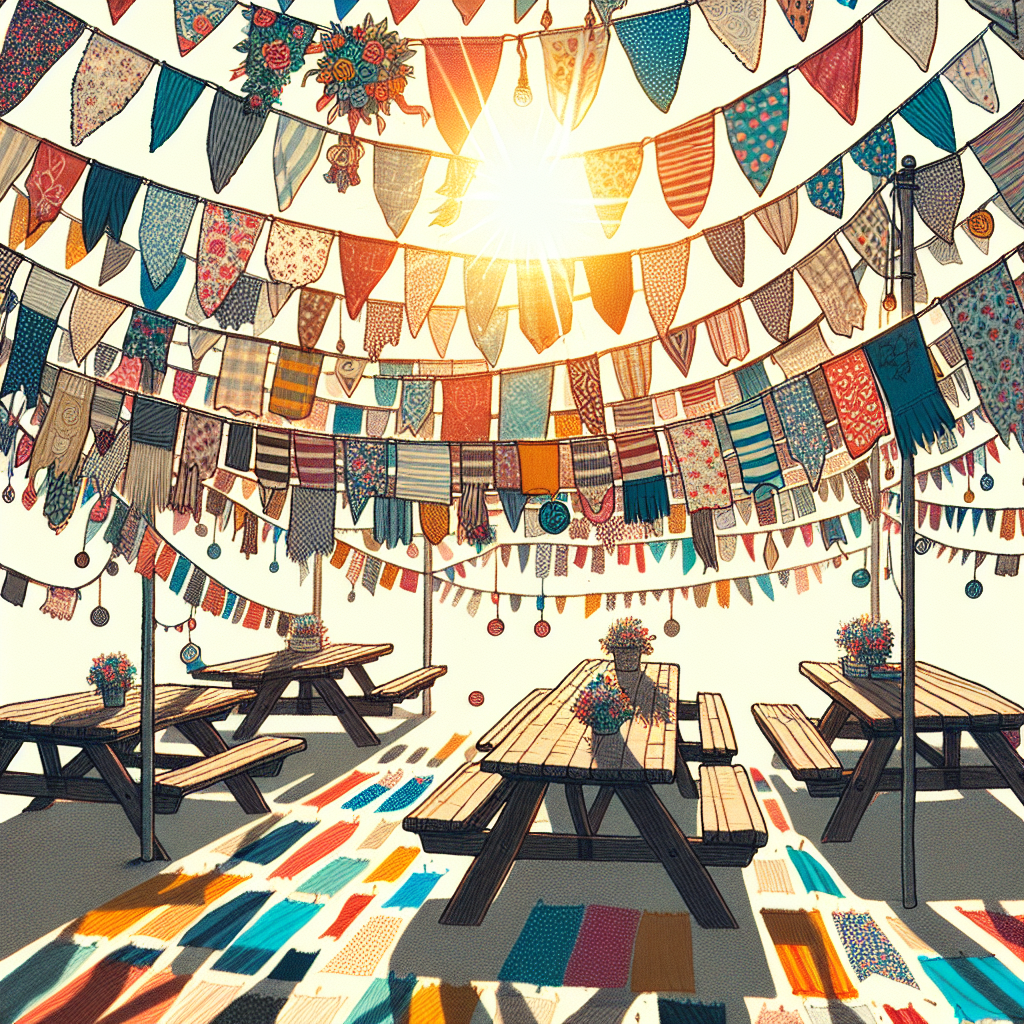
Once all the flags are attached, your fabric scrap bunting is ready to be hung and admired. Find a suitable spot in your home or at your event and gently drape the bunting, securing the ends with tape or hooks. Step back and admire your handiwork as the vibrant colors and patterns bring life to your space.
Time and Inspiration
The time required to complete this project will vary depending on the length of your bunting and the number of flags you decide to make. On average, it can take anywhere from 1 to 3 hours to complete.
Now that you have learned how to create your own fabric scrap bunting, let your creativity soar! Experiment with different fabric combinations, mix and match patterns, and even add embellishments such as buttons or ribbons to make your bunting truly unique. Whether you hang it in your living room, bedroom, or at a special event, your fabric scrap bunting is sure to add a touch of color and charm to any space.
Summary
Fabric scrap bunting is a fantastic DIY project that allows you to repurpose fabric scraps into a beautiful decorative garland. By following our step-by-step instructions, you can create your own fabric scrap bunting and add a pop of color and charm to your space. Gather your materials, cut out triangular flags, arrange and attach them to twine or ribbon, and hang your bunting with pride. Let your creativity shine as you experiment with different fabric combinations and patterns. Enjoy the process and admire the final result as your fabric scrap bunting brings life and vibrancy to your home or event.


