Hand-Painted Ceramic Coasters: A Step-by-Step Guide
Are you looking for a fun and creative project to add a personal touch to your home decor? Look no further than hand-painted ceramic coasters! These beautiful and functional pieces can be customized to match any style or theme, making them the perfect addition to your coffee table or kitchen counter. In this comprehensive guide, we will walk you through the process of creating your own hand-painted ceramic coasters, from selecting the materials to adding the finishing touches. So, let’s get started!
Materials You Will Need
- Ceramic coasters
- Paintbrushes
- Acrylic paints
- Paint palette or disposable plate
- Water cup
- Clear varnish or sealant
- Painter’s tape
- Pencil
- Design stencils (optional)
- Paint markers (optional)
Step 1: Prepare Your Workspace
Before you begin, it’s important to set up a clean and organized workspace. Lay down some newspaper or a plastic tablecloth to protect your surfaces from any paint spills or stains. Make sure you have easy access to all your materials and tools, and keep a damp cloth nearby for any accidental smudges or mistakes.
Step 2: Choose Your Design
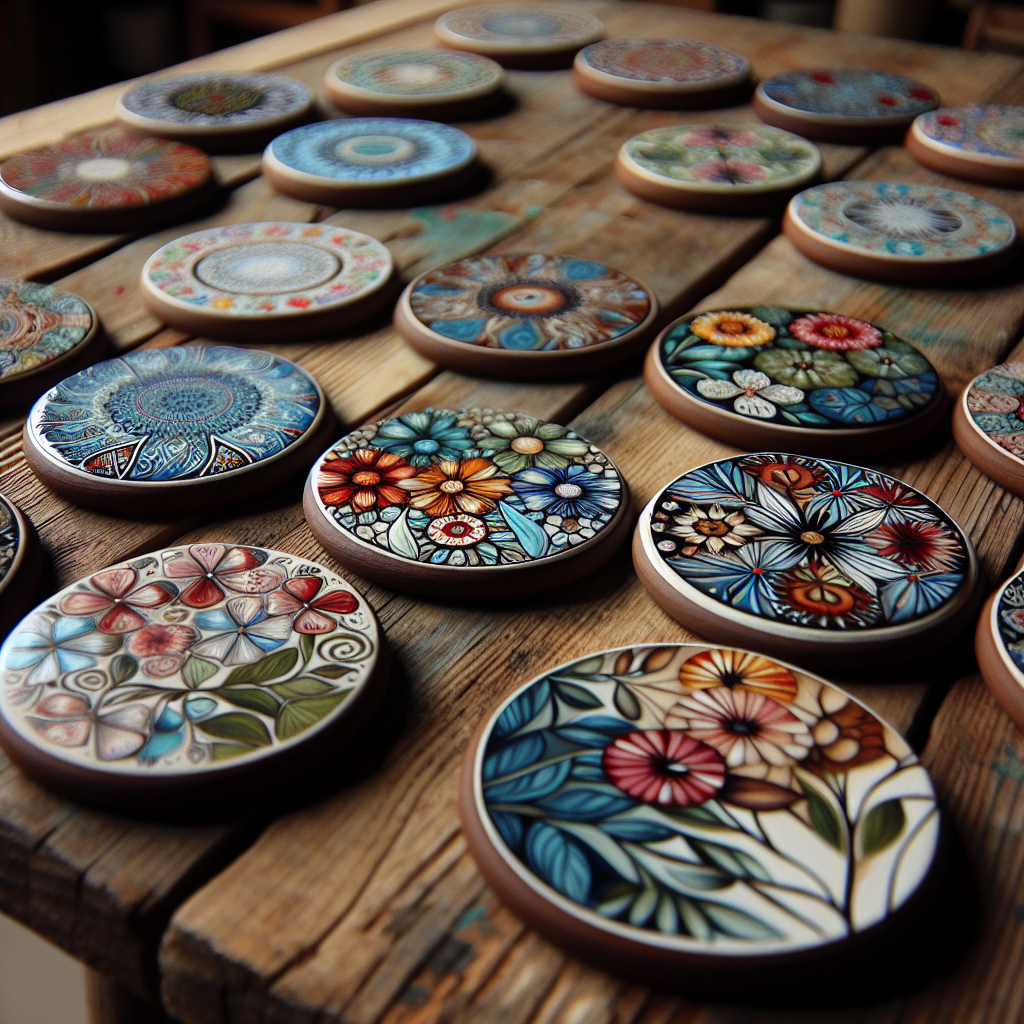
Now it’s time to decide on the design for your ceramic coasters. You can go for a simple and elegant look with geometric patterns or opt for more intricate designs like flowers or landscapes. If you’re not confident in your freehand painting skills, don’t worry! You can use stencils or paint markers to create precise and detailed designs.
Step 3: Prepare the Coasters
Before you start painting, make sure your ceramic coasters are clean and free from any dust or debris. Use a damp cloth to wipe them down and let them dry completely. This will ensure that the paint adheres properly to the surface.
Step 4: Sketch Your Design
If you’re planning to paint a design that requires symmetry or precise placement, it’s a good idea to lightly sketch it on the coaster with a pencil. This will serve as a guide and help you achieve a more professional-looking result. Don’t worry about the pencil marks showing through the paint – they can be easily erased or covered up later.
Step 5: Start Painting
Now comes the fun part – painting! Dip your paintbrush into the desired color and start applying the paint to the coaster. Use thin, even strokes to ensure smooth and consistent coverage. If you’re using multiple colors, let each layer dry before moving on to the next one to prevent smudging or mixing of colors.
Step 6: Add Details
If you want to add some extra flair to your ceramic coasters, now is the time to do it. You can use smaller brushes or paint markers to add intricate details or highlights to your design. This is where your creativity can truly shine, so don’t be afraid to experiment and try new techniques!
Step 7: Let It Dry
Once you’re satisfied with your painted design, set the coasters aside and let them dry completely. This usually takes a few hours, but it’s best to check the drying time specified on the paint packaging. Avoid touching or moving the coasters while they’re drying to prevent any smudges or smears.
Step 8: Apply a Sealant
To protect your hand-painted ceramic coasters and ensure their longevity, it’s important to apply a clear varnish or sealant. This will create a protective barrier over the paint and make the coasters resistant to water and heat. Follow the instructions on the sealant packaging for the best results.
Step 9: Enjoy Your Masterpieces
Once the sealant has dried, your hand-painted ceramic coasters are ready to be used and displayed! Place them on your coffee table, kitchen counter, or give them as thoughtful gifts to friends and family. Admire your artistic skills and enjoy the compliments you’ll receive on your unique and personalized coasters!
Conclusion
Creating your own hand-painted ceramic coasters is a rewarding and enjoyable DIY project that allows you to unleash your creativity and add a personal touch to your home decor. By following the step-by-step instructions in this guide, you’ll be able to create stunning coasters that are both functional and beautiful. So gather your materials, set up your workspace, and let your imagination run wild as you embark on this exciting artistic journey!


