Hand-painted Christmas Glassware: Personalize Your Glassware for the Holiday Season
Are you looking for a fun and creative way to add a personal touch to your holiday decorations? Look no further than hand-painted Christmas glassware! This do-it-yourself project allows you to transform ordinary glassware into beautiful, festive pieces that will impress your guests and add a touch of holiday cheer to your home. In this article, we will guide you through the step-by-step process of creating your own hand-painted Christmas glassware, from selecting the right materials to adding the finishing touches. Let’s get started!
Materials You Will Need
- Glassware (such as wine glasses, mason jars, or vases)
- Glass paint in various colors
- Paintbrushes in different sizes
- Painter’s tape
- Disposable palette or paint mixing tray
- Water container for cleaning brushes
- Lint-free cloth or paper towels
- Optional: Glass etching cream for added texture
Step-by-Step Instructions
Step 1: Clean and Prepare the Glassware
Before you begin painting, it’s important to clean your glassware thoroughly to ensure that the paint adheres properly. Start by washing the glassware with warm, soapy water and drying it with a lint-free cloth or paper towels. Make sure there are no fingerprints or smudges on the surface.
Step 2: Choose Your Design
Next, decide on the design you want to paint on your glassware. You can go for traditional holiday motifs like snowflakes, Christmas trees, or reindeer, or get creative and come up with your own unique design. If you’re not confident in your freehand painting skills, you can find stencils or templates online to use as a guide.
Step 3: Prepare Your Workspace
Set up a clean and well-lit workspace where you can comfortably paint your glassware. Lay down some newspaper or a plastic tablecloth to protect your work surface from any accidental spills or drips.
Step 4: Apply Painter’s Tape (Optional)
If you want to create clean, straight lines or sections in your design, you can use painter’s tape to mask off those areas. Simply apply the tape to the glassware, making sure it adheres firmly and covers the desired areas. This step is particularly useful if you’re planning to paint multiple colors or create geometric patterns.
Step 5: Mix Your Paint
Pour a small amount of each glass paint color onto your disposable palette or paint mixing tray. Use a separate paintbrush for each color to prevent them from getting mixed together. If you want to create custom colors, you can mix different shades on the palette using a clean brush.
Step 6: Start Painting
Now comes the fun part – painting your glassware! Dip your paintbrush into the desired color and start applying the paint to the glass in smooth, even strokes. Take your time and be patient, as multiple thin coats will give you better results than one thick coat. If you make any mistakes, don’t worry – you can easily wipe off the paint with a damp cloth or cotton swab while it’s still wet.
Step 7: Add Details and Accents
Once the base coat is dry, you can add details and accents to your design. Use smaller brushes for intricate work and different colors to create depth and dimension. You can also experiment with different techniques, such as stippling or dry brushing, to achieve interesting textures.
Step 8: Let It Dry and Cure
After you’ve finished painting, set your glassware aside to dry completely. The drying time will depend on the type of glass paint you’re using, so refer to the manufacturer’s instructions for guidance. Once the paint is dry, you may need to cure it by baking the glassware in the oven. Again, follow the instructions provided by the paint manufacturer for the correct temperature and duration.
Step 9: Optional: Add Glass Etching (For Added Texture)
If you want to add some texture to your hand-painted Christmas glassware, you can try glass etching. Apply a layer of glass etching cream to the desired areas of your design, following the instructions on the product packaging. Leave the cream on for the recommended amount of time, then rinse it off with water and dry the glassware thoroughly.
Step 10: Finishing Touches
Once your glassware is completely dry and cured, it’s time to add any finishing touches. You can embellish your designs with glitter, rhinestones, or ribbon to make them even more festive. Just make sure to use a clear adhesive that is safe for glass.
Project Duration
The time it takes to complete this project will depend on the complexity of your design and the drying and curing times of the paint you’re using. On average, it can take anywhere from a few hours to a couple of days to finish a set of hand-painted Christmas glassware.
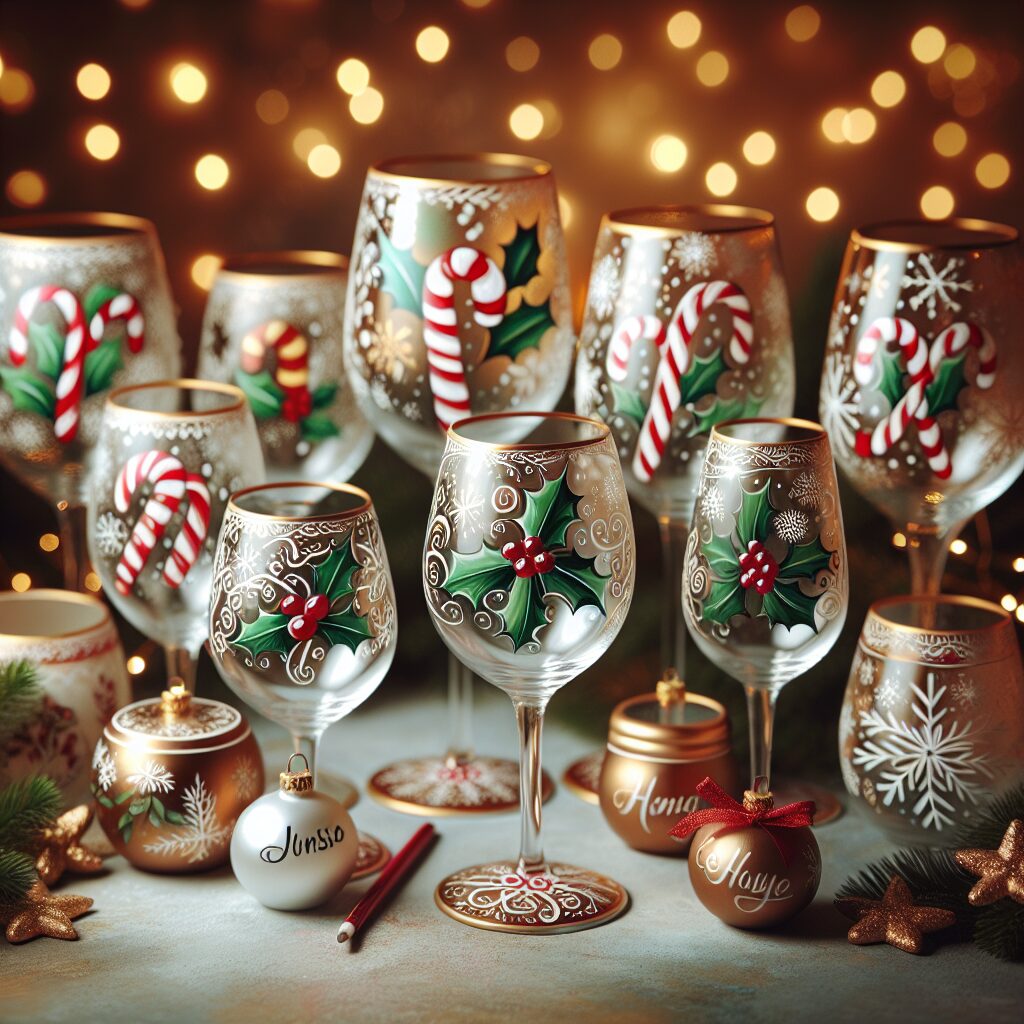
Project Inspiration
Here’s a glimpse of what your hand-painted Christmas glassware could look like:

Summary
Hand-painted Christmas glassware is a fantastic way to personalize your holiday decorations and create unique pieces that will impress your guests. By following these step-by-step instructions and using the right materials, you can transform ordinary glassware into beautiful, festive works of art. Remember to clean and prepare your glassware, choose your design, and set up a suitable workspace. Apply painter’s tape if needed, mix your paint, and start painting your glassware with patience and precision. Add details and accents, let the paint dry and cure, and consider adding glass etching for added texture. Finally, add any finishing touches to make your hand-painted Christmas glassware truly shine. Get creative, have fun, and enjoy the process of making your own personalized holiday decorations!


