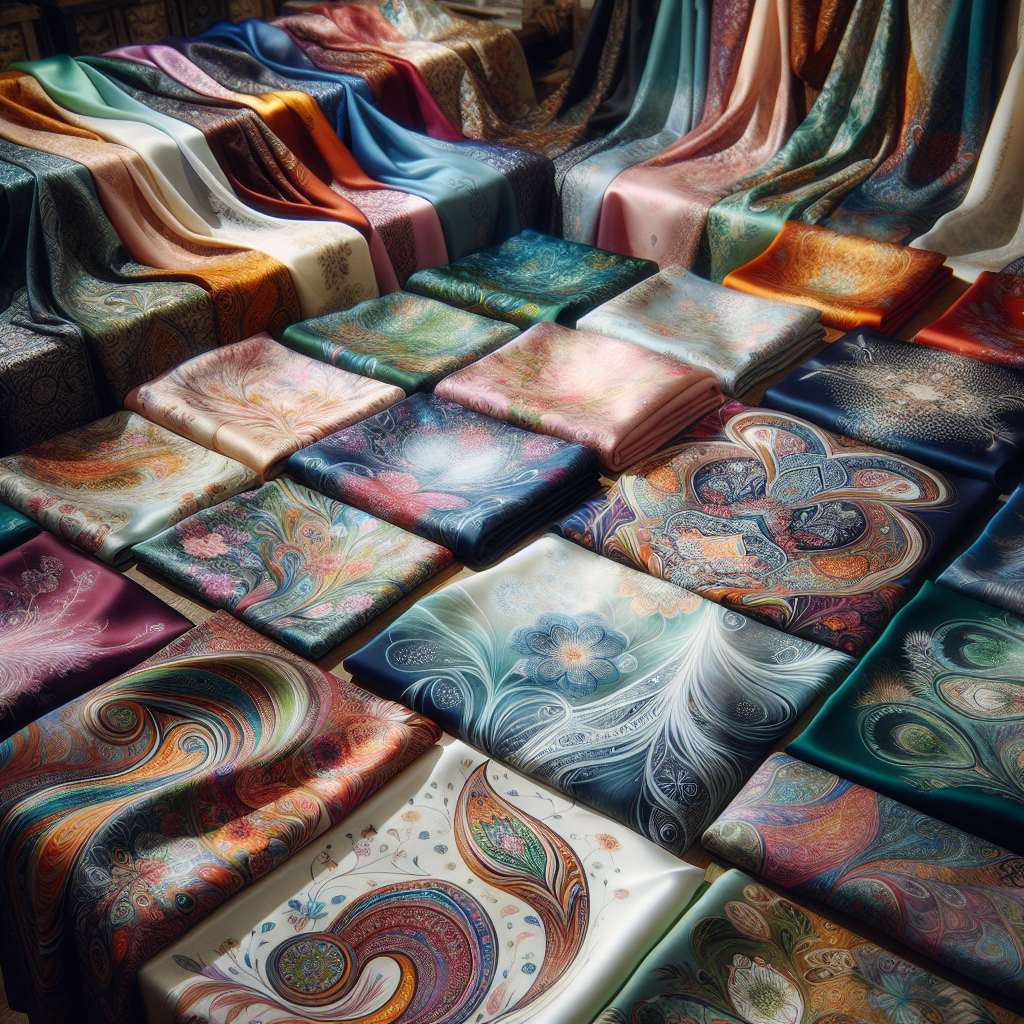
Hand-Painted Silk Scarves: A Step-by-Step Guide to Creating Beautiful Wearable Art
Are you looking for a unique and creative way to express your personal style? Look no further than hand-painted silk scarves! With just a few materials and some basic painting techniques, you can transform a plain silk scarf into a stunning work of art. In this comprehensive guide, we will walk you through the step-by-step process of creating your own hand-painted silk scarf. Get ready to unleash your inner artist and make a fashion statement like no other!
Materials You Will Need
- Silk scarf
- Gutta resist
- Silk dyes
- Paintbrushes
- Palette or small containers
- Water
- Iron
- Masking tape
- Plastic wrap
- Protective gloves
Step 1: Prepare Your Workspace
Before you begin, it’s important to set up a clean and organized workspace. Lay down a plastic tablecloth or some old newspapers to protect your work surface from any accidental spills or stains. Make sure you have all your materials within reach, and put on a pair of protective gloves to keep your hands clean.
Step 2: Choose Your Design
Now it’s time to decide on the design for your hand-painted silk scarf. You can go for a simple and abstract pattern, or get inspired by nature and create a floral or landscape design. The possibilities are endless! Take a moment to sketch out your design on a piece of paper, or if you’re feeling confident, you can freehand it directly onto the scarf.
Step 3: Prepare the Silk Scarf
Before you start painting, you need to prepare the silk scarf. Iron it on a low heat setting to remove any wrinkles and ensure a smooth surface for painting. Once the scarf is wrinkle-free, tape down the edges with masking tape to prevent it from moving around while you work.
Step 4: Apply the Gutta Resist
Gutta resist is a special type of paint that creates a barrier on the silk, preventing the dyes from spreading. It comes in a tube with a fine applicator tip, making it easy to control. Carefully squeeze the gutta resist onto the silk, following the outline of your design. Allow the gutta to dry completely before moving on to the next step.
Step 5: Mix Your Silk Dyes
Now it’s time to mix your silk dyes. Follow the instructions on the packaging to achieve the desired colors. You can mix different shades and experiment with blending to create a unique palette for your scarf. Pour the dyes into small containers or a palette, and have a cup of water nearby to clean your brushes between colors.
Step 6: Start Painting
With your brushes loaded with dye, it’s time to start painting! Dip your brush into the dye and carefully apply it to the silk, staying within the gutta resist lines. Remember to work quickly, as the dyes can dry fast. If you want to create a blended effect, you can wet the silk with water before applying the dye. This will help the colors flow and mix together.
Step 7: Add Details and Texture
Once you’ve painted the main areas of your design, you can add some extra details and texture to make your scarf truly unique. Use different brush sizes and techniques to create depth and interest. You can also experiment with different tools, such as sponges or stamps, to create interesting patterns and textures.
Step 8: Let It Dry
After you’ve finished painting, set your scarf aside to dry completely. This can take anywhere from a few hours to overnight, depending on the type of dyes you’re using. Make sure the scarf is completely dry before moving on to the next step.
Step 9: Heat-Set the Dyes
To ensure that the colors stay vibrant and permanent, you need to heat-set the dyes. Place a clean cloth or a piece of paper over the painted areas of the scarf, and iron it on a medium heat setting for a few minutes. The heat will help the dyes bond with the silk fibers, making them resistant to fading or washing out.
Step 10: Remove the Gutta Resist
Once the scarf has cooled down, it’s time to remove the gutta resist. Gently peel off the dried gutta lines, revealing the beautiful colors underneath. Be careful not to pull too hard, as this can damage the silk. If there are any stubborn bits of gutta left, you can use a soft brush or a cotton swab dipped in water to remove them.
Step 11: Enjoy Your Hand-Painted Silk Scarf
Congratulations! You’ve successfully created your own hand-painted silk scarf. Take a moment to admire your work and try it on. The vibrant colors and unique design will surely make a statement wherever you go. Wear it with pride or give it as a thoughtful and personalized gift to someone special.
Conclusion
Hand-painted silk scarves are not only a fun and creative project, but they also allow you to express your individuality and style. By following the step-by-step instructions in this guide, you can create a wearable work of art that is truly one-of-a-kind. So gather your materials, unleash your creativity, and let your imagination run wild. Happy painting!


