Homemade Soap Crafting: A Step-by-Step Guide to Creating Your Own Luxurious Soaps
Soap making is a delightful and rewarding craft that allows you to create personalized, luxurious soaps right in the comfort of your own home. Whether you’re a beginner or an experienced crafter, this comprehensive guide will walk you through the process of making homemade soap from scratch. Get ready to unleash your creativity and indulge in the art of soap crafting!
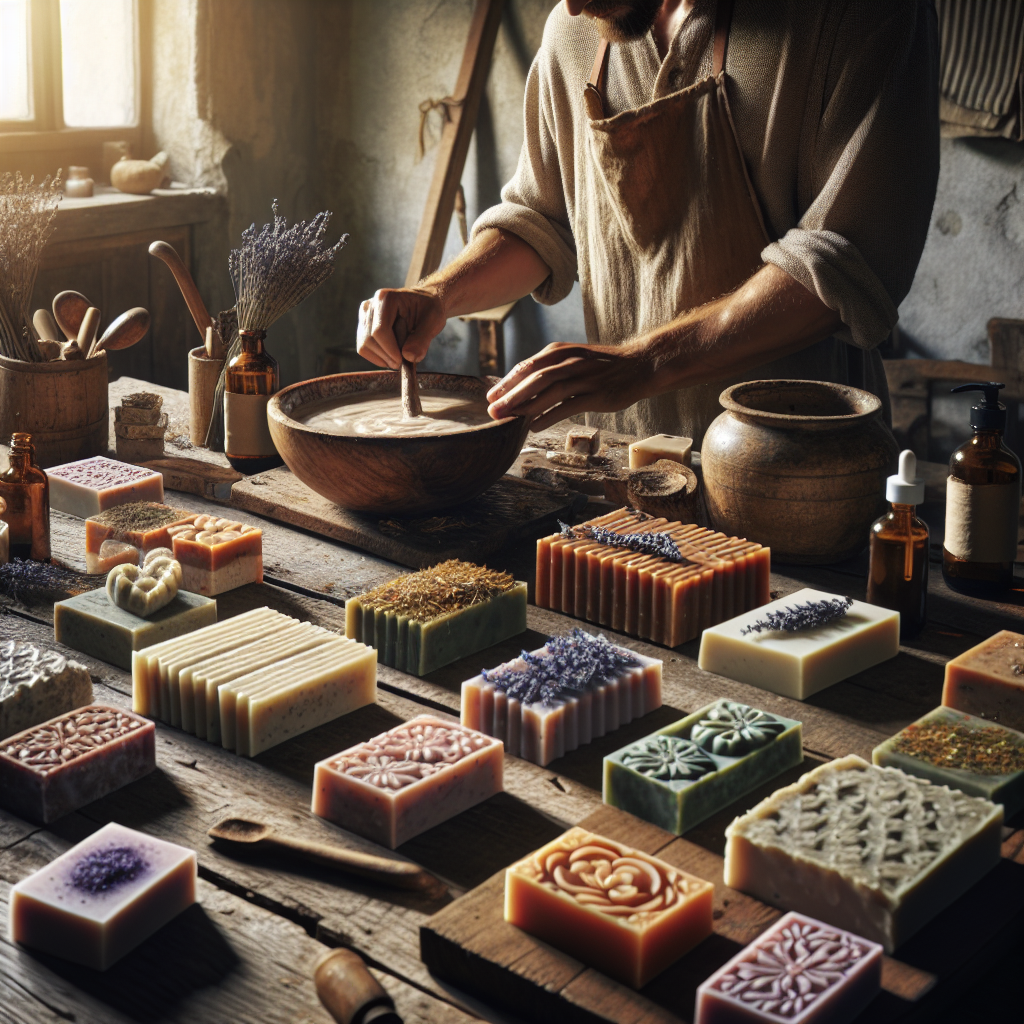
Materials You’ll Need
- Soap base (glycerin or melt-and-pour)
- Essential oils or fragrance oils
- Additives (dried flowers, herbs, exfoliants, etc.)
- Colorants (natural or synthetic)
- Molds (silicone or plastic)
- Heat-resistant container
- Double boiler or microwave
- Stirring utensil (silicone or stainless steel)
- Alcohol spray (to eliminate air bubbles)
- Knife or soap cutter
- Thermometer (optional, but recommended)
- Protective gear (gloves, goggles, apron)
Step 1: Prepare Your Workspace
Before diving into the soap making process, it’s important to set up a clean and organized workspace. Clear off any clutter and ensure you have all the necessary materials within reach. Lay down some newspaper or a plastic sheet to protect your surfaces from any potential spills or messes.
Step 2: Choose Your Soap Base
There are two main types of soap bases commonly used in homemade soap crafting: glycerin and melt-and-pour. Glycerin soap base is transparent and allows for more creativity with additives and colorants. Melt-and-pour soap base is opaque and comes pre-made, making it a great option for beginners.
Choose the soap base that suits your preferences and needs. Both options are readily available at craft stores or online soap making suppliers.
Step 3: Melt the Soap Base
Depending on the type of soap base you’ve chosen, you’ll need to melt it using either a double boiler or a microwave. If using a double boiler, fill the bottom pot with water and place it on the stove over low heat. Cut the soap base into small chunks and place them in the top pot of the double boiler. Stir occasionally until fully melted.
If using a microwave, cut the soap base into small chunks and place them in a heat-resistant container. Heat the soap base in short bursts, stirring in between, until fully melted. Be cautious not to overheat the soap base, as it can scorch or boil.
Step 4: Add Fragrance and Color
Once the soap base is fully melted, it’s time to add fragrance and color to your soap. Essential oils or fragrance oils can be used to add a delightful scent to your soap. Choose scents that complement each other or create your own unique blend.
Add a few drops of your chosen fragrance oil to the melted soap base and stir well to ensure even distribution. If you’d like to add color to your soap, use natural colorants like mica powder, cocoa powder, or activated charcoal for a more organic touch. Alternatively, you can use synthetic colorants specifically made for soap making.
Remember, a little goes a long way when it comes to fragrance and color. Start with a small amount and gradually add more until you achieve your desired scent and hue.
Step 5: Incorporate Additives
Now it’s time to get creative and add some unique additives to your soap. Dried flowers, herbs, exfoliants like oatmeal or coffee grounds, and even glitter can be incorporated into your soap for added texture and visual appeal.
Gently stir in your chosen additives into the melted soap base, ensuring they are evenly distributed. Be mindful not to over-stir, as it may cause air bubbles to form in your soap.
Step 6: Pour the Soap into Molds
Prepare your soap molds by spraying them with a thin layer of alcohol. This helps eliminate any air bubbles that may have formed during the mixing process. Place the molds on a flat surface, ready for pouring.
Carefully pour the melted soap base into the molds, filling them to the desired level. If you’re using multiple colors or layers, pour one color or layer at a time, allowing each layer to partially set before adding the next.
Step 7: Let the Soap Harden
Once you’ve poured the soap into the molds, it’s time to let it harden and set. The amount of time required for the soap to harden depends on various factors, such as the size of the molds and the type of soap base used.
As a general guideline, allow the soap to cool and harden for at least 2-4 hours. For larger or more intricate molds, it may take longer. You can speed up the process by placing the molds in the refrigerator, but be cautious not to freeze the soap.
Step 8: Unmold and Cut the Soap
Once the soap has completely hardened, gently remove it from the molds. If you’re having trouble unmolding, try placing the molds in the freezer for a few minutes to help release the soap.
Once unmolded, use a knife or soap cutter to slice the soap into individual bars or desired shapes. Take your time and ensure clean, even cuts for a professional finish.
Step 9: Cure and Package Your Soap
Although your soap is now ready to be used, allowing it to cure for a few weeks will result in a harder, longer-lasting bar. Place the cut soap bars on a drying rack or a well-ventilated area, away from direct sunlight and humidity. Turn the bars occasionally to ensure even drying.
After the curing period, your homemade soap is ready to be packaged and enjoyed. Consider wrapping each bar in decorative paper or placing them in airtight containers to preserve their freshness and scent.
Step 10: Get Creative and Experiment
Now that you’ve mastered the basics of homemade soap crafting, it’s time to let your creativity soar. Experiment with different fragrance combinations, color schemes, and additives to create unique and personalized soaps.
Don’t be afraid to try new techniques, such as swirls, layers, or embeds. The possibilities are endless, and each batch of soap you make will be a reflection of your own artistic flair.
Conclusion
<p


