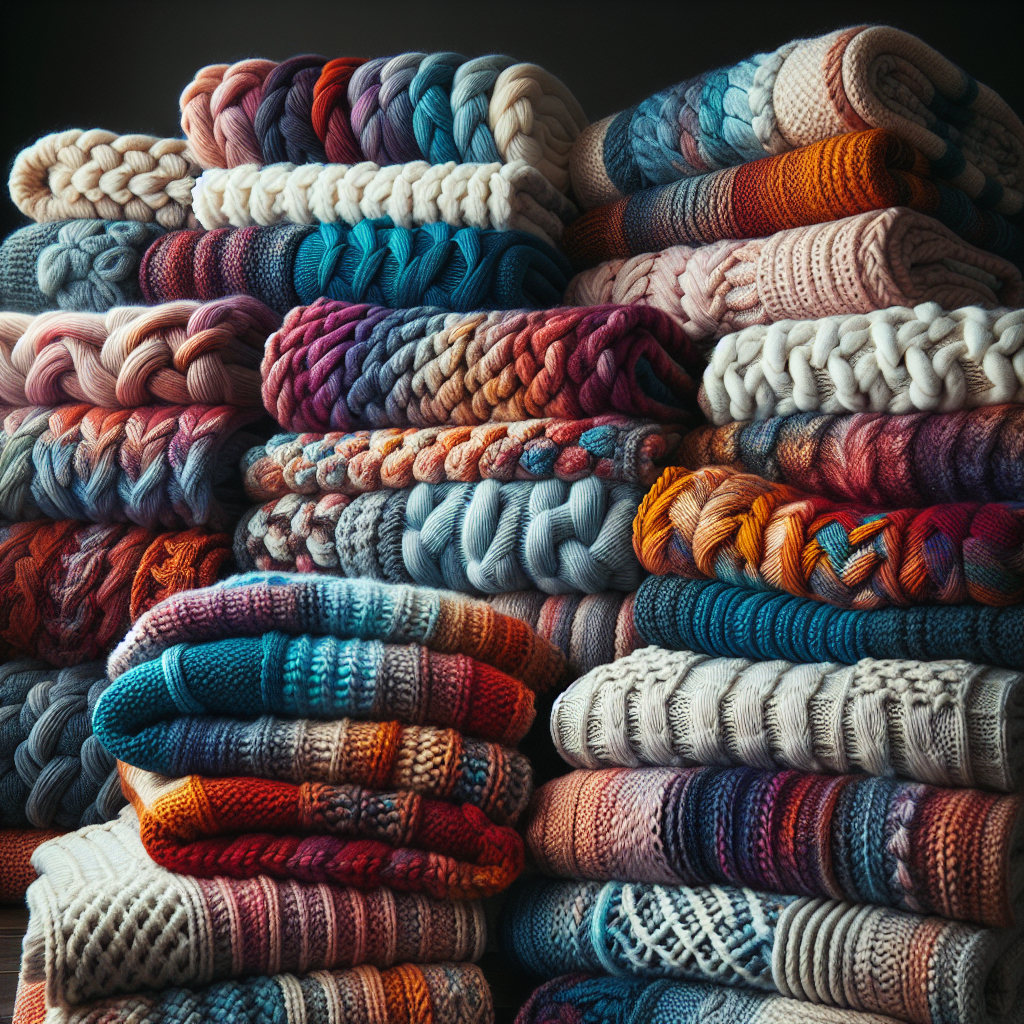
Knitted Throw Blankets for Cozy Evenings
Are you looking for a fun and creative project to keep you warm during those chilly evenings? Look no further than knitted throw blankets! These cozy blankets are not only practical but also make for a beautiful addition to any home decor. In this article, we will guide you through the step-by-step process of creating your very own knitted throw blanket. So grab your knitting needles and let’s get started!
Materials Needed
- Chunky yarn in your desired color(s)
- Knitting needles (size 10 or larger)
- Tapestry needle
- Scissors
- Measuring tape
- Stitch markers
Step 1: Choose Your Yarn
The first step in creating your knitted throw blanket is to choose the perfect yarn. Opt for a chunky yarn that is soft and cozy, ensuring maximum warmth and comfort. Consider the color scheme of your home decor and select a yarn that complements it. Remember, this blanket will be a focal point in your living space, so choose wisely!
Step 2: Determine the Size
Next, decide on the size of your throw blanket. Measure the area where you plan to use it, whether it’s on your couch, bed, or favorite armchair. Keep in mind that throw blankets are typically smaller than regular blankets, so aim for dimensions around 50 inches by 60 inches. Adjust the size according to your preference.
Step 3: Cast On
Now it’s time to cast on your stitches. Using your chosen yarn and knitting needles, cast on the desired number of stitches. For a chunky blanket, you’ll need a larger number of stitches compared to a finer yarn. A good starting point is around 100 stitches, but feel free to adjust based on your desired width.
Step 4: Knit the Rows
Once you have cast on your stitches, it’s time to start knitting! Use the basic knit stitch to create each row of your blanket. Knit every stitch until you reach the end of the row, then turn your work and repeat. Continue knitting row after row until your blanket reaches the desired length.
Step 5: Add Some Texture
If you want to add some texture to your knitted throw blanket, consider incorporating different stitch patterns. You can experiment with ribbing, cables, or even a simple seed stitch. These patterns will not only add visual interest but also enhance the coziness of your blanket.
Step 6: Bind Off
Once you have reached the desired length for your blanket, it’s time to bind off. This process ensures that your stitches won’t unravel and gives your blanket a finished edge. Follow your preferred bind-off method, such as the basic bind-off or the stretchy bind-off, to complete your project.
Step 7: Weave in Ends
After binding off, you will have a few loose ends of yarn. Use a tapestry needle to weave these ends into the fabric of your blanket, ensuring they are secure and hidden. This step gives your blanket a polished look and prevents any unraveling.
Step 8: Block Your Blanket
Blocking is an essential step in knitting that helps to even out the stitches and give your blanket a professional finish. To block your knitted throw blanket, dampen it with water and lay it flat on a clean surface. Gently stretch and shape the blanket to your desired dimensions, then let it dry completely.
Step 9: Enjoy Your Cozy Creation
Once your knitted throw blanket is dry and ready, it’s time to enjoy its warmth and beauty. Drape it over your couch, snuggle up with it on a chilly evening, or give it as a thoughtful gift to a loved one. Your handmade creation will bring comfort and joy for years to come.
Conclusion
Creating your own knitted throw blanket is a rewarding and enjoyable project that allows you to showcase your creativity and add a personal touch to your home decor. By following these step-by-step instructions, you can create a cozy and beautiful blanket that will keep you warm during those cozy evenings. So grab your knitting needles, choose your yarn, and get started on this wonderful DIY project today!


