Light Up Your Home with Handcrafted Christmas Window Silhouettes for a Festive Nighttime Display
Christmas is a time of joy, celebration, and beautiful decorations. One of the best ways to add a touch of magic to your home during the holiday season is by creating handcrafted Christmas window silhouettes. These stunning displays not only brighten up your home but also create a festive atmosphere for all to enjoy. In this article, we will guide you through the step-by-step process of creating your own window silhouettes, providing you with valuable insights and detailed instructions to ensure your project is a success.
Materials You Will Need
Before we dive into the instructions, let’s gather all the materials you will need for this project:
- Black construction paper
- Scissors
- Clear tape
- String lights
- Measuring tape
- Pencil
- Optional: Glitter, markers, or other decorative materials
Step 1: Measure Your Windows
The first step in creating your Christmas window silhouettes is to measure your windows. Use a measuring tape to determine the dimensions of each window you plan to decorate. Write down these measurements as they will be crucial for creating the correct-sized silhouettes.
Step 2: Choose Your Silhouette Designs
Now that you have your window measurements, it’s time to choose the silhouette designs you want to create. You can find inspiration from various sources such as Christmas books, online images, or even create your own designs. Keep in mind that simple designs tend to work best for window silhouettes.
Once you have chosen your designs, sketch them on the black construction paper using a pencil. Make sure the size of the silhouette matches the dimensions of your windows. If needed, resize the design accordingly.
Step 3: Cut Out the Silhouettes
With your designs sketched on the black construction paper, it’s time to bring them to life by cutting them out. Use a pair of sharp scissors to carefully cut along the outlines of your designs. Take your time and make precise cuts to ensure clean and professional-looking silhouettes.
Step 4: Add Decorative Touches (Optional)
If you want to add some extra sparkle to your window silhouettes, now is the time to get creative. You can use glitter, markers, or other decorative materials to enhance the details of your designs. This step is optional but can add a festive touch to your finished project.
Step 5: Attach the Silhouettes to Your Windows
Now that your silhouettes are ready, it’s time to attach them to your windows. Start by cleaning the window surface to ensure the silhouettes adhere properly. Use clear tape to secure the silhouettes to the inside of your windows, facing outward. Make sure they are centered and aligned with the measurements you took earlier.
Step 6: Arrange the String Lights
To truly bring your window silhouettes to life, you’ll need to add some illumination. Arrange string lights around the edges of your windows, following the outline of the silhouettes. Use clear tape or small adhesive hooks to secure the lights in place. Make sure the lights are evenly distributed and create a beautiful glow around your silhouettes.
Step 7: Plug in and Enjoy!
With everything in place, it’s time to plug in your string lights and enjoy the magical sight of your handcrafted Christmas window silhouettes. Step back and admire the festive atmosphere you have created in your home. The warm glow of the lights combined with the intricate designs will surely impress your family, friends, and neighbors.
Project Completion Time
The time required to complete this project will vary depending on the complexity of your chosen designs and the number of windows you plan to decorate. On average, it can take anywhere from a few hours to a full day to complete the entire process. Take your time and enjoy the creative journey.
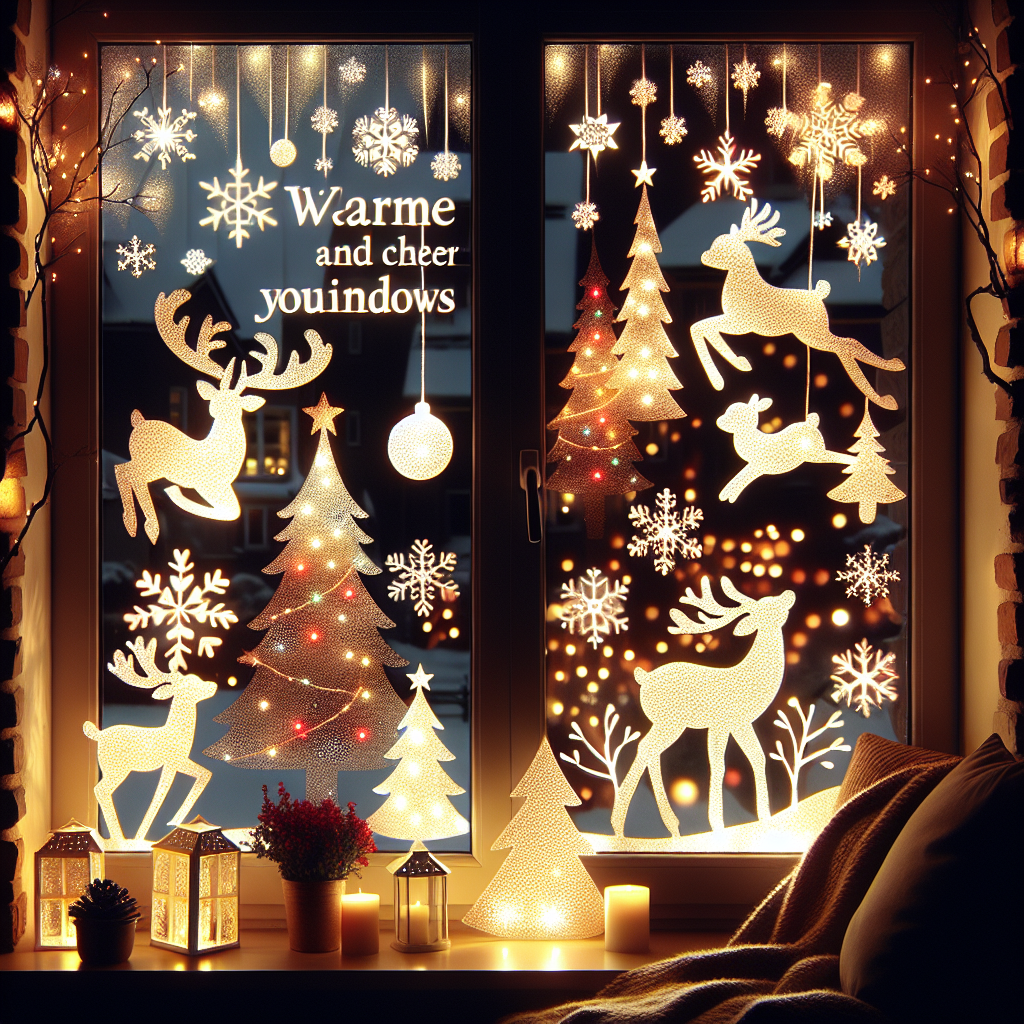
Project Inspiration
To inspire you further, here is an image of how your completed Christmas window silhouettes could look:

Summary
Creating handcrafted Christmas window silhouettes is a wonderful way to add a festive touch to your home during the holiday season. By following the step-by-step instructions provided in this article, you can easily create stunning displays that will impress everyone who sees them. Remember to gather all the necessary materials, measure your windows, choose your silhouette designs, cut them out, add decorative touches if desired, attach them to your windows, arrange string lights, and finally, plug in and enjoy the magical ambiance. Get ready to light up your home and spread the holiday cheer!


