Personalized Wooden Cutting Boards: A Step-by-Step Guide
Are you tired of using generic cutting boards in your kitchen? Do you want to add a personal touch to your cooking experience? Look no further! In this comprehensive guide, we will teach you how to create your very own personalized wooden cutting boards. Not only will these cutting boards be functional, but they will also be a beautiful addition to your kitchen decor. So, let’s get started on this exciting DIY project!
Materials Needed
- Wood plank (preferably hardwood like maple or walnut)
- Saw
- Sandpaper (coarse and fine grit)
- Router
- Wood burning tool
- Food-safe finish (such as mineral oil or beeswax)
- Paintbrush
- Disposable gloves
- Protective eyewear
- Measuring tape
- Pencil
- Clamps
Step 1: Choose the Right Wood
The first step in creating a personalized wooden cutting board is selecting the right type of wood. Hardwoods like maple, walnut, and cherry are excellent choices due to their durability and beautiful grain patterns. Make sure to choose a wood plank that is at least 1 inch thick and wide enough to accommodate your desired cutting board size.
Step 2: Measure and Mark
Using a measuring tape and pencil, mark the dimensions of your desired cutting board on the wood plank. Consider the available space in your kitchen and the size of your countertops when determining the dimensions. It’s important to have a cutting board that fits comfortably in your workspace.
Step 3: Cut the Wood
Put on your protective eyewear and use a saw to cut along the marked lines. Take your time and make precise cuts to ensure straight edges. If you’re not confident in your sawing skills, you can also have the wood cut to size at a local hardware store.
Step 4: Sand the Edges
After cutting the wood, use coarse sandpaper to smooth out any rough edges. Start with a lower grit sandpaper and gradually move to a finer grit for a polished finish. Sand both the top and bottom surfaces of the cutting board, as well as the sides.
Step 5: Shape the Edges
If you want to add a decorative edge to your cutting board, use a router to create a desired profile. There are various router bits available that can give your cutting board a unique look. Take your time and follow the manufacturer’s instructions for safe and accurate routing.
Step 6: Personalize with Wood Burning
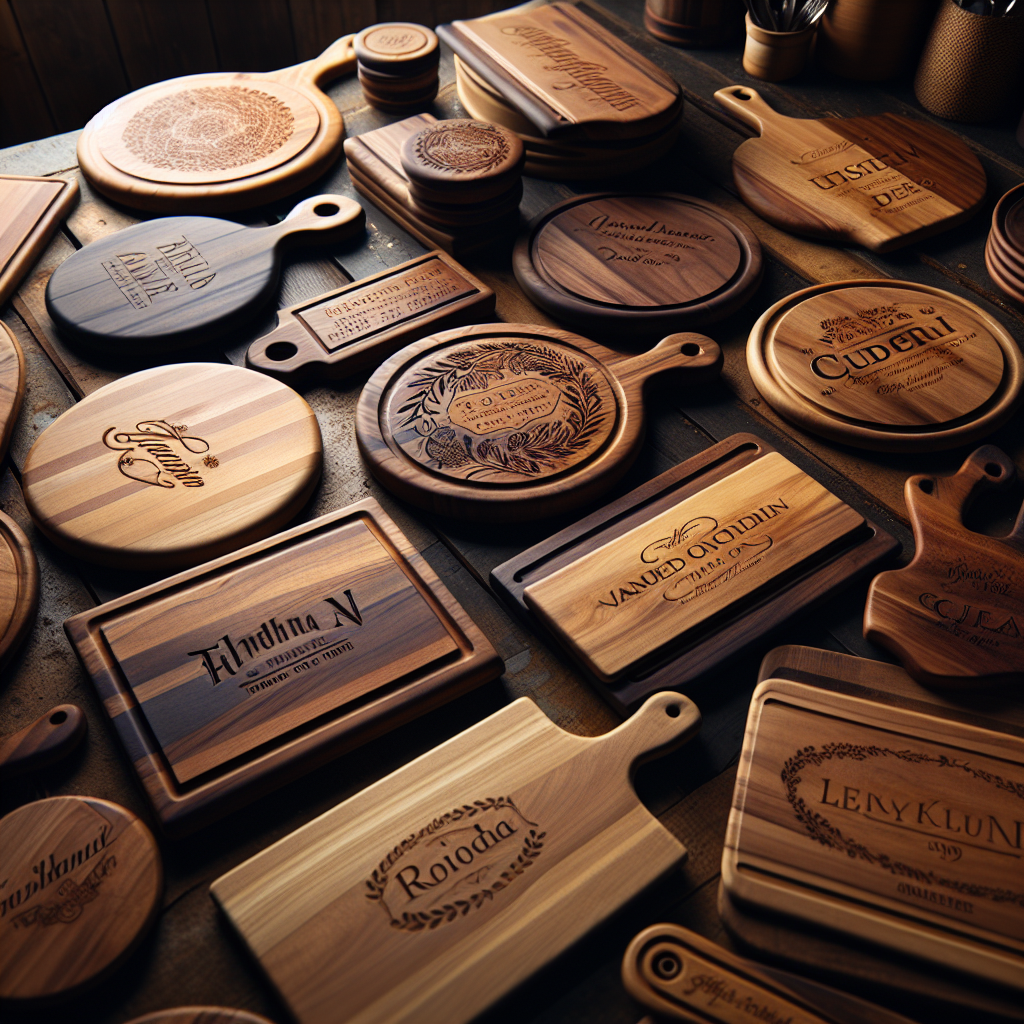
Now comes the fun part – personalizing your cutting board! Use a wood burning tool to engrave your initials, a meaningful quote, or any design of your choice onto the surface of the cutting board. Practice on a scrap piece of wood first to get comfortable with the tool and to test different designs.
Step 7: Sand the Surface
After wood burning, use fine grit sandpaper to smooth out the surface of the cutting board. This will remove any rough spots and ensure a smooth finish. Be careful not to sand too aggressively, as you don’t want to erase the wood burning design.
Step 8: Apply a Food-Safe Finish
To protect the wood and make it safe for food preparation, apply a food-safe finish to the cutting board. Mineral oil and beeswax are popular choices for finishing wooden cutting boards. Put on disposable gloves and use a paintbrush to evenly apply the finish to all surfaces of the cutting board. Allow it to dry according to the manufacturer’s instructions.
Step 9: Final Touches
Once the finish has dried, inspect the cutting board for any rough spots or imperfections. Use fine grit sandpaper to smooth out any areas that need attention. Wipe off any dust with a clean cloth or paper towel.
Step 10: Enjoy Your Personalized Cutting Board
Congratulations! You have successfully created your own personalized wooden cutting board. Place it in your kitchen and admire the unique design you have created. Not only will it be a functional tool for your cooking needs, but it will also be a beautiful piece of art that reflects your personal style.
Conclusion
Creating a personalized wooden cutting board is a rewarding DIY project that allows you to showcase your creativity and craftsmanship. By following the step-by-step instructions in this guide, you can make a functional and beautiful cutting board that will enhance your cooking experience. Remember to choose the right wood, measure and mark carefully, and personalize your cutting board with wood burning. With the proper finishing touches, you’ll have a unique and personalized cutting board that you can proudly display in your kitchen. So, gather your materials and get ready to embark on this exciting DIY adventure!


