Pressed Flower Artwork: A Step-by-Step Guide to Creating Stunning Floral Masterpieces
Are you looking for a creative and unique way to showcase the beauty of nature? Pressed flower artwork is the perfect DIY project for you! With just a few simple steps, you can transform ordinary flowers into stunning pieces of art that will brighten up any space. In this comprehensive guide, we will walk you through the process of creating your own pressed flower artwork, from selecting the right flowers to framing your finished masterpiece. So let’s get started and unleash your inner artist!
Materials You’ll Need
Before we dive into the step-by-step instructions, let’s gather all the materials you’ll need for this project:
- A selection of fresh flowers
- Heavy books or a flower press
- Parchment paper
- Tweezers
- Scissors
- Glue or adhesive spray
- Cardstock or art paper
- Picture frame
- Optional: acrylic sealer spray
Now that you have everything ready, let’s move on to the step-by-step instructions.
Step 1: Selecting the Perfect Flowers
The first step in creating pressed flower artwork is to choose the right flowers. Look for flowers that are fresh and in full bloom, as they will press more easily and retain their vibrant colors. Some popular choices include roses, daisies, pansies, and lavender. Experiment with different types of flowers to create unique and visually appealing compositions.
Remember to pick flowers that are free from blemishes or damage, as these imperfections will be visible in the final artwork. It’s also important to select flowers with flat petals, as they press more easily and produce better results.
Step 2: Pressing the Flowers
Once you have gathered your flowers, it’s time to press them. There are two common methods for pressing flowers: using heavy books or a flower press. Let’s explore both options:
Method 1: Using Heavy Books
- Start by placing a layer of parchment paper on a flat surface.
- Trim the stems of your flowers, leaving about an inch of stem attached.
- Arrange the flowers on the parchment paper, making sure they don’t overlap.
- Place another layer of parchment paper on top of the flowers.
- Now, carefully close the book, making sure not to disturb the arrangement of the flowers.
- Stack additional books on top of the closed book to add weight.
- Leave the flowers to press for about 2-4 weeks, checking on them periodically.
Method 2: Using a Flower Press
- If you prefer a more specialized tool, a flower press is a great investment.
- Follow the instructions provided with your flower press to assemble it.
- Trim the stems of your flowers, leaving about an inch of stem attached.
- Place the flowers between layers of parchment paper inside the press.
- Tighten the screws or straps of the press to apply pressure evenly.
- Leave the flowers to press for about 2-4 weeks, checking on them periodically.
Regardless of the method you choose, patience is key. The longer you press the flowers, the better the results will be.
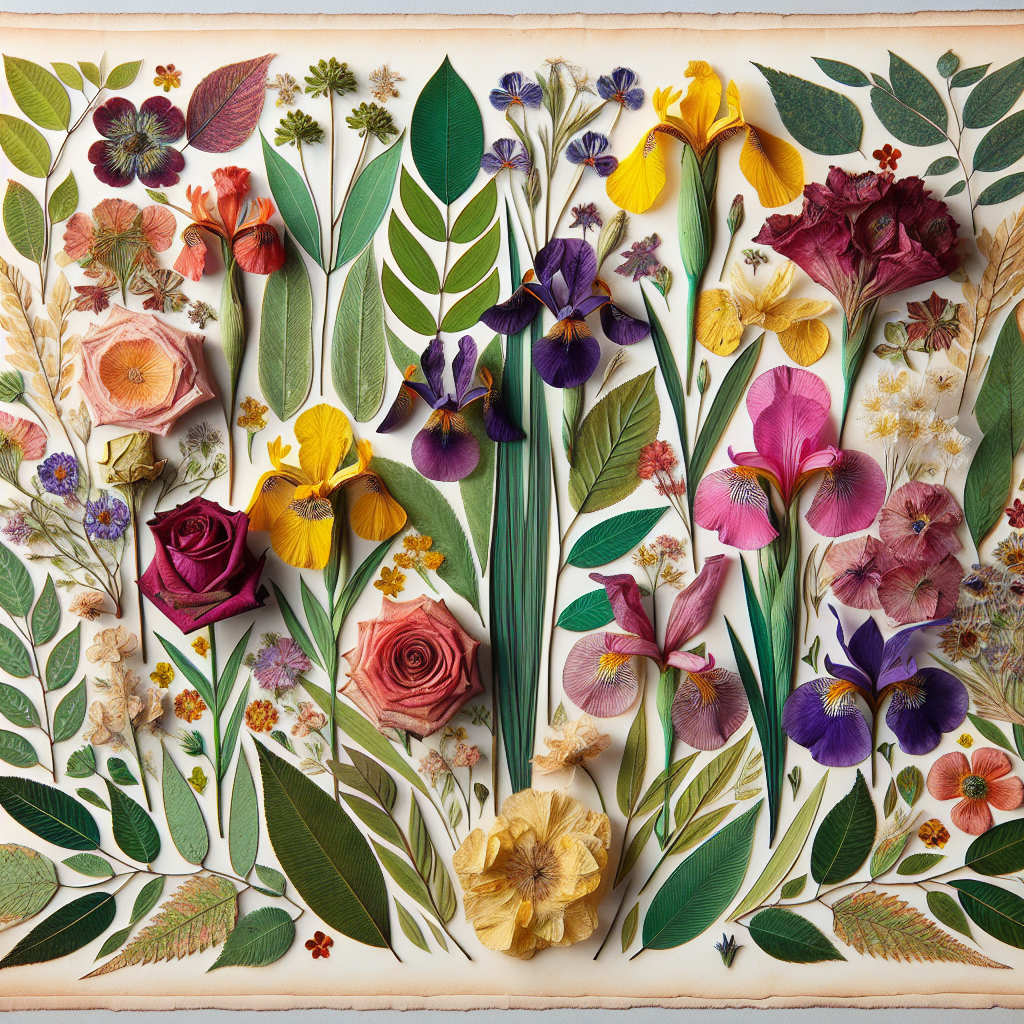
Step 3: Arranging Your Pressed Flowers
Once your flowers are fully pressed and dried, it’s time to arrange them into a beautiful composition. Here’s how:
- Start by carefully removing the pressed flowers from the books or press using tweezers.
- Arrange the flowers on a clean surface, experimenting with different layouts until you find one that you love.
- Consider incorporating leaves or other natural elements to add depth and interest to your composition.
- Once you are satisfied with the arrangement, take a photo or make a sketch to use as a reference for later.
Step 4: Mounting the Pressed Flowers
Now that you have your composition ready, it’s time to mount the pressed flowers onto cardstock or art paper. Follow these steps:
- Cut a piece of cardstock or art paper to fit the size of your picture frame.
- Apply a thin layer of glue or adhesive spray to the back of each pressed flower.
- Carefully place the flowers onto the cardstock or art paper, following your chosen arrangement.
- Press down gently to ensure the flowers adhere to the surface.
- Allow the glue to dry completely before moving on to the next step.
Step 5: Framing Your Pressed Flower Artwork
Now that your pressed flowers are securely mounted, it’s time to frame your artwork and give it the finishing touch. Here’s how:
- Choose a picture frame that complements your pressed flower composition.
- Remove the glass and backing from the frame.
- Place your mounted pressed flowers inside the frame, ensuring they are centered and aligned.
- Secure the backing of the frame to hold the artwork in place.
- If desired, you can spray a layer of acrylic sealer over the flowers to protect them from moisture and fading.
- Finally, hang your pressed flower artwork in a prominent place where it can be admired by all.
Conclusion
Congratulations! You have successfully created your own pressed flower artwork. By following these step-by-step instructions, you have transformed ordinary flowers into stunning pieces of art that will bring joy and beauty to any space. Remember to experiment with different flowers and compositions to create unique and personalized artworks. So gather your materials, unleash your creativity, and let nature inspire you to create beautiful pressed flower masterpieces!


