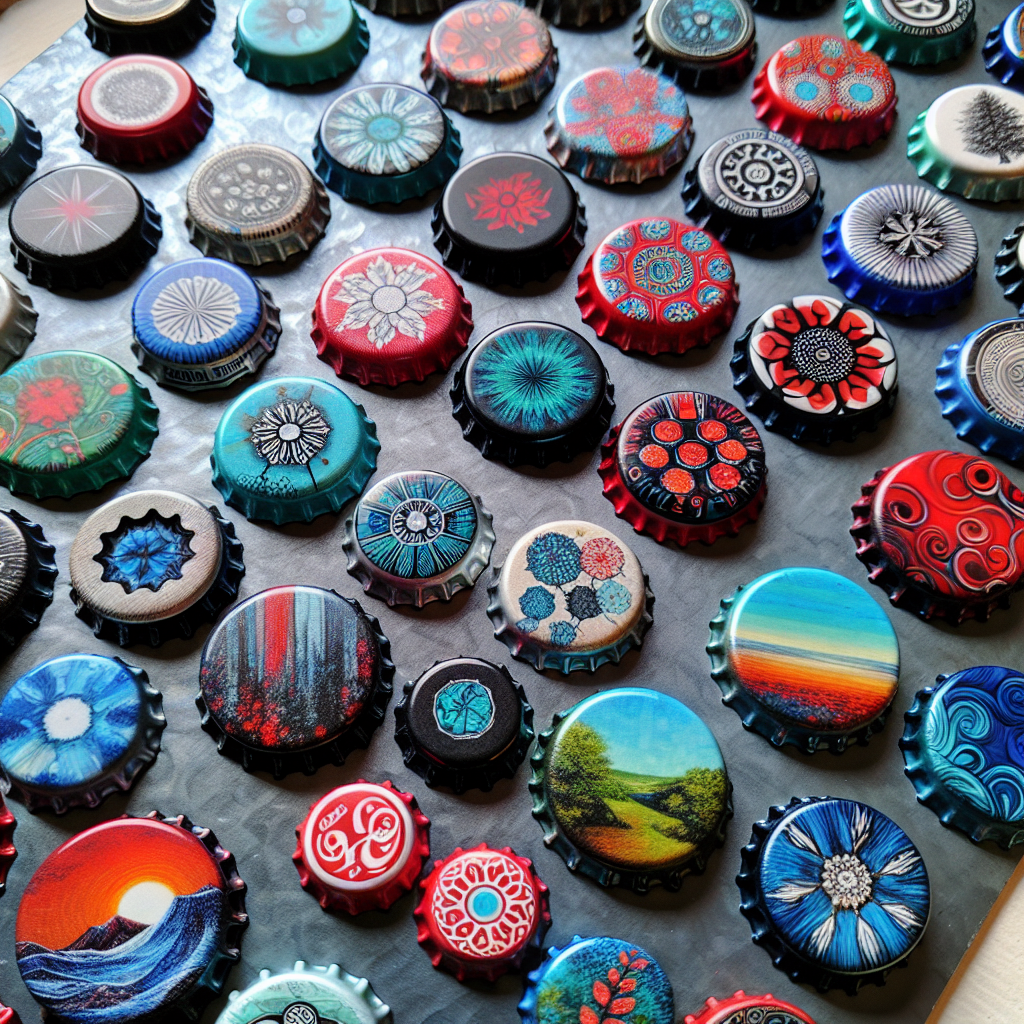
Upcycled Bottle Cap Magnets: Turn Trash into Treasure
Are you tired of throwing away bottle caps after enjoying your favorite beverages? Well, it’s time to put those bottle caps to good use! In this step-by-step guide, we will show you how to transform ordinary bottle caps into unique and stylish magnets. Not only will you reduce waste, but you’ll also have a fun and practical DIY project to enjoy. So, let’s get started on this exciting upcycling adventure!
Materials You’ll Need
- Bottle caps (metal or plastic)
- Strong adhesive (such as E6000)
- Magnets
- Decorative paper or fabric
- Scissors
- Mod Podge or clear sealant
- Paintbrush
- Optional: Resin or epoxy for a glossy finish
Step 1: Gather Your Bottle Caps
The first step in this project is to collect a variety of bottle caps. You can use caps from soda bottles, beer bottles, or any other beverage containers. Make sure to clean them thoroughly and remove any remaining liquid or residue. Once cleaned, dry them completely before moving on to the next step.
Step 2: Prepare Your Decorative Paper or Fabric
Now it’s time to choose the decorative paper or fabric that will give your bottle cap magnets a unique look. You can use scrapbooking paper, wrapping paper, or even fabric scraps. Cut the paper or fabric into small circles that fit inside the bottle caps. You can trace the bottle caps onto the paper or fabric and then cut them out.
Step 3: Adhere the Paper or Fabric to the Bottle Caps
Apply a thin layer of adhesive to the inside of each bottle cap. Carefully press the cut-out circles of paper or fabric onto the adhesive, making sure they are centered and smooth. Allow the adhesive to dry completely before moving on to the next step.
Step 4: Seal the Paper or Fabric
To protect the paper or fabric from wear and tear, apply a coat of Mod Podge or clear sealant over the top. This will give your bottle cap magnets a glossy finish and make them more durable. Use a paintbrush to apply an even layer of sealant and let it dry completely.
Step 5: Attach the Magnets
Now it’s time to turn your bottle caps into magnets. Apply a small amount of adhesive to the back of each bottle cap and press a magnet onto the adhesive. Make sure the magnet is centered and secure. Allow the adhesive to dry completely before using your new bottle cap magnets.
Step 6: Optional: Add a Glossy Finish
If you want to take your bottle cap magnets to the next level, you can add a glossy finish using resin or epoxy. This will give them a professional and polished look. Follow the instructions on the resin or epoxy packaging to mix and apply the glossy finish. Allow it to dry completely before using your magnets.
Step 7: Enjoy Your Upcycled Bottle Cap Magnets
Congratulations! You have successfully transformed ordinary bottle caps into unique and stylish magnets. Now it’s time to enjoy your upcycled creations. Use them to decorate your fridge, hold important notes, or give them as thoughtful gifts to friends and family. The possibilities are endless!
Summary
Upcycling bottle caps into magnets is a fun and creative way to reduce waste and add a personal touch to your home decor. By following these simple steps, you can turn trash into treasure and create unique and stylish magnets that are both practical and visually appealing. So, gather your materials, unleash your creativity, and start making your own upcycled bottle cap magnets today!


