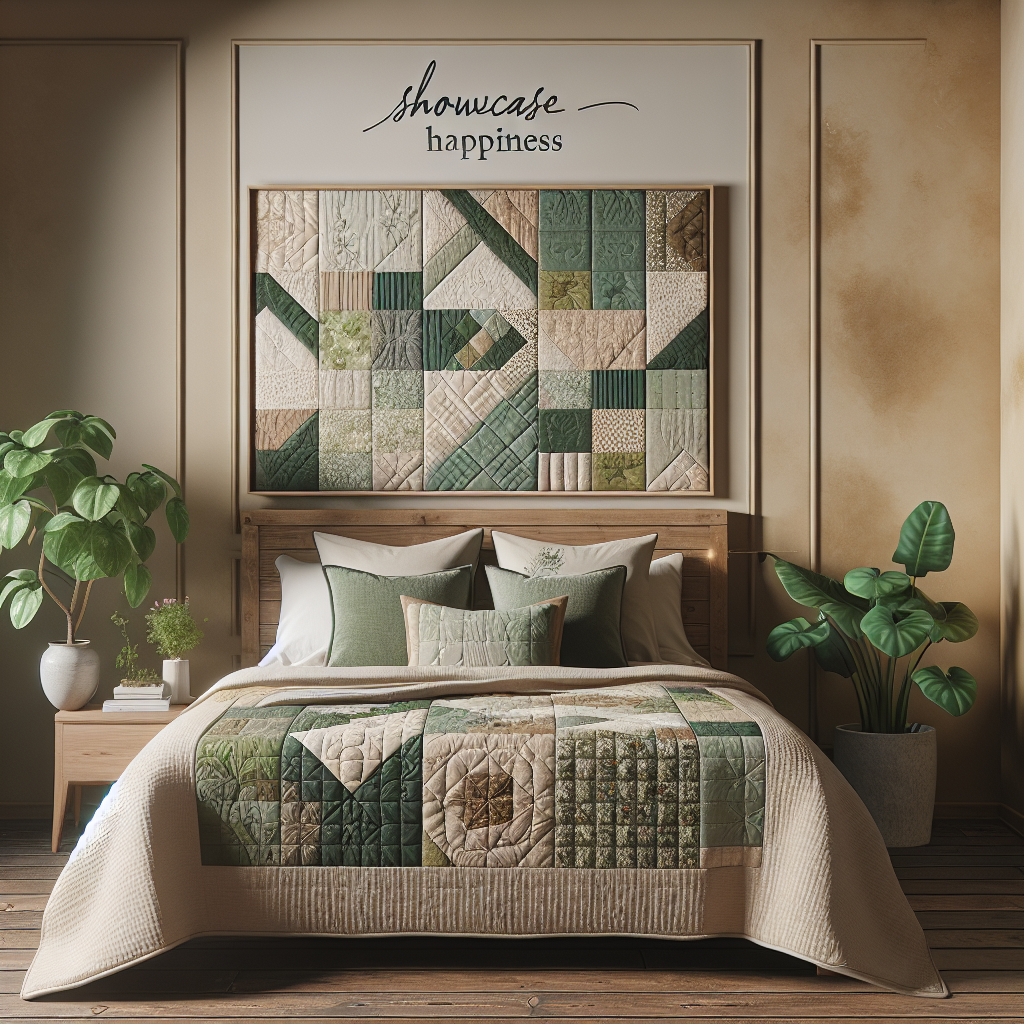
How to Build a DIY Headboard: Step-by-Step Guide
A DIY headboard can be a central feature in any bedroom, adding a touch of personal style and creativity to the space. Building your own headboard may seem like a daunting task, but with a step-by-step guide, it can be a fun and rewarding project that will leave you with a unique and beautiful piece of furniture.
The first step in building a DIY headboard is to gather all the necessary materials. Depending on the design you choose, you may need plywood, foam padding, fabric, batting, a staple gun, screws, and a saw. It’s important to measure your bed and determine the size of the headboard you want before purchasing any materials.
Once you have all your materials, the next step is to cut the plywood to the desired size and shape. This can be done using a saw, making sure to wear protective goggles and gloves for safety. If you want a curved or intricate design, you may need to use a jigsaw or other specialized tools.
After cutting the plywood, it’s time to add some padding for comfort. This can be done by attaching foam padding to the front of the plywood using adhesive or spray adhesive. Make sure to smooth out any wrinkles or bubbles in the foam before moving on to the next step.
Once the padding is in place, it’s time to add the fabric. Lay the fabric flat on the floor, making sure it’s large enough to cover the front of the headboard with some extra for wrapping around the edges. Place the plywood with the foam padding face down on top of the fabric, making sure it’s centered.
Starting in the middle of one side, pull the fabric tightly over the edge of the plywood and staple it in place. Continue stapling along the edge, pulling the fabric tight as you go. Repeat this process on the opposite side, and then on the top and bottom edges. Make sure to smooth out any wrinkles or folds in the fabric as you staple.
Once the fabric is securely attached, it’s time to add some extra padding for a plush look. This can be done by attaching batting to the front of the headboard using a staple gun. Make sure to pull the batting tight and staple it in place, just like you did with the fabric.
Finally, it’s time to attach the headboard to the bed frame. This can be done by screwing the headboard directly into the wall behind the bed, or by attaching it to the bed frame using brackets or other hardware. Make sure to follow the manufacturer’s instructions for attaching the headboard securely.
Building a DIY headboard is a great way to add a personal touch to your bedroom and create a central feature that reflects your style and creativity. With a step-by-step guide and some basic tools, you can create a beautiful and unique headboard that will be the envy of all your friends. So why not give it a try and see what you can create? You’ll be amazed at the results!